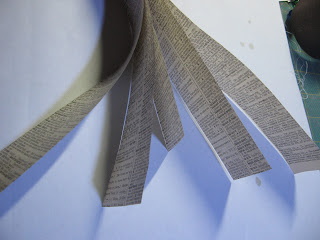
She just finished making a whole bunch of them to hang around her Craft Corner. Aren't they pretty? Check out more pics on her blog.
Here's how to make them - although - you could probably make them any size you want! Cut strips of paper about 2" wide. For each ornament you need one 6" long, two - 8" and two - 10".
Make a paper sandwich with the shortest piece in the middle - surrounded by the two longer pieces, one on each side.

Line up the ends and staple together. I did 4 small staples - but one normal size would probably do the trick.

Next smoosh all the papers so the the BOTTOM ends align. This creates the shape. it is WAY easier to do this than it is to explain, or photograph! Staple the bottom ends to hold it all together. This is also much easier to do with card stock. Soft paper works, but it is more squiggly.

Here you have one completed ornament!

I used dictionary paper, off white handmade paper with natural flecks, and solid brown craft paper. The brown and natural paper actually came PRECUT into strips - in an assorted pack of cardstock remnants. Look around - you probably have a stash of paper strips from other projects - that were too good to toss!
My niece hung her ornaments one on each string. You could also hang several vertically. But i chose to make a garland out of mine. I punched a small hole in the top and strung some martha stewart natural and white twine through the holes.

I like the neutral colours against our white painted stone fireplace.

Here's how they look with the full swag. I think these would be really pretty hung over a mirror or a window.


1 comment:
Very pretty
Post a Comment