We had a great time creating water colour paintings on plaster coated fabric, inspired by the work of Kate Thompson and her Fractured Angelics. Our craft buddy K set us up for another great creative play date. Here's how i got started.....

K printed out some images on printer paper using a laser printer (not ink jet).

She had prepared dozens of pieces of fabric, burlap and lace by coating them with either Venetian plaster or joint compound. a coat of gesso to seal the front and back.

Apply some matte medium to the plaster and to the image - and lay face down. smooth all the bumps.

Let dry thoroughly. I drew a few flowers on the side with a pencil.

Spritz with water and start peeling off the paper backing. keep adding water with your fingers and roll the little bits of paper until they are all off. You will be left with the image - transferred onto your plaster.

In some places you can see i scraped too much and took off the gesso (white) showing the plaster (cream) underneath. no matter, i plan to paint it anyway!

The image on top (my favorite) was perfect and soft and lovely. but i kept adding and taking away and ruined the eyes. We were painting with water colour paints and a bit of white gouache.

more work in progress.

Here is my finished result! darker than the original, but still quite nice.

K set us up with a flat screen to watch videos while we worked!

And of course prepared a delicious, beautiful and nutritious luncheon.

Here was my second attempt. I used a copy of a vintage image - here in the rolling the paper stage.

The image was too small on the fringed burlap. k had pressed some lace into the plaster for more texture.

I painted the background blue and added a trellis.

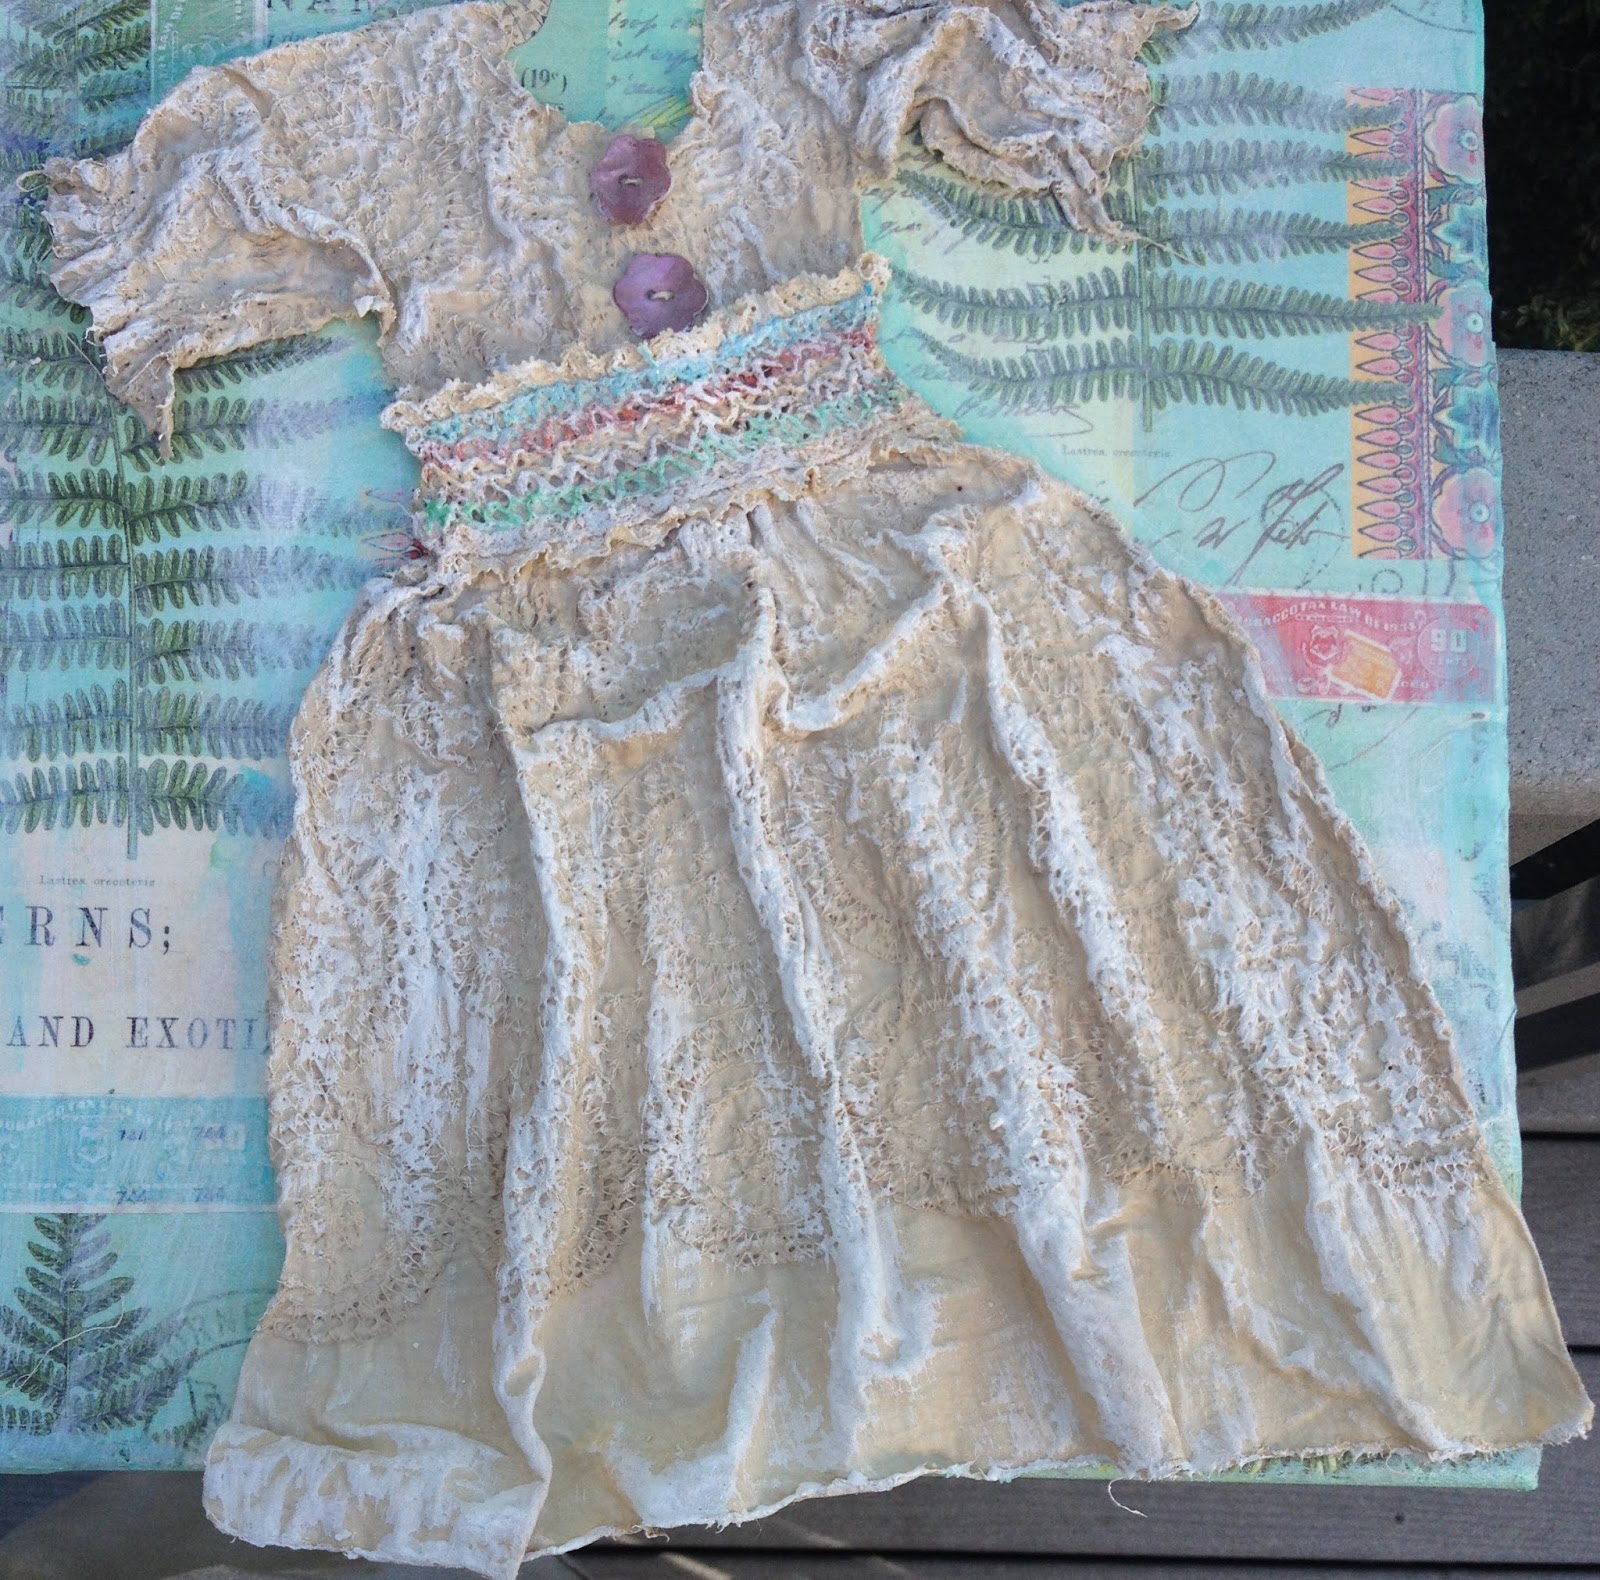
and here she is - complete with a dress made from an actual doily (applied to the base with some joint compound) and a cute little bird.

Here is a piece that Z was working on.
She plans to add some berries and leaves as a headress.

Another work in progress - a vintage image with some stencilling done with plaster for a raised texture.

Look at this cutie - she'll look great when colourized.

Speaking of colour - wow - look at K's angels!

Later K added some texture using a wing stencil.

And another with brilliant tones.

This one was just image transferred, a more modern day example.
can't wait to see how this turns out once some colour is applied!
Thanks K for another fabulous play date. Missed our crafty buddies D and S. We can always do this again - it was so much fun! And thanks again to Kate for the inspiration.