Another play date with my gal pals to work on our beaded clay projects. i brought this porcelain doll head with no specific plan - and it morphed into a dress form style shape. I used tin foil as a base and covered it with paper clay. I added some jewelry bits to create a tiara. then added cheap post earrings around her bodice.
I filled in with strings of pearls. Around her waist is a ribbon with beaded fringe and more jewelry findings and strung beads along the "hem". I have her sitting in a sunny window to dry before i complete the beading.
Our hostess D worked on her bird with doll head, using some paper mache clay she mixed herself.
it was pretty sticky - but she was able to smooth it out. ultimately it will be covered with beads and other objects, in a steam punk style.
Z worked on a cute wooden fish she picked up on vacation in Mexico.
She added glass bead gel as a base to inbed rows of rhinestones in clear and aqua blue.
S worked on her turtle. First performing a turtle-head-ectomy and replacing it with a doll head. then she started gluing on the beautiful gems and beads.
She even creating a fringe effect with chain around the rim of her shell.
I completed two more pages in D's book, as part of our colour themed altered book round robin swap. With travel schedules, we did not finish by the end of 2014 - but it just makes the fun last longer! This book has a cherry and teal theme, and is titled Cherry Heaven Teal. The original title of the book being Cherry Heaven. When trying to come up with ideas for my spreads, it occurred to me that there were no spreads about either cherries, or heaven!
For my first spread i used some Dove chocolate foil wrappers in teal and green to create cherry shapes. The background was painted with a berry coloured acrylic paint. I created a bowl in cherry colour from another foil wrapper. I added some painterly swishes to create shadow and shape. then added the stems which in hindsight are too thick. I used some letters dyed with teal ink to explain that yes, these are Teal Cherries!
For my second spread, i started with a solid teal paper background. I cut some classical angels from wrapping paper and glued them on with a glue stick, my adhesive of choice for altered books. I added some washi tape music notes, and a gold foil doily. The word heaven was some stick on raised letters with i stained with berry ink. the final touch was a polymer clay stamping of an angel, which i also coloured with ink.
to see the spreads i did in D's book last year - click HERE.
I have been attending workshops at the local Novato Library on Monday nights, twice a month. This week was polymer clay. I have done several projects with clay - but i have never made canes. Canes are made by stacking and sandwiching tubes or blocks or strips of clay and then rolling to stretch it out. Sorry i missed pictures of the process - but here are my results! First i made a cane with a spiral of pink and turquoise clay, surrounded by black and white and encased in orange. I rolled it out a little bit too much! (but not bad for the first time) i sliced my cane into rounds and stuck them to an altoids tin. when i got it home i popped it in a warm over - 250 degrees, for about 20 minutes - and voila!
Here is the second tin i covered with canes. these were done with scraps of clay - but it was interesting to see how rolling and cutting are critical to uniform colour disbursement. You know, if that's what you were going for. I honestly was just having fun practicing.
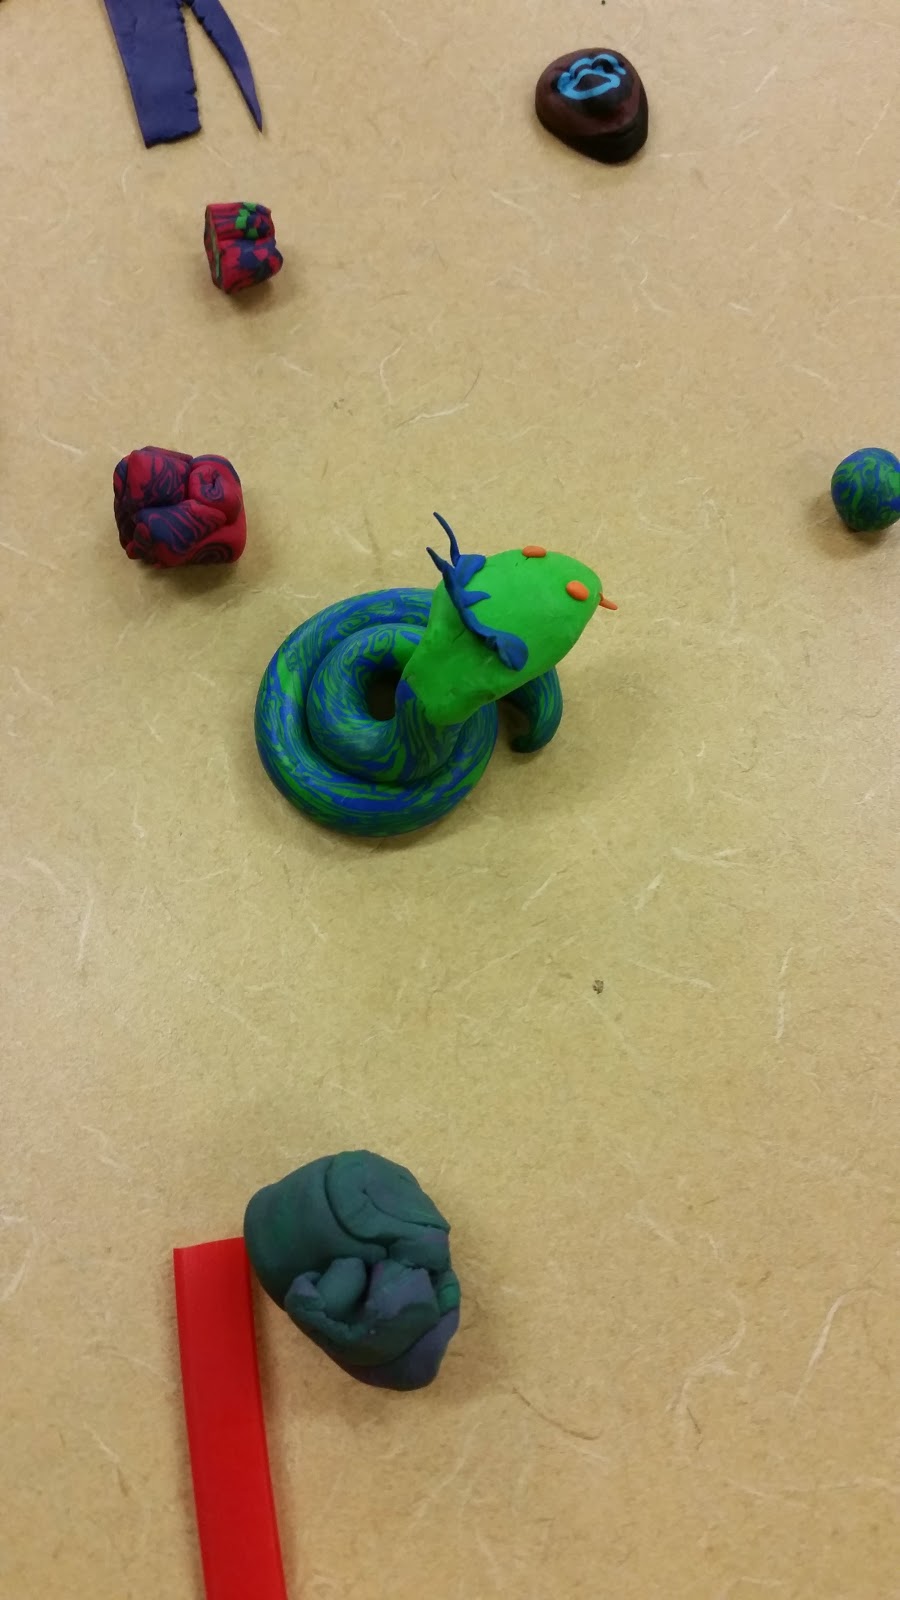
Next i wanted to attempt a checkerboard. I ran some blue and red clay through the pasta maker into long flat strips. i layered the colours and cut then stacked and cut and stacked, then cut and alternated and stacked and repeat and so on. once i had about 4 inches of checkerboard clay, i created a creature and covered it up. adding feet, forked tongue and beady eyes. It got baked too along with the tins. hard as rock - and seems pretty durable. although i wouldn't give it to a child to play with or anything like that....!
Next i just played with more scraps and created some more patterns. it looks like a sock!
I'll find another tin to cover. it could be cute! Thanks to Amanda at the library for teaching us how to work with polymer clay. Here are some shots from the rest of the students: