Tuesday, April 19, 2011

Fun with Dominoes...!


Sunday afternoon i met with more creative friends for Fun with Dominoes.  How much fun can you have with dominoes, you might ask?  LOTS!  Here you can see all the dominoes the five of us created.  PLus some copper discs that K wanted to make weathered looking, by applying some adirondak ink.
Here are some of D's fun and funky styled smaller vintage cream dominoes.  She stamped with Staz-On ink and added colour and whimsy with Sharpie pens.
Here are some of my larger white dominoes, new from Target - about $4 for a tin of 28 dominoes.  I stamped with a script stamp in assorted colours of Staz-On ink.  Then i added birds cut from foreign postage stamps.  I added some text from an old book and copper tape around the edges.  A little rhinestone adds a touch of bling.
Here are some that B created.  She created collage using several stamps on multiple dominoes - how cool is that?  I love the combination of the teal and purple inks.  She found some images in my stash - that women in the white bathing suit is my mom!
Here are K's with an assortment of stamping of faces and eyes.  She used alcohol inks to create the marbled stone effect.
Here are L's dominoes.  The top row are from a bracelet kit - she will string them together with beads to create a stunning one of a kind jewelery to wear.  The metallic ones shown are actually bamboo faux dominoes - taken from a bamboo placemat.
Here are more of D's showing the options for applying alcohol inks and rubber stamping on top.
Here is an assortment that illustrates how many different looks you can achieve.  Stamping black on white, adding colour with Sharpies, edging in coloured tape.
Wow - it really is quite remarkable all the different styles we created that day.  So what to do with them all?  I'm sure you are asking yourselves!  Well - you can drill holes and create pendants.  Add a pin back and create a brooch.  Add a magnet and create a fridge ornament. Use strong glue to add the decorated dominoes to a mixed media art project.  or just toss them on your desk or nightstand and enjoy! 

Decoupage Play Date...!

I had the pleasure of spending my Saturday with three dear friends for a day of decoupage.  I decided to create three collaged canvases with ephemera and napkins.  I started by placing randomly torn assorted text pages on the canvas using a foam roller and watered down decoupage medium.

Here is Lucie creating her decoupage vase.  First she painted it with black gesso.  Yes!  You can buy black gesso.  Dried super quick out in the sun on Karen's deck..  Lucie tore bits of patterned paper in a mosaic style pattern. and glued the pieces to the painted vase.
Z. used three nude sketches as her focal point for three collaged canvases.  She scanned and printed her drawings onto matte photo paper and used delicate tissue to create an ethereal effect.
Karen worked on a small wooden table.  here she is laying out assorted printed napkins to decide which ones to use.
Here are Z's backgrounds drying on freezer paper.
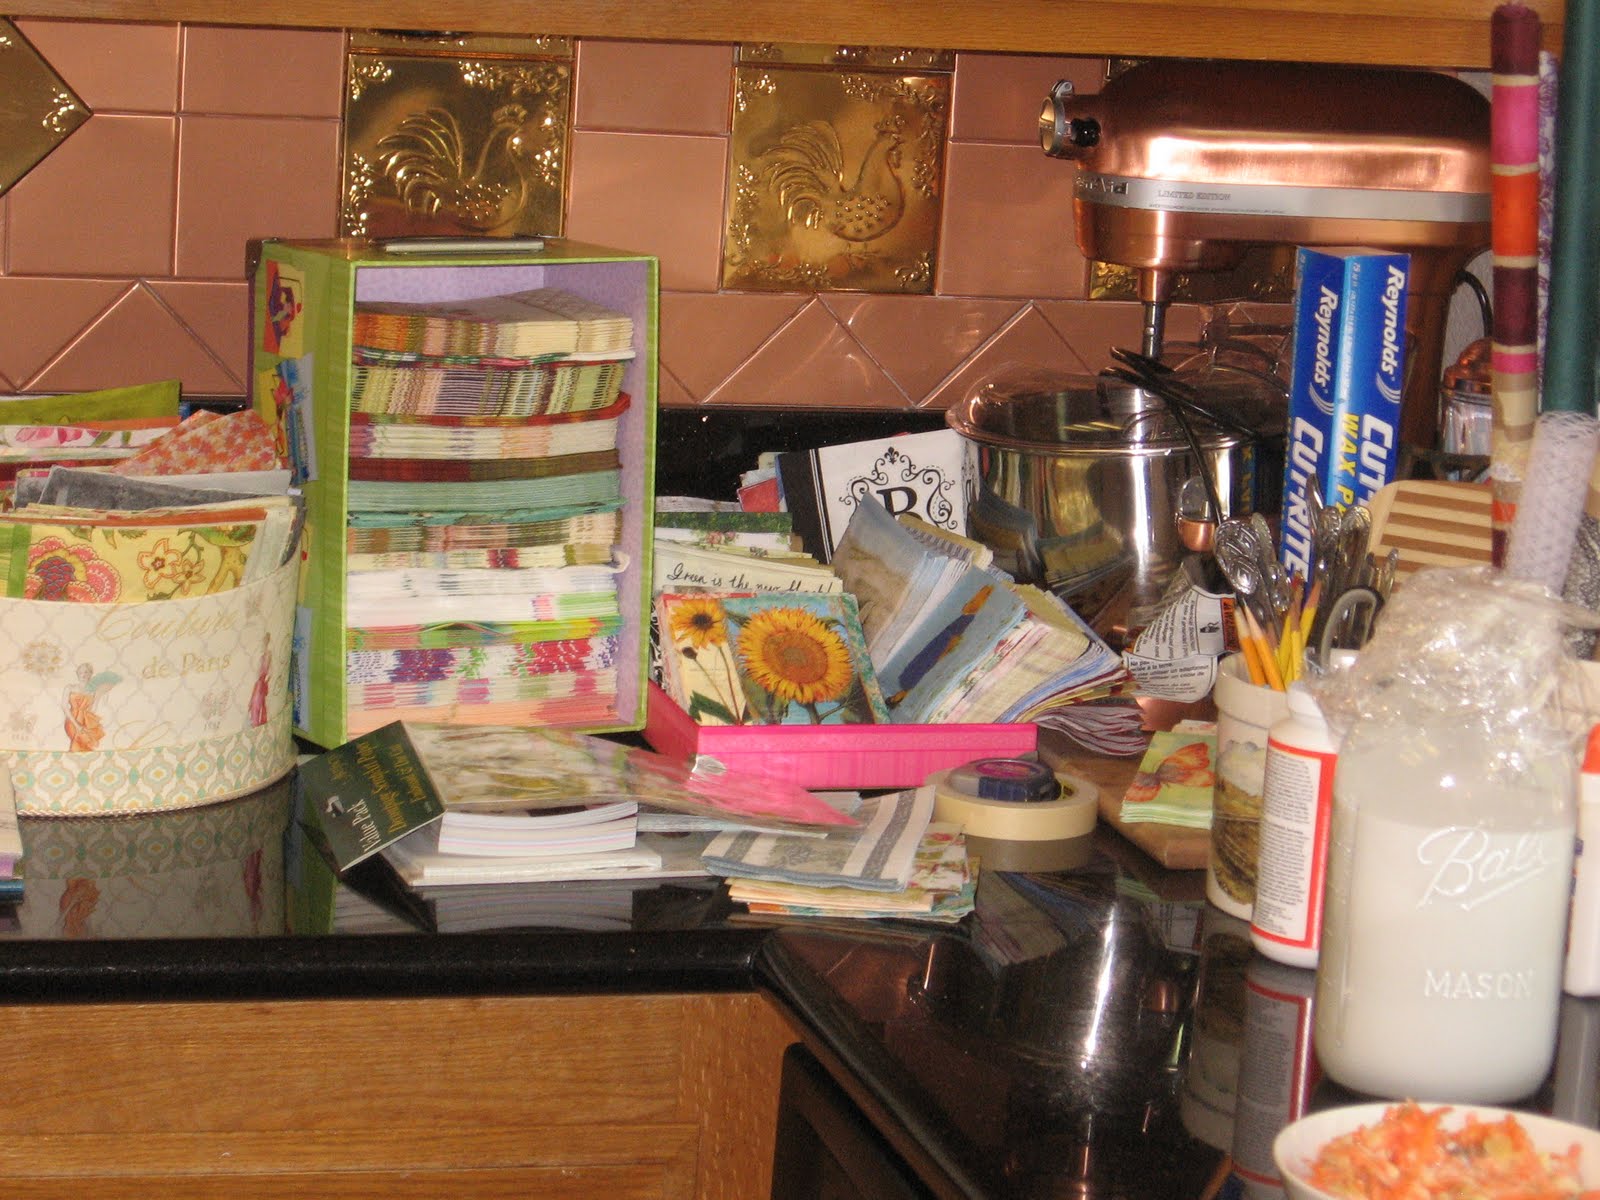
Karen was the hostess with the mostess - here's a shot of her kitchen counter, where she arranged all the art supplies for us.  Look at all those napkins!
Here is the dining room table set for a delicious lunch - complete with easter themed treat bags!
It was perhaps the most delicious lunch i have ever eaten.  Two types of wrap sandwiches, mini BLT sliders, couscous salad, carrot salad, papaya and olives.  Oh and Cala Lily Sandwiches!  So cute and SOO tasty!
And a there was a choice of lemonades or citrus punch.  What a pretty plate!
Now back to crafting!  Here are my finished canvases drying on the patio.
And a few close-ups:

Almost everything used here is a napkin.
Here are Z.'s sketches drying on the deck. So soft and pretty - they're for her newly remodeled bathroom!
Here is Lucie's finished vase.  i just love how she created the pretty flower with dictionary pages.  She glazed the completed vase and will add a coat of gloss medium or varnish to make it shine a bit more.
Lucie also decoupaged the cover of this vintage book, she'll use it as a art journal to try out new techniques.
She also decoupaged this little box - it will make a cute shadow box for her husband, a music lover. Probably finish it off with a little ukelele or something!
Here is karen adding the flowers to her table top.
And Z. adding some finishing touches to her canvases.
To finish off the most wonderful of craft play dates - i decided to decoupage my old blue cosmetics case - which i use to carry around my basic art supplies and tools.  I used an assortment of brightly coloured napkins in stripes, dots, paisley and hearts. Then added flowers and some black and white flourishes.  And a B for Bouchard. Since it was on a napkin in Karen's vast assortment! 
The little suitcase has a textured finish and the napkins were absorbed right into the grooves.  It dried a little bit darker.  If i had painted it white first the colours would have stayed bright.  But it looks cool and vintage and fun!
Thanks Karen for hosting our little group and creating the perfect environement for creativity.  Supplies? check. Great food? check.  Great drinks? check.  Great friends? check.

Thursday, April 14, 2011

Intro to Altered Book workshop coming soon...!

12 happy students had so much fun at my last altered book class at Liquid Marin in San Rafael, CA.  Wouldn't you like to find out what it is all about?  We are having a second class on Sunday, May 8th.  Yes it is Mother's Day - wouldn't this be a great treat for you - spending a few hours having creative fun.  Or bring your daughter along for a satisfying family activity.
  See images from the last class HERE. I'd love to see you.

Please note - if you already took this class, I will be offering an Altered Books Advanced Techniques class in June.  Don't hesitate to contact me with your questions.

Sunday, March 27, 2011

Liquid Marin ATC Montage Class Photos

 Lucie and I had the pleasure of teaching our ATC Montage class at Liquid Marin in San Rafael on Saturday.  The students had the benefit of learning two ATC styles - i taught the 1-2-3  collage method with vintage images and ephemera.  Lucie taught the students how to create painted backgrounds and develop a more abstract modern style.
 Here is Lucie demonstrating how to arrange the two styles of ATC's on a black gesso'd canvas.

 Here is my finished work. By blending my collage style with Lucie's, you can create a dynamic yet composed artwork.
Each student created up to 10 cards - 5 in each style.    Here is a student's work in progress.
  Another student's cards laid out on the canvas.  Notice she chose to do some cards in the "landscape" orientation.
 Yet another student - still has a couple of cards to complete. We each played around with our compositions to balance colour, form and content to create a cohesive piece. 
 Everyone sure had fun playing with the supplies we provided.
 Lucie's finished canvas.
 And mine again.
And a student's.
 And another students - not quite done - but a great start!
 Can you spot the two styles of cards?
 Just amazing to see the talent in our classroom!
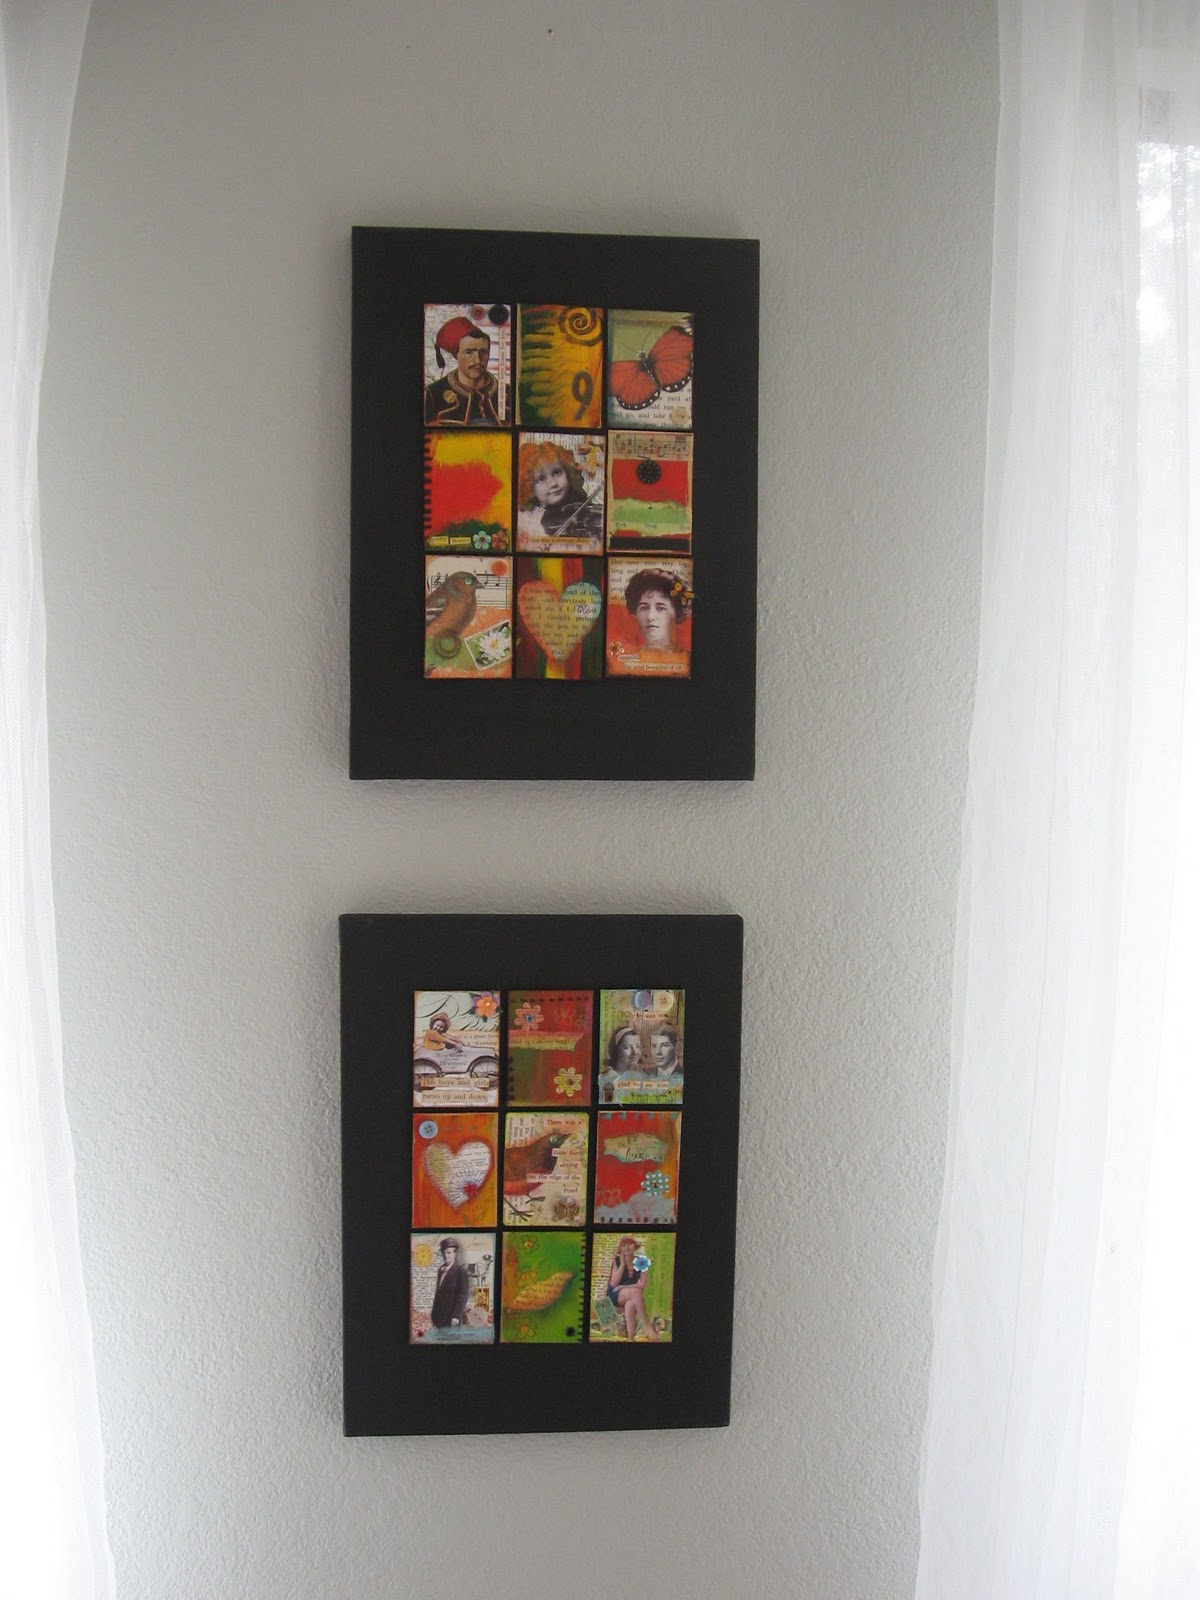
 And my two finished canvases proudly displayed on the wall in my living room.
I hope our students had as much fun as we did - and are showing off their masterpiece in their own homes!
If you are enticed (rightly so) to take a class with Lucie or myself, or one of the other talented instructors, please contact Liquid Marin or check out their website for details.

Monday, March 21, 2011

ATC Montage Sample

 Lucie and I made a sample of the class project for all to see!  
Here it is online - or visit Liquid Marin to see it in person.  
There are still spots left in class for those in the bay area who want to spend a few happy hours creating something fun and decorative for your home.