Tuesday, September 30, 2014

Art is You Day One : Andrea Matus DeMeng

I attended two days at the annual Art is You art retreat in Petaluma, CA.  Just 15 minutes up the road from my house - so pretty darn convenient!  The first day was a class with Andrea Matus deMeng (wife of Michael deMeng, the famous assemblage artist) called Gypsies, Tramps and Thieves.  Here you can see her work featured on the cover of Somerset Studio magazine.
 Here are some shots of Andrea's work, and our inspiration.
Andrea does amazingly richly detailed collage and painting - featuring a female face and elaborate headdress.  But not, as she explained, the typical Carmen Miranda fruit and flowers.  She encouraged us to think a little outside the box and try new things.
 I started with a blank cradled wood panel, 10" by 20".  She asked us to do a quick coat of matte medium on the board before we started.  Then we did a casual collage of background papers in a random fashion.  Being careful to tear the paper TOWARDS us - to avoid the white lines in the torn paper from standing out in the collage.
 Next we applied some liquid glaze or paint to the canvas to add some colour and unify the piece.
 I started very light then added more depth with teals and blues.
 Then it was time to "audition" our collage.  To play around with faces and other elements until we were happy with the results.
 Just for fun, i flipped everything around just to try it.
 But finally settled on using the snakes to create movement above and below the face.  Butterflies with cut in half.  and flowers created a corsage effect.  the base or "torso" was a clipping of a Gothic architecture building with lavish tile work.
To complete the piece i added a beaded headdress and used paint to bring out the highlights and low-lights of the snakes. and some portfolio pastels to add shading.  
I am pretty pleased with how it turned out!

Here are all the other students' work arranged at the end of class for the teacher's critique.  She was so wonderful to come around to each of us as we worked, and took the time to compliment features in every piece.  Please note - not all of these are completed by the students in the class.  But you can marvel at the array of talent i had the pleasure to share the day with.


Thank you Andrea and the Art is You group for a wonderful day!

Monday, September 22, 2014

Bottle Brush Trees Workshop

 I took another fun workshop from Cathe Holden at her magical studio the Inspired Barn. 
She showed us how to make bottle brush trees.  from scratch!
 You start with some rope.
Then you cut a section and take it completely apart down to the individual fibers.
I love how Cathe sets up each of our work spaces with all the necessary tools. Plus treats! 
 Well - here is how the magic happens.  You bundle your fibers in a folded wire - and use a drill to spin it to create a bottle brush.  Then you trim it to a tree shape.
 Then you dye the tree - we used Rit dye.  lots of colour choices!
 Here you can see a few drying on paper towels.
Here are a few a fellow classmate did.
Go to this link to see Cathe's full tutorial HERE.
 
Thanks Cathe for another fun evening. 
Now I must think about some cute projects for winter
which incorporate my pretty little trees...!

Girly Birthday Party Crafts

 I co-hosted a birthday party for our crafty friend Z and got 10 ladies to try their hands at make and takes. Here are some of the fun things we made.
 I shared how to make washi tape flowers which i learned at the amazing Cathe Holden's Inspired Art Barn.  I took her workshop back in August and showed the ladies how to create their own.  click HERE to see my post about the class.
  I set the dining room table with tapes, and stamens, and wire and all the things needed to make these delightful little blossoms. Oh and some REAL flowers for inspiration!
Here are some of the highly skilled flower makers!
 On my coffee table, Z and K showed the ladies how to make two part molds and then to make paper clay adornments from the molds.


 We also did some with two part resin - in bedding glitter and jewels in the resin.


We also had a few ladies create embossed cards with some water colour painting.
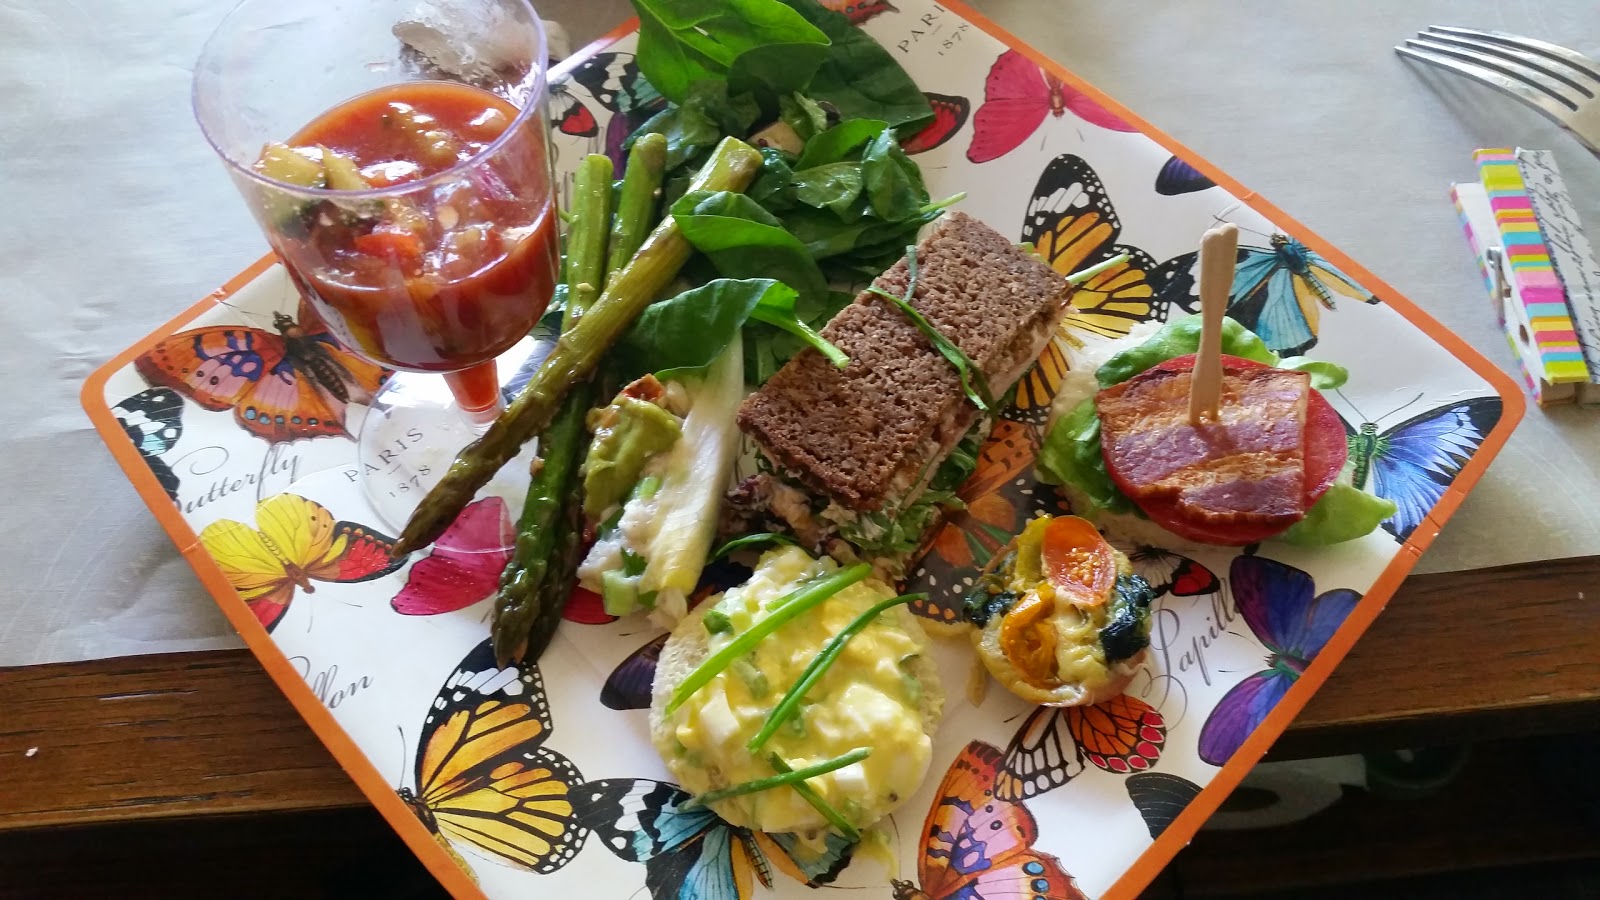
 K prepared the delicious luncheon - gazpacho, salad, asparagus, and an assortment of finger sandwiches. Plus a plethora of delightful mini desserts.
I filled the fridge with peach sangria, lemonade and rose wine! So girly-girl - i loved it!
 K made up goody bags for all the guests!  What's a party without a goody bag?!
What a good time we had - thanks to all who participated to make a special event for our friend.  Happy Birthday to Z!

Abstract with Foam Plates

My friends D and  S attend the Art Unraveled retreat every year in Phoenix in August.  they always come home with exciting projects to share.  One workshop they did not take (but a friend told them about) was Carol Nelson's Effortless Abstracts.  Check out her work HERE.  We each started with a small canvas board or cradled panel.  
I started with two 6"x6" panels.
We applied some texture paste to the edges.  Then (we all did things in random order) i took a foam plate and folded and tore it into shapes.  then glued it to my cradled panel with tacky glue.  then following K's suggestion, put a dab of paint in 4 different colours in each corner of the panel.  Then blended and swirled and played with the colours. 

 After it had dried somewhat, i added glazes, metalics, interference paints and even mica flecks to the panels to create more glow and interest.  
The next step is to use a paint pen, sharpie or in my case, payne's grey paint and a small brush to outline the shapes.


Here are the play date gals' works:
 K did one with bright primary colours on a thick canvas.
 K did this one on a small block with teal and copper.  
even without the black lines it looks cool!
 D went outside the box and created this canvas board with circles cut from the foam plates.
 S used three canvas boards and attached her foam plate sections with E6000 glue.  It started to sort of "eat into" the foam - but created a cool leather-like effect.
She is still working on blending her colours with glazes and texture gels.

Thanks S for sharing this fun technique with us!  And thanks too to Carol for being our inspiration!.

Pink - Altered Book Revisited

 As part of our 2014 altered book swap - we each got our books back this summer to work in - "mid swap".  My little pink book (see it HERE) is getting nice and fat with lots of clever, pretty and fun pink inspired spreads.  There was a little kitten on this page - so i decided to colour it in with pink paint and simply covered everything else with ivory acrylic paint.  then added some balls of yarn, highlighted with black sharpie.  A bit of robin's egg blue for shadow lines. I cut a couple of phrases from another page with said "where are the mice?"
For my second spread i searched through my paper stash for something pink to jump out at me.  Some wrapping paper filled with Russian nesting dolls filled the bill,  I glued them to the page with some floral scrapbook paper for a change of scale. I accented the page with some pink flowers and washi tape text.