Showing posts with label plaster. Show all posts

Friday, June 19, 2015

Painting on Plaster Play Date

 We had a great time creating water colour paintings on plaster coated fabric, inspired by the work of Kate Thompson and her Fractured Angelics.  Our craft buddy K set us up for another great creative play date.  Here's how i got started.....
 K printed out some images on printer paper using a laser printer (not ink jet).
 She had prepared dozens of pieces of fabric, burlap and lace by coating them with either Venetian plaster or joint compound.  a coat of gesso to seal the front and back.
 Apply some matte medium to the plaster and to the image - and lay face down.  smooth all the bumps.
 Let dry thoroughly.  I drew a few flowers on the side with a pencil.
 Spritz with water and start peeling off the paper backing.  keep adding water with your fingers and roll the little bits of paper until they are all off.  You will be left with the image - transferred onto your plaster.
 In some places you can see i scraped too much and took off the gesso (white) showing the plaster (cream) underneath.  no matter, i plan to paint it anyway!
 The image on top (my favorite) was perfect and soft and lovely.  but i kept adding and taking away and ruined the eyes.  We were painting with water colour paints and a bit of white gouache.
 more work in progress.
Here is my finished result!  darker than the original, but still quite nice.
 K set us up with a flat screen to watch videos while we worked!
 And of course prepared a delicious, beautiful and nutritious luncheon.
 Here was my second attempt.  I used a copy of a vintage image - here in the rolling the paper stage.
 The image was too small on the fringed burlap.  k had pressed some lace into the plaster for more texture.
 I painted the background blue and added a trellis.
 and here she is - complete with a dress made from an actual doily (applied to the base with some joint compound) and a cute little bird.
 Here is a piece that Z was working on.  
She plans to add some berries and leaves as a headress.
 Another work in progress - a vintage image with some stencilling done with plaster for a raised texture.
 Look at this cutie - she'll look great when colourized.
 Speaking of colour - wow - look at K's angels!
Later K added some texture using a wing stencil.
 And another with brilliant tones.
This one was just image transferred, a more modern day example.  
can't wait to see how this turns out once some colour is applied!
Thanks K for another fabulous play date.  Missed our crafty buddies D and S.  We can always do this again - it was so much fun!  And thanks again to Kate for the inspiration.

Tuesday, March 25, 2014

Canvas and Dresses Play Date

 My friend K invited us to her lovely home for a day of arts and crafts and yummy food.  She had seen some images online of baby dresses on canvas and was anxious to try it out.  She had prepared "samples" using various techniques so that she could advise us on the best recipe for success!
Here is a doll dress she dipped in plaster and mounted on canvas, which she then painted and added a vintage looking key.  Not quite done - but you can see how cool this is!  It looks like a priceless heirloom, when in fact it was a cheesy synthetic doll dress!
 Here is a different variation - this time using Alene's fabric stiffener.  the dress and hat look soft and fluffy - but are in fact hard as rocks.
 For this cute overall, she tried liquid nails - a construction adhesive.  it can change the colour of your item - but looks great with the texture of this fabric.
 Here's a little dress in progress.
 My friend D decided to make her dress out of textured paper.  she created a colorful background and added some scrabble letters.  She plans to further embellish her canvas with golf tees and possibly pez heads.  But that's just D's signature style!
Here is Z's lace covered box.  she is perking up all the ruffles after dipping it in fabric stiffener.
 Z had this sweet little leather baby shoe and created the beautiful fabric and lace covered box for it to sit on.  She was not quite done - still to add laces and other adornments.
 S had two pieces to place on her collaged canvas - little overalls and a pink dress.  She added some painterly touches and brought out the texture of the papers.
 A play date at K's means a delicious lunch (breakfast and snacks too!).  We had a two yummy salads and blt lobster burgers.
For dessert we had a choice of key lime pie or  individual lemon meringue tarts - how cute!

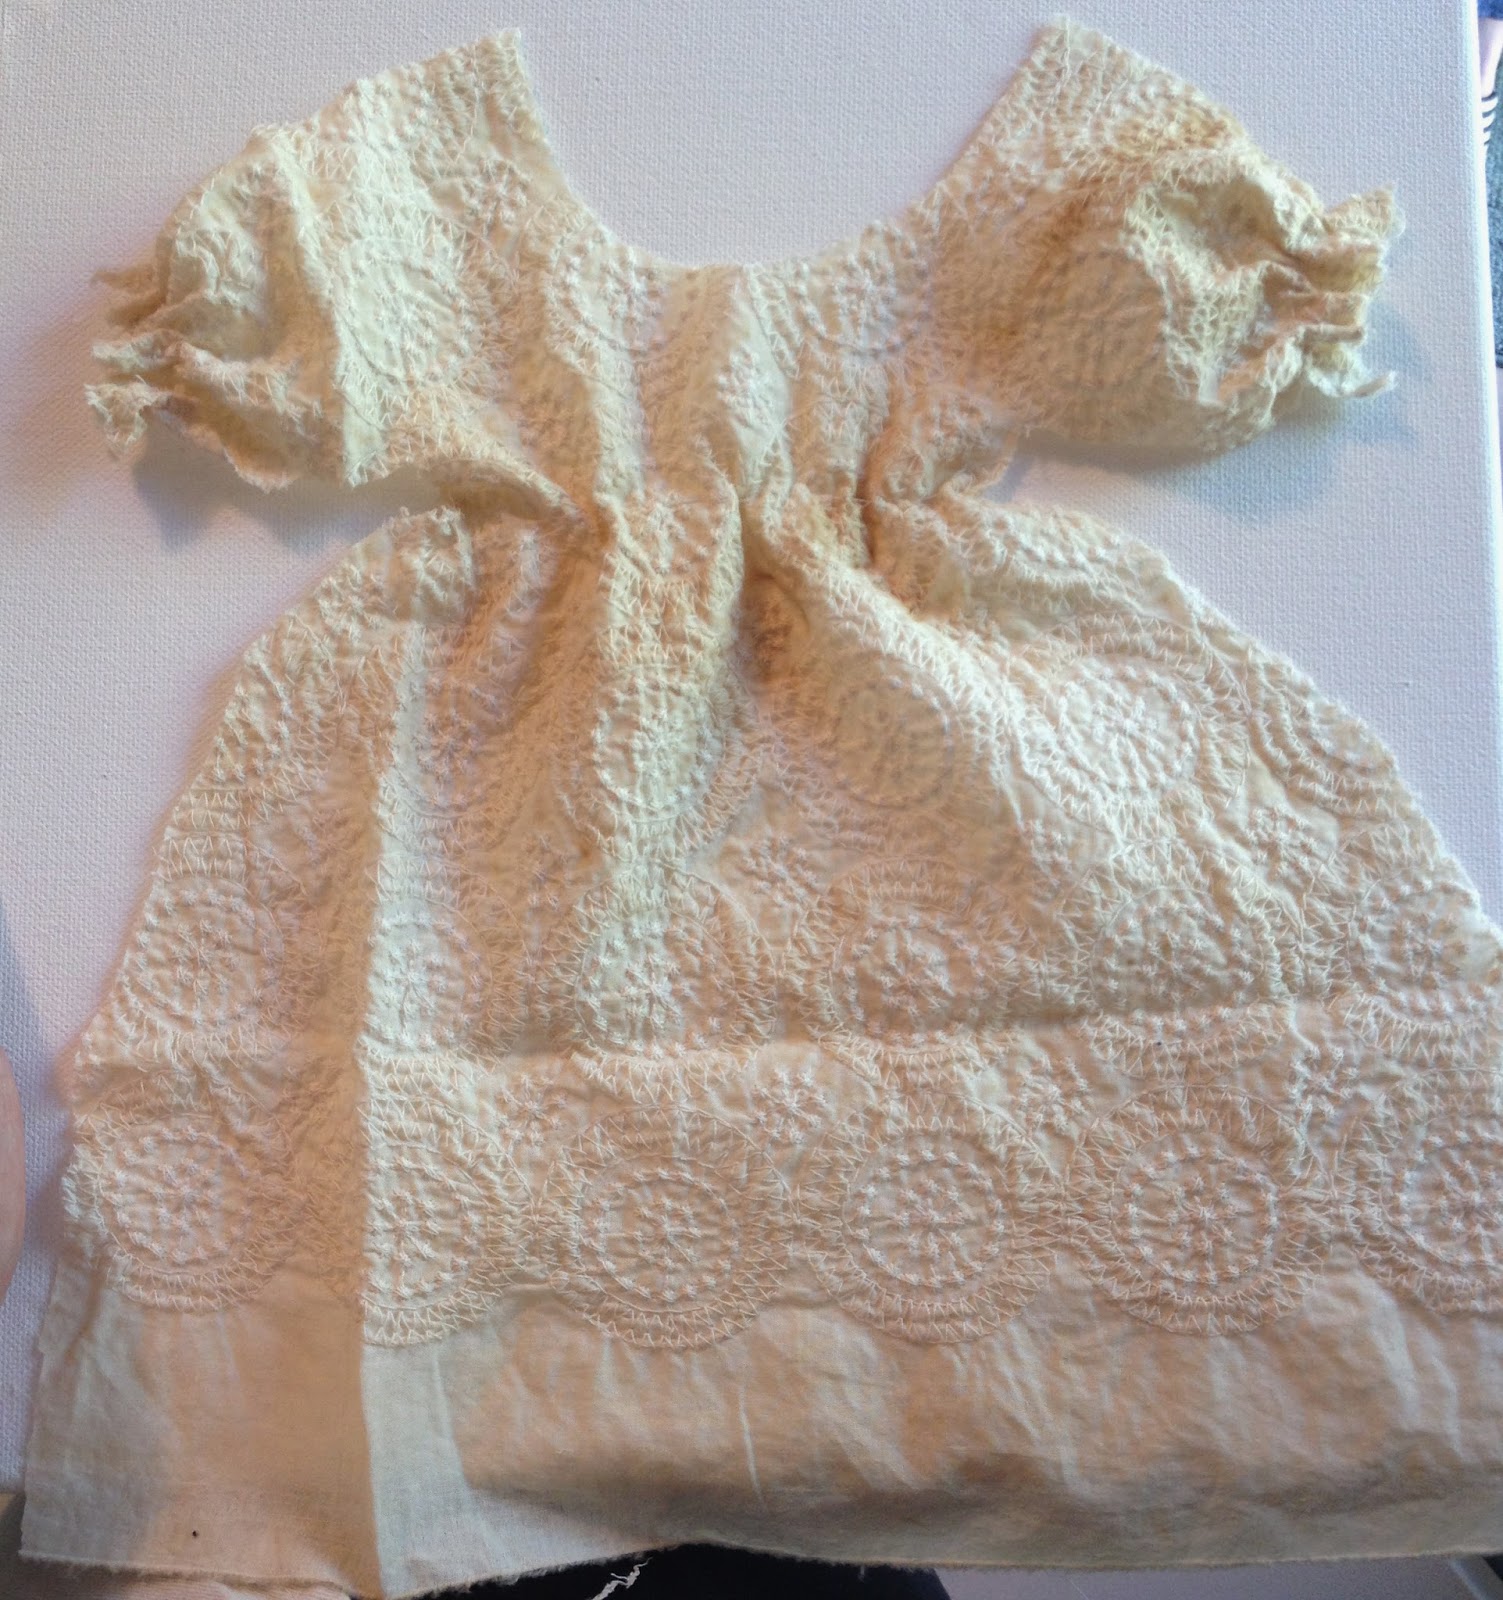
 I did not bring a baby or doll dress for my project.  I brought instead two scraps of fabric.  The first one is a embroidered textured cotton with a few age marks. i got it in a swap a few years ago - you can see HERE.  We thought it was very funny - "ooh look at my piece of old stained fabric - i got it in a swap!"  Only us crazy artsy people think this is valuable!
 I trimmed it into a dress shape and ran a few stitches along the sleeves.
 Then i gathered the skirt.
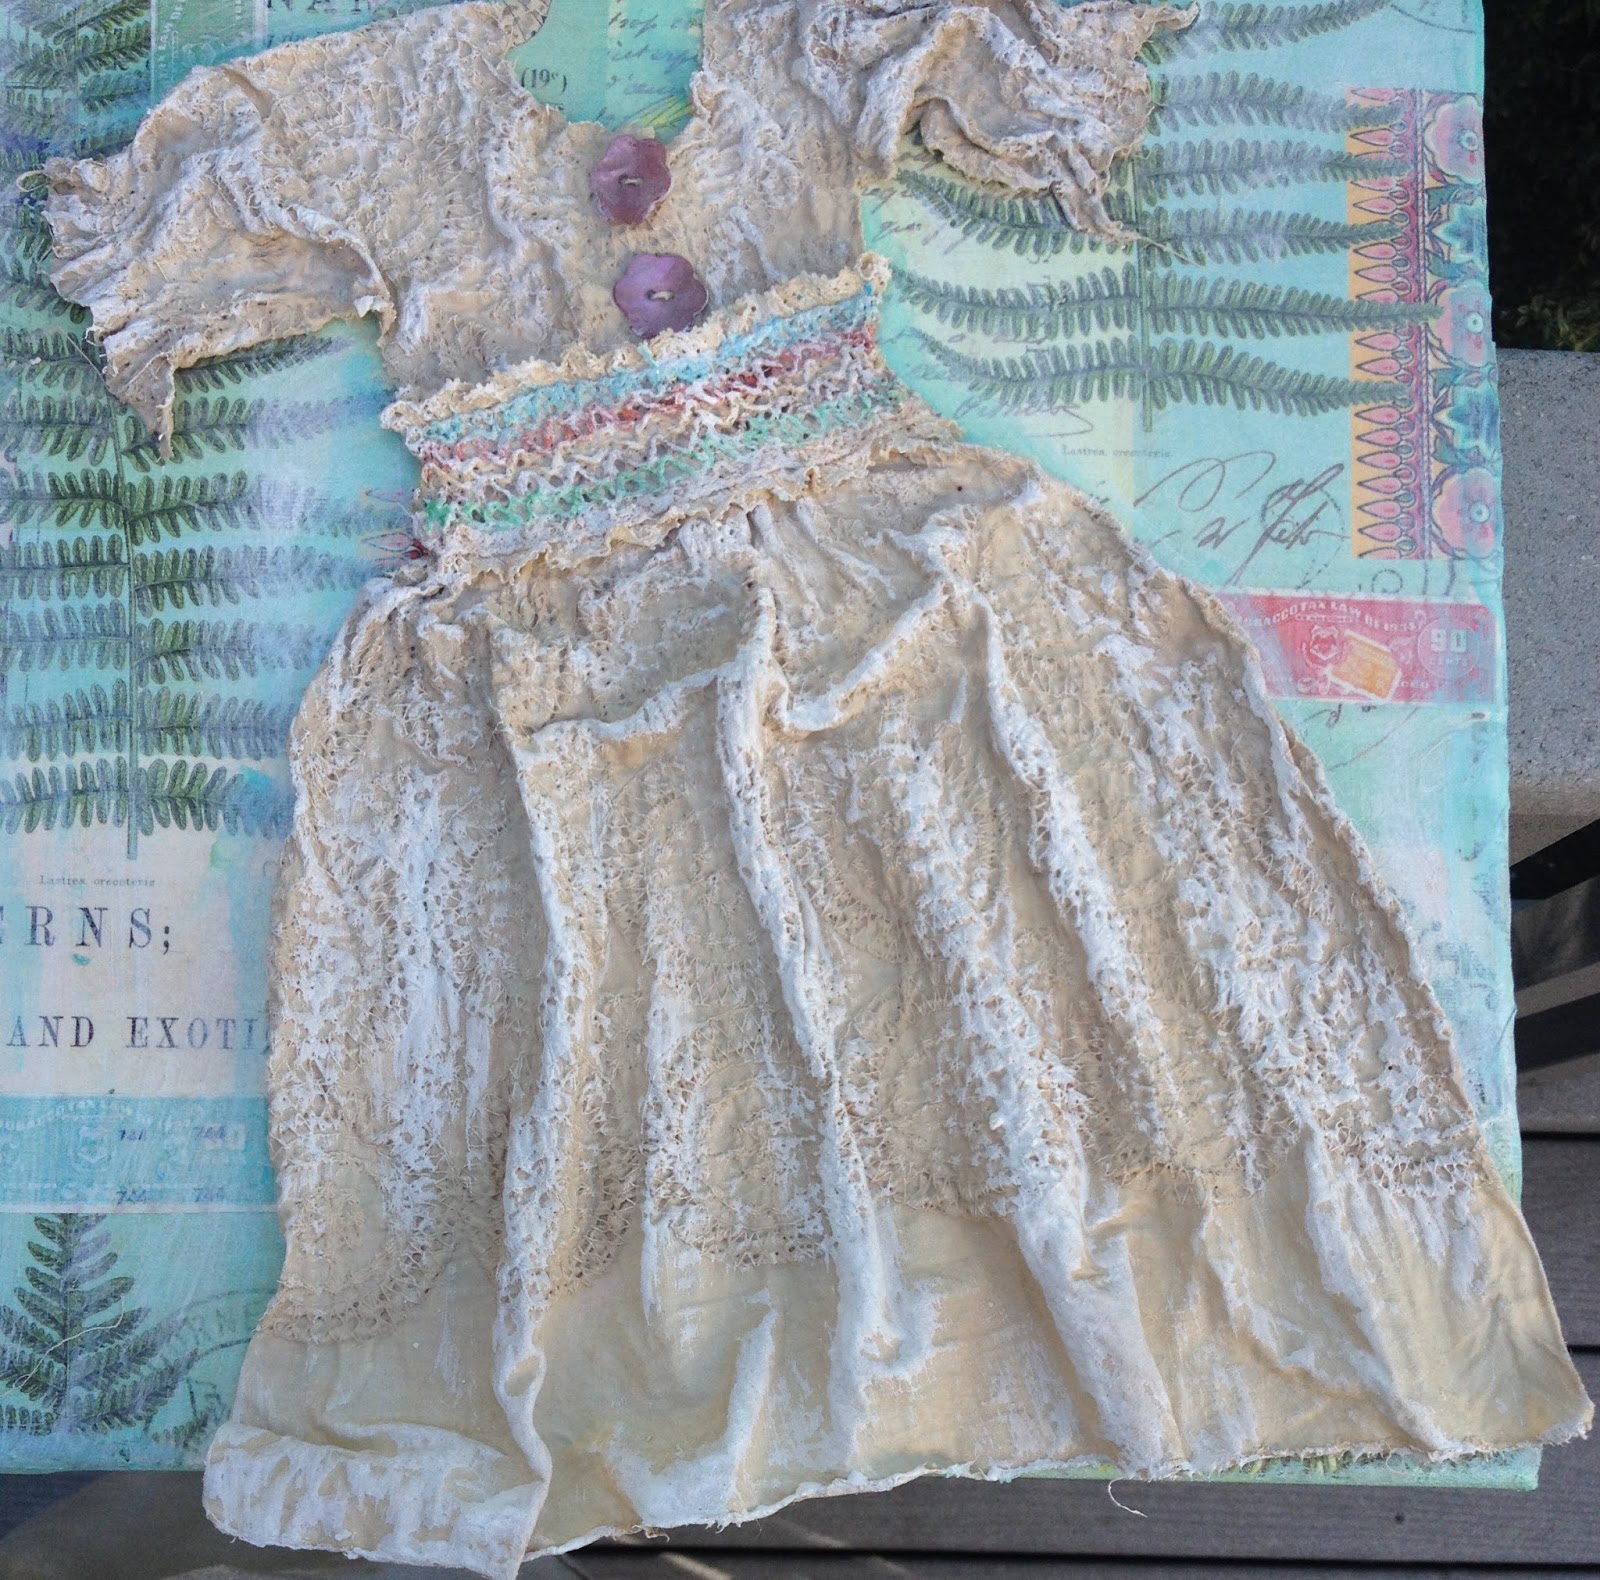
 A bit of smocking trim and a couple of buttons - and voila!  We have a dress!
 For the background i used a pretty piece of Cavallini paper - with a couple of scrap cigar lables added.
 I put the dress into a ziplock bag K had prepared.  It was filled with liquid nails.  I smooshed it around and then pulled out the fabric and removed the excess.  Then i laid it on the prepared canvas.  It sticks!  I used a skewer to arrange the folds of the skirt.
 After about 2 hours it was dry enough to paint or embellish.  I just added some white gesso brush strokes to highlight the fabric.  Might add some more "stuff".
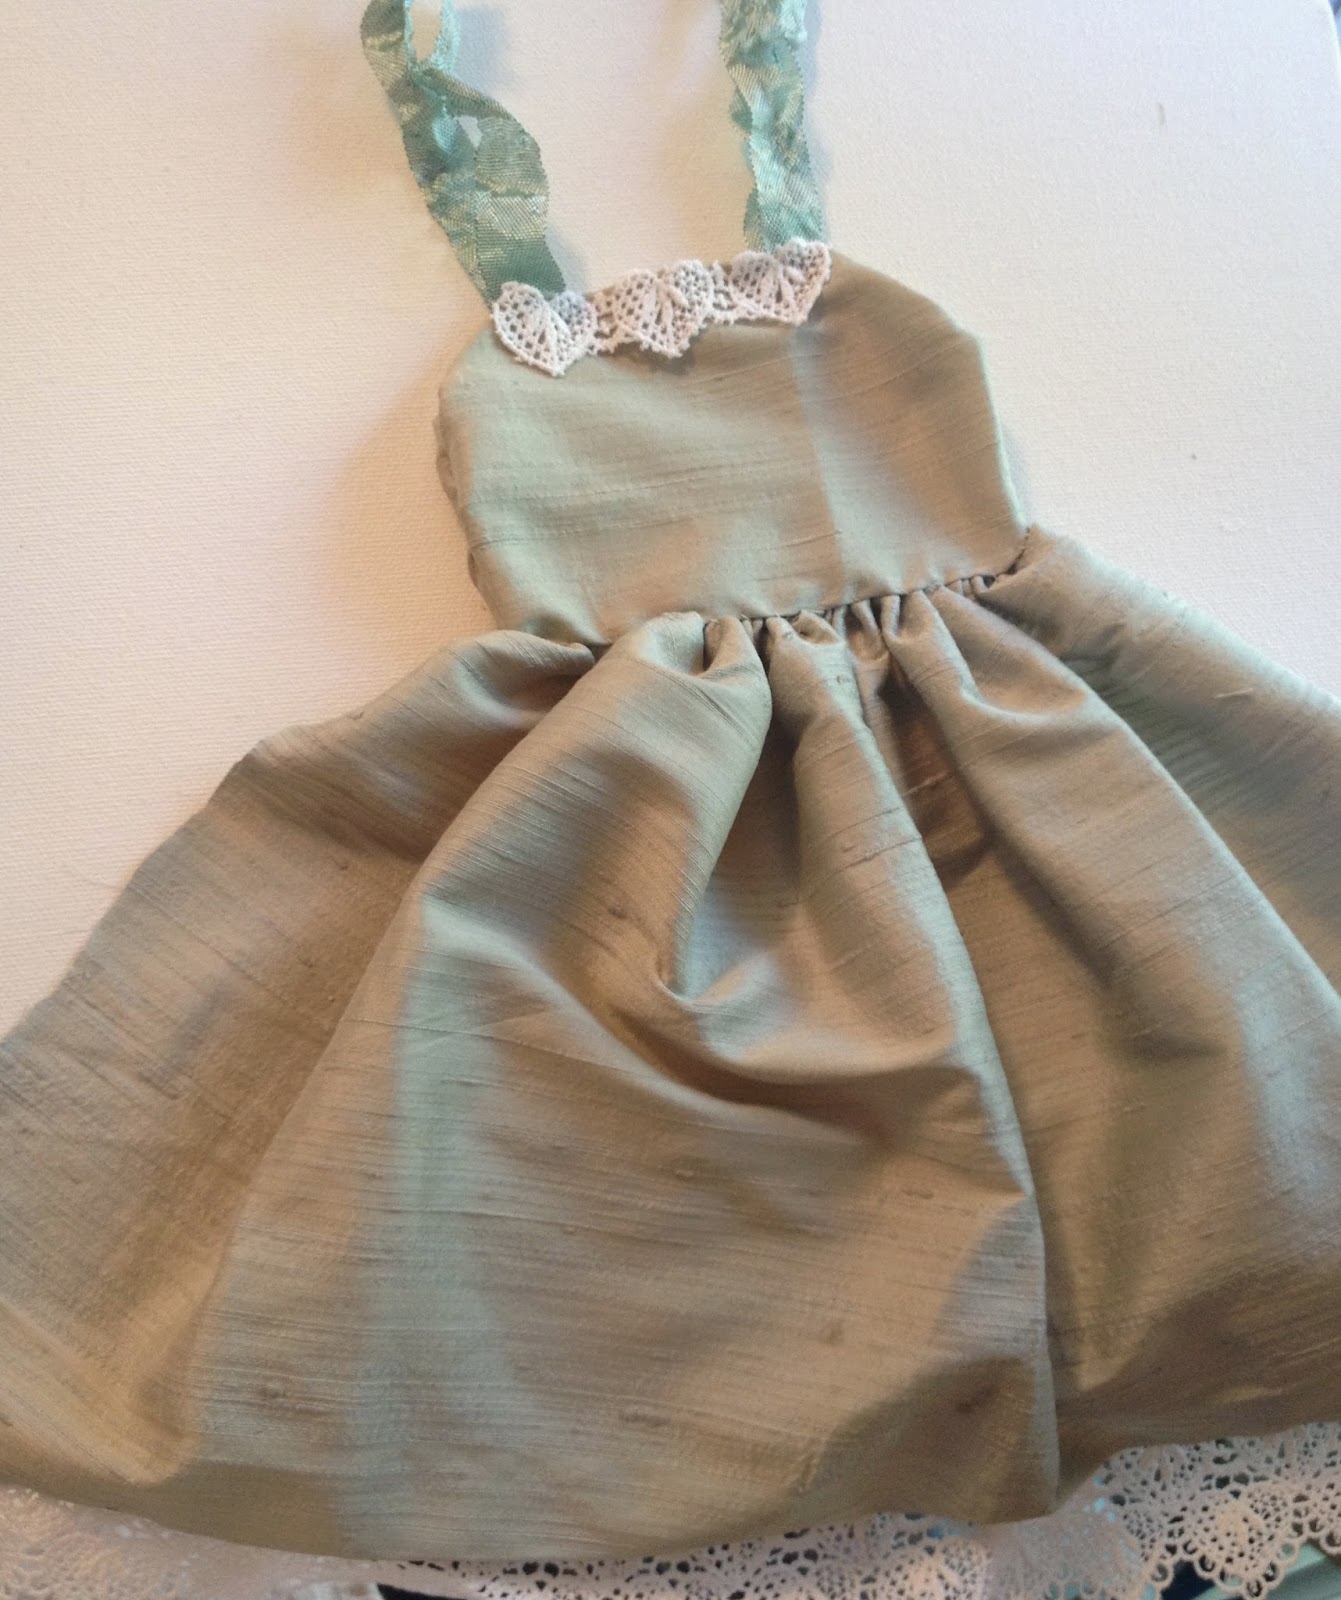
 For my second dress i used a scrap of blue silk from a discarded cushion.
 I cut out a rectangle and gathered it up for a skirt.  Then i created a little bodice with lace trim.  Some vintage seam binding ribbon for straps.
For the background i collaged wall paper scraps onto a 12 x 12 canvas.  then added some text and sheet music.  I left the center blank - thinking it would not show anyway..!
 I placed the dress in a ziplock bag of fabric stiffener and laid it on the canvas.
 It took about 2 hours to dry and it turned green!  It was also pretty transparent - like the texture of sea weed or deep fried spinach.
I added a bit of blue glaze to the dress which puddled in the texture of the fabric.  I am not sure if i am "finished" - i might tone down the white lace with tea stain and add more embellishment to the canvas.
But all in all a really fun play date with my art peeps!

Sunday, August 26, 2012

Plaster Play Date

 Way back in June we had the pleasure of a fun filled play date at K's. we were waiting for nice weather so we could play outside - with PLASTER! (it took so long to update this post since Google informed me i had RUN OUT OF SPACE!)  Here are all the great pics of our wonderful creative day. 
We started with applying plaster of paris to canvas boards, or planks of plywood.  You mixed it with a stick in a cup to the desired consistency (whatever that is!)  and applied with a trowel.
 We also did some with pre-mixed joint compound.
 Then we stuck doilies into the wet plaster.  it was a difficult thing to do.  It had to be wet but not too wet.  You had to let it sit - but for who knows how long.  I did this one and it was perfect.  I tried a second and it was a disaster - i had to re-do it three times!  It all depends on the temperature, (ie it got hotter as the day wore on) the humidity, how much water was in your plaster, etc.
 Here is S. trying the doily technique.
 For these thin boards K. used masking tape to create a border to catch the plaster.
 Here is one i did with joint compound on a wooden board.  I wanted to take out the metal swirly things- but they did not leave a good impression - so i left them in!
 Here is another look at S.'s with some added stencils to create more impressions.
 This is K's with various scratches and marks - including a key.
 I think these were Z's getting started on textural backgrounds.
 Here is another one of mine with an assortment of doilies.
 Here is a large doily on wet plaster.
 We broke for lunch - and what a lovely lunch it was!  Here are little cream cheese sandwiches with a little rose petal garden on top!  there were two kinds of flavored waters and a salade nicoise layered in a jar!
 And a watermelon feta sandwich in the shape of a watering can!  Notice the playing cards with our initials marked our places at the table.
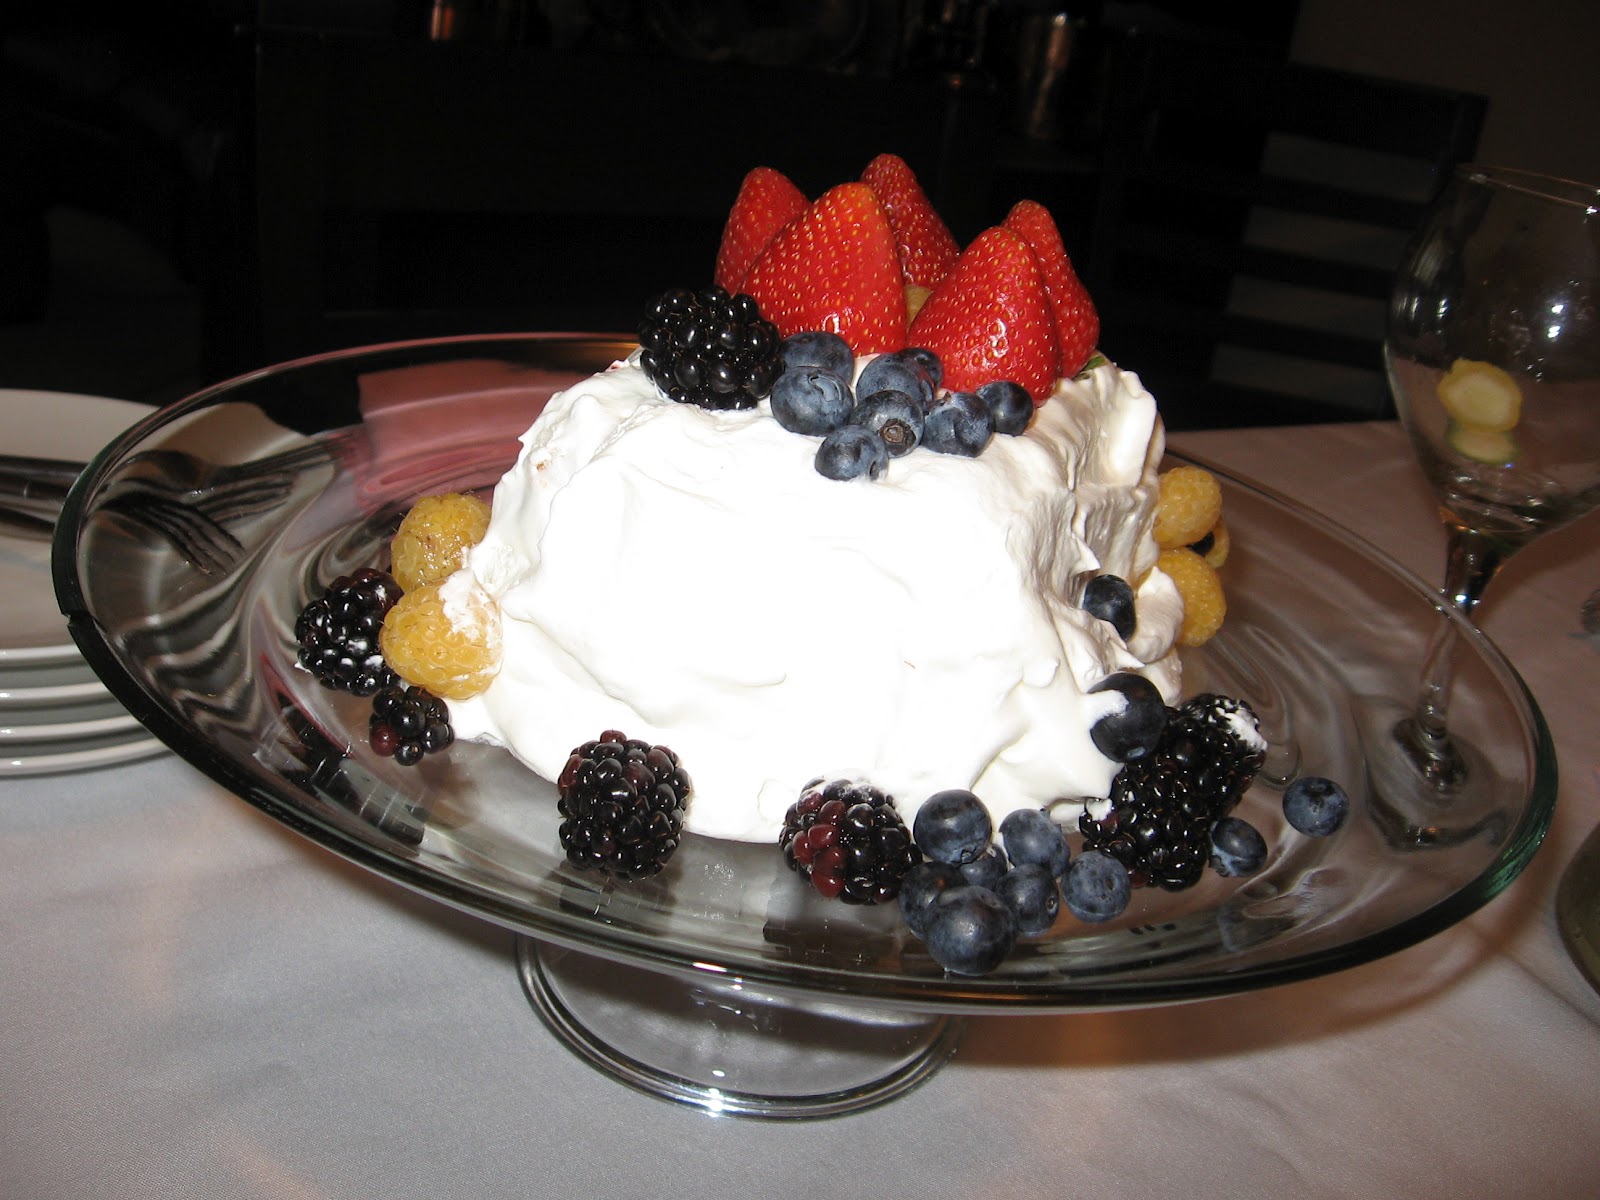
A slice of cake with whipped cream and fruits finished off our delicious meal..
 Here are S's textured boards after washing with paints and adding some fibers.
 Here are two of mine after painting and scratching them up to reveal the plaster.  The doilies on the right- perfect.  On the left?  not so much.
Here is one of my square doily patterns painted to evoke the colours of a shell.
And here is the other - a little darker.
 Here are Z's finished pears.
 And this colourful piece done by layering paint and using gel medium in between to act as a release.
And this one shows some great stencil patterns and some metallic paint.
Here is on of S's completed pieces.  Or maybe not!  Sometimes a little bit more is just the right thing!
Here is another of S's richly textured pieces.  You can see the doily impressions in the background and the stencils in metallic paint on top.
 K completed three frescoes.  This technique was a little different.  It is plaster on heavy paper.  you bend it and it cracks.  Here she painted some pretty cherry blossoms.
 And here is another of K's with a lady in a yellow dress and umbrella.
And finally K's ballerina in motion - with some dark tones adding drama to the background.