Showing posts with label petaluma. Show all posts

Monday, July 13, 2015

Mason Jar Luminary

I had the pleasure of attending another one of Cathe Holden's workshops 
at her inspiration- filled barn studio in Petaluma, CA.  
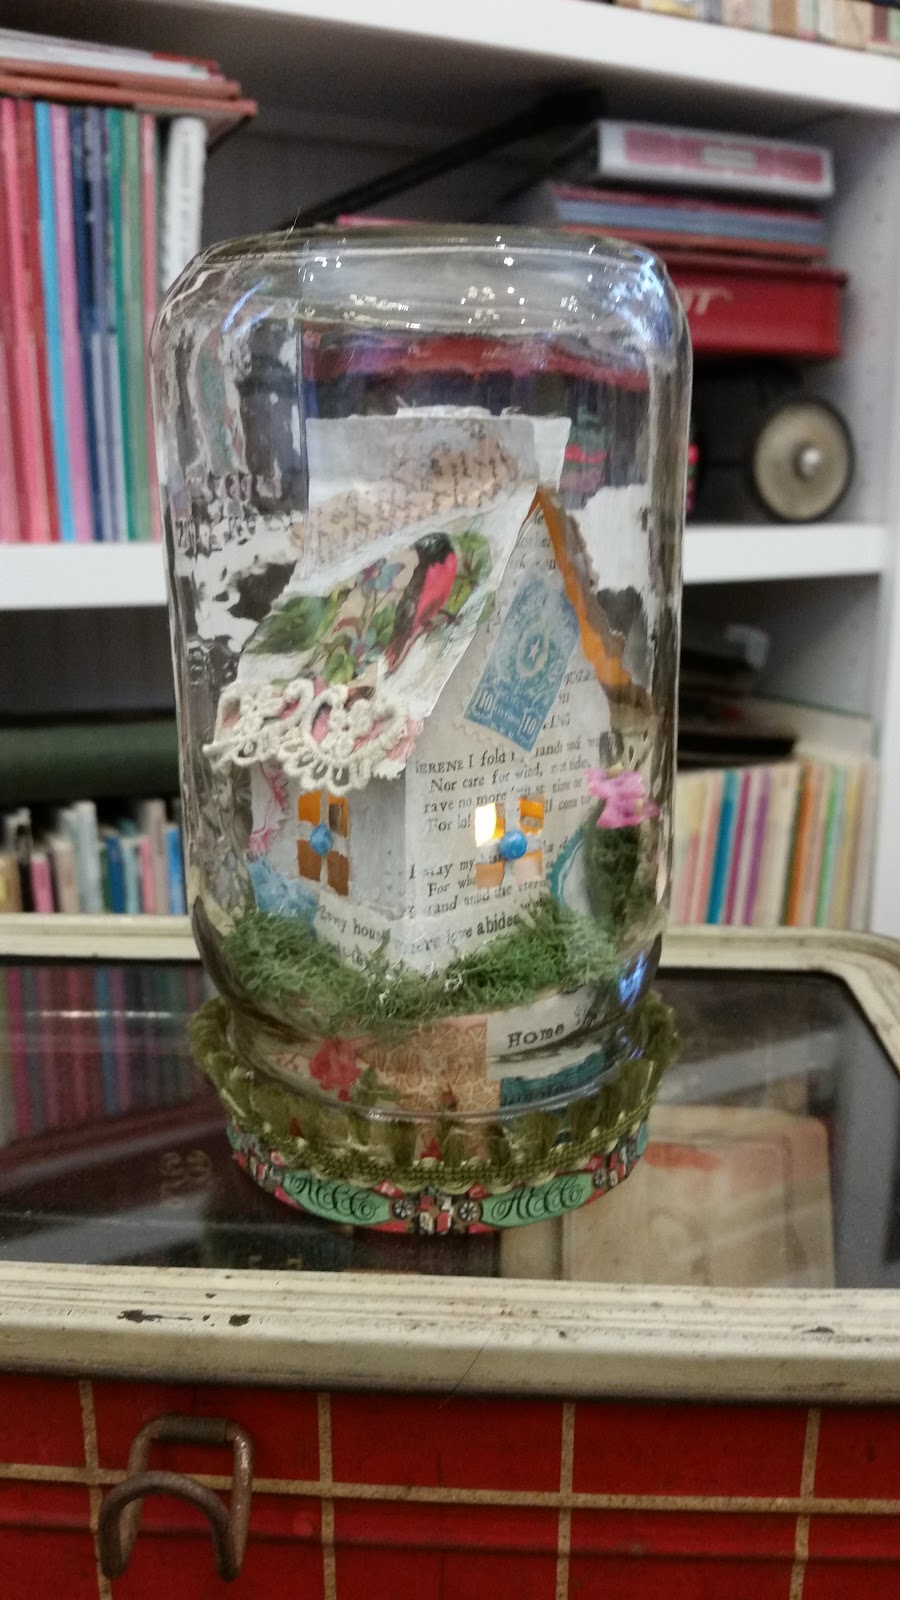
The project was a mason jar luminary with a paper house, mossy base, vintage collage elements and a wire and pearl bird's nest.
Here are the class samples.
And some samples of the bird's nests.  SOO cute!
Here is a picture of our kits - Cathe is so precise and generous with the materials - everything we need is included - you don't have to bring so much as a pair of scissors.  
As a graphic designer, she designed some the collage elements to print on 
vintage sticker paper!
Here is the house template all cut out.  I learned how to make these cute houses at Cathe's house luminary workshop last Christmas, you can see HERE.
Here are my bird's nests.  
I found them a little bit messy, but they are so easy to make and look adorable!
Here's the lady herself!
Here is my luminary project completed... from all sides:


Here are some of the other student's work in progress:


Here is a shot of the whole glass gleefully holding up their creations:
Thanks Cathe for another fun filled visit to your magical studio!

Saturday, May 2, 2015

Michael deMeng Workshop - Nautical Oddities

Michael deMeng
 I have been hearing about Michael deMeng for years from my art friend D.  I finally got up the courage to take a workshop with him at Art is You Petaluma.  Since i don't really "do creepy" i was concerned how i could interpret his style for my own aesthetics.  Here is his class sample.  he is known for creating creatures from assorted body parts, and toy animals, and lizards and general creative junk.  I like things that are robin's egg blue and pretty......
 So here is how i started out.   See the contrast of our styles?  I bought a pretty mirror online,  for its watery wave pattern and weathered blue colour.  I found  a copy of a vintage ad featuring sunbathing mermaids,  and a dollar store barbie-style mermaid doll.
 I glued the image to the mirror and added large glass marble stones to create "water".  I painted it all cobalt blue.
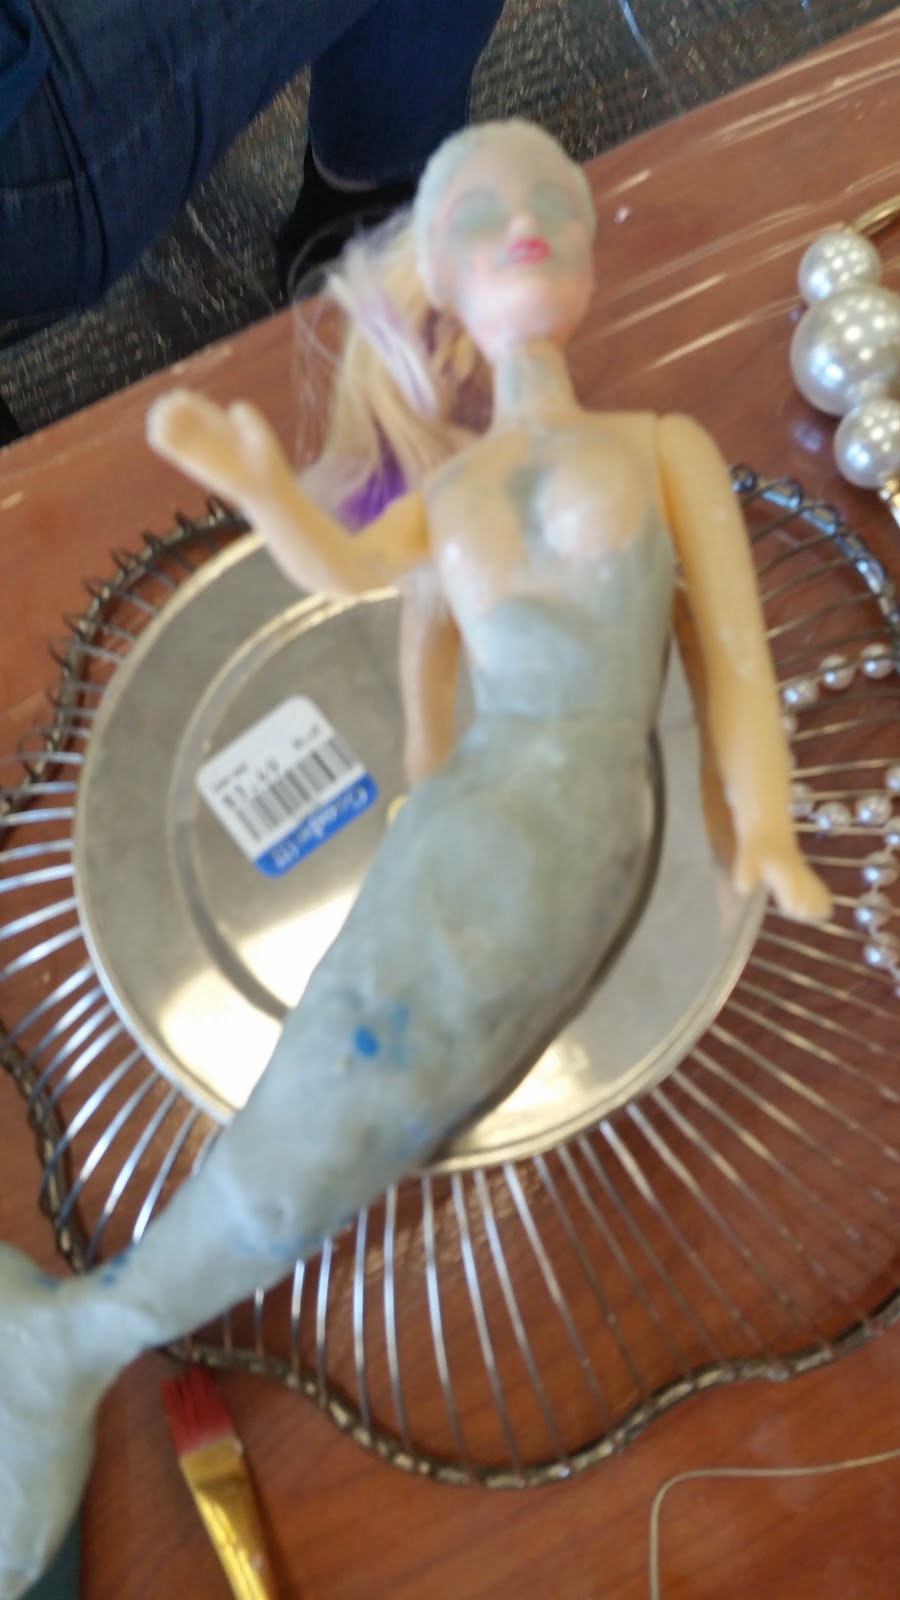
 Next i went about concealing the fact that my doll was plastic,  by covering it with two-part Aves epoxy - a deMeng "must have" craft tool.  I also gave her  more of a curve in the waist.  She is sitting on a Goodwill silver plated bread basket - which i cut the bottom out of using the scary electrical tools that are de rigueur in a deMeng class.  
Let the sparks fly people!  Seriously - there were flying sparks like EVERYWHERE.
 Here you can see where i was going.  the basket creates a sort of porthole effect over the mirror and the mermaid curves along side of it.  The jagged bits of metal are concealed in a layer of epoxy.   I also added a small glass box filled with pearls - for my sunken treasure.  It is attached with wire using holes drilled in the mirror.  Drilling is fun!
 Here is the Doctor demonstrating his potions:
 An array of colourful paint and glaze recipes - like Yooge (as in the Usual) and Scary Baby Doll.
 Here is my mirror with some added texture featuring Dap - a bathroom tile caulk.  
I added some brass pieces and some pointy shells.
 A few coats  of paint and glazes and it is starting to come together.
 I went full on clay epoxy on the mermaid - still need to deal with her face and hair.  And paint her some more.  and find some mermaid appropriate pasties.
 Here is Michael doing his critique of the student's work.  there was a quite an assortment of nautical oddities in that room, let me tell you...!  But he had such lovely comments and suggestions.
 Please note the other students work is here at various stages of completion.  but what delicious imaginations people have!
Yes - that is a shell shaped powder room sink!
 the tail becomes sea weed.
wouldn't want to meet this at the lake.
Nor this.
 That jelly fish is so cool.
Scary baby doll anyone?
 Here is my piece laid out for the  critique - but not completely glued or painted. or resolved. 
 is it too dark?  not enough contrast?
You can see through the porthole to the mermaids frolicking inside.  that vintage pin still needs painting to make it blend in more.   

All in all a terrific experience.  The lessons about paint and construction of assemblage, not to mention the use of power tools was very enlightening.  He is funny and makes you feel very special and gives you lots of attention.  Be aware though - he doesn't really tell you WHAT to make.  it is more about HOW to make it.   You have to come to class with your own supplies and ideas.  But check out his work here and online.  
you cannot help but be intrigued.
 Michael deMeng
 Michael deMeng
Michael deMeng

Diana Frey Mata Hari Doll Workshop

 This is the class sample for the workshop i took with Diana Frey at Art is You Petaluma.  So beautiful.  Can't wait to get started.  We were told to bring a thrift store doll and some accessories - let's see how it's done....
 Here is the instructions for the class.  I always appreciate the extra nice touches.
 Here is my doll - clothes and hair removed.
 First step - cover all the cloth body with Slug and Snail Copper Tape.  Apparently no longer sold at home Depot because it is cruel to the snails.... oops.
 Burnish well.  but a few wrinkles are ok.  like on my face.
 Next apply solder to the copper tape.  i may be talented and crafty, but i totally suck at soldering.  Seriously.  all that dark goop is burnt flux.  yuck.
 Luckily they make a product  to remove yucky burnt flux.  spray it on and  wipe it off.
 yay - shiny solder!
 Next apply black antiquing magic liquid to the doll.  it starts out clear and turns black on contact.  also turns you hands black.  and your cheek where you touched it with your black hands.
 Next wipe off the excess.  
(wouldn't it be nice if  we could lose weight that way?  
you know, by "wiping off the excess"??)
 Next buff with the special included buffing square until shiny.  like an iron maiden, only not nearly as scary and tortuous.
 While we are on the subject of torture devices, we made a cage skirt out of brass strips and little brads.  two of us in class had ex's named brad, but that is a whole other story....
Next paint the porcelain doll parts with white gesso.  two coats.
 Here is a random shot of the class all holding their alien looking silver and white creatures, like some kind of galactic assembly line....

 Next the teacher showed us how to paint the face.  lovely eyes - Diana makes it look so easy.....
 but isn't easy.  it is hard.  i did mine over and over and never had the patience to let them  dry so i kept smearing the irises.  they are all janky but somehow still look cute somehow.  I also went a little overboard on eyelashes, and her mouth is a bit too large.
 Homework assignment: bring home cage skirt and cover it with 7000 yards of priceless vintage seam binding.  then add little sprigs of ribbon, lace and tattered chiffon tied onto the skirt with more priceless vintage seam binding in an artistic manner.
 The next day the teacher let us get an hour in before her other class started.  She showed us how to decorate the headdress for the doll.  mine isn't finished.  there will also be some further embellishment around the bodice and neckline, and painted boots
.
I do love how her face turned out.  A final coat of extra thick glaze gives it a glossy professional effect.  and manages  to hide all the flaws.
Here is another teacher's sample.  a beautiful painted doll head on a vintage bottle.
really lovely  - we must try this!

Here are some more of Diana Frey's whimsical dolls.  I really enjoyed our workshop.  it was sadly just a tad too much to accomplish in one day,