Showing posts with label lace. Show all posts

Saturday, May 2, 2015

Diana Frey Mata Hari Doll Workshop

 This is the class sample for the workshop i took with Diana Frey at Art is You Petaluma.  So beautiful.  Can't wait to get started.  We were told to bring a thrift store doll and some accessories - let's see how it's done....
 Here is the instructions for the class.  I always appreciate the extra nice touches.
 Here is my doll - clothes and hair removed.
 First step - cover all the cloth body with Slug and Snail Copper Tape.  Apparently no longer sold at home Depot because it is cruel to the snails.... oops.
 Burnish well.  but a few wrinkles are ok.  like on my face.
 Next apply solder to the copper tape.  i may be talented and crafty, but i totally suck at soldering.  Seriously.  all that dark goop is burnt flux.  yuck.
 Luckily they make a product  to remove yucky burnt flux.  spray it on and  wipe it off.
 yay - shiny solder!
 Next apply black antiquing magic liquid to the doll.  it starts out clear and turns black on contact.  also turns you hands black.  and your cheek where you touched it with your black hands.
 Next wipe off the excess.  
(wouldn't it be nice if  we could lose weight that way?  
you know, by "wiping off the excess"??)
 Next buff with the special included buffing square until shiny.  like an iron maiden, only not nearly as scary and tortuous.
 While we are on the subject of torture devices, we made a cage skirt out of brass strips and little brads.  two of us in class had ex's named brad, but that is a whole other story....
Next paint the porcelain doll parts with white gesso.  two coats.
 Here is a random shot of the class all holding their alien looking silver and white creatures, like some kind of galactic assembly line....

 Next the teacher showed us how to paint the face.  lovely eyes - Diana makes it look so easy.....
 but isn't easy.  it is hard.  i did mine over and over and never had the patience to let them  dry so i kept smearing the irises.  they are all janky but somehow still look cute somehow.  I also went a little overboard on eyelashes, and her mouth is a bit too large.
 Homework assignment: bring home cage skirt and cover it with 7000 yards of priceless vintage seam binding.  then add little sprigs of ribbon, lace and tattered chiffon tied onto the skirt with more priceless vintage seam binding in an artistic manner.
 The next day the teacher let us get an hour in before her other class started.  She showed us how to decorate the headdress for the doll.  mine isn't finished.  there will also be some further embellishment around the bodice and neckline, and painted boots
.
I do love how her face turned out.  A final coat of extra thick glaze gives it a glossy professional effect.  and manages  to hide all the flaws.
Here is another teacher's sample.  a beautiful painted doll head on a vintage bottle.
really lovely  - we must try this!

Here are some more of Diana Frey's whimsical dolls.  I really enjoyed our workshop.  it was sadly just a tad too much to accomplish in one day,

Thursday, August 29, 2013

Karen's Cloth Collage


I wanted to show everyone K's finished fabric collage.  Isn't it beautiful!  She started with a piece of natural canvas, added an ecru lace overlay and then played with an assortment of fabric patches and words stamped on bleached muslin.  Then she added some nice contrast with black felt hearts and checkerboard.  and finally some BLING! 
See more from our play date HERE.

Sunday, August 25, 2013

Fabric & Paper plus Sewing!

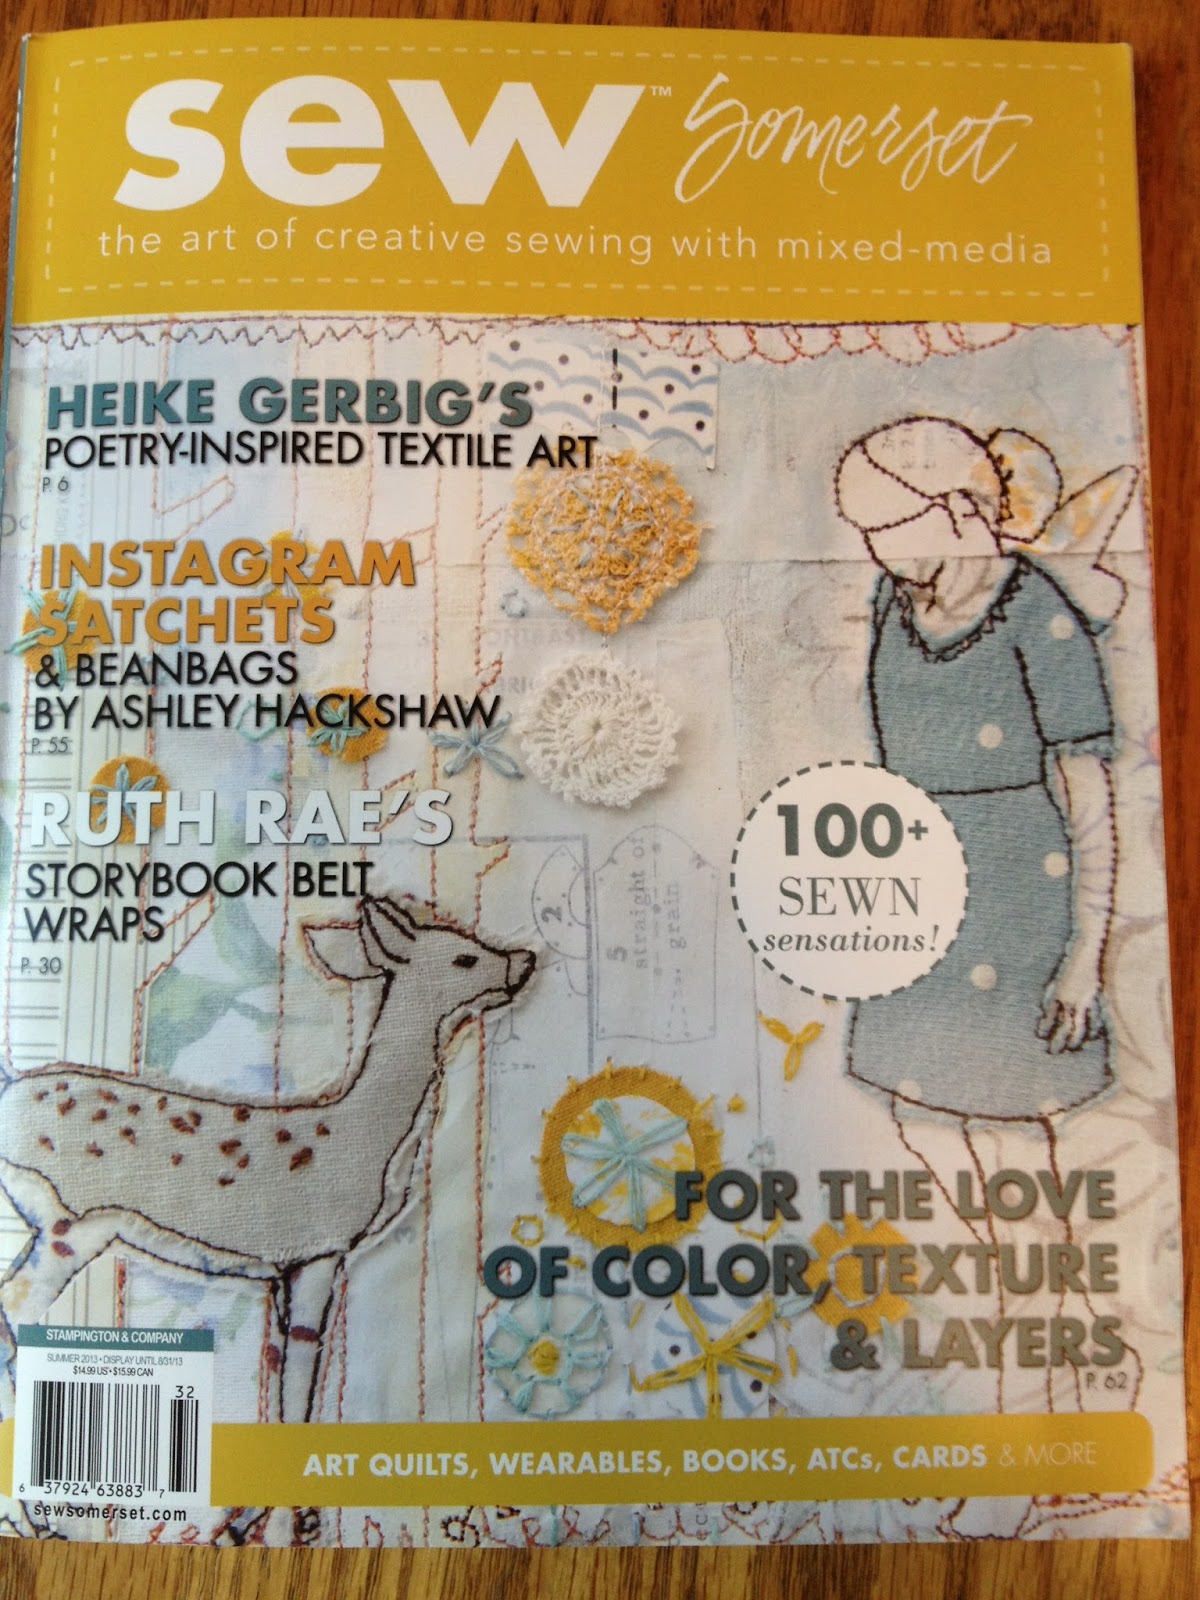
I spent the weekend with my friend K. and decided to explore the ideas in this magazine, SEW Somerset.
K. had book-marked a couple of ideas - the first was to make dresses on card stock.  
We were inspired by these paper and fabric party dresses by Collette Copeland. 
 K. made this dress - reminiscent of the dresses we made last year you can check out HERE.   I made the one shown at the top of the page. K. has yet to complete the composition - but look at the beautiful skirt made with torn fabric strips, test paper and lace.
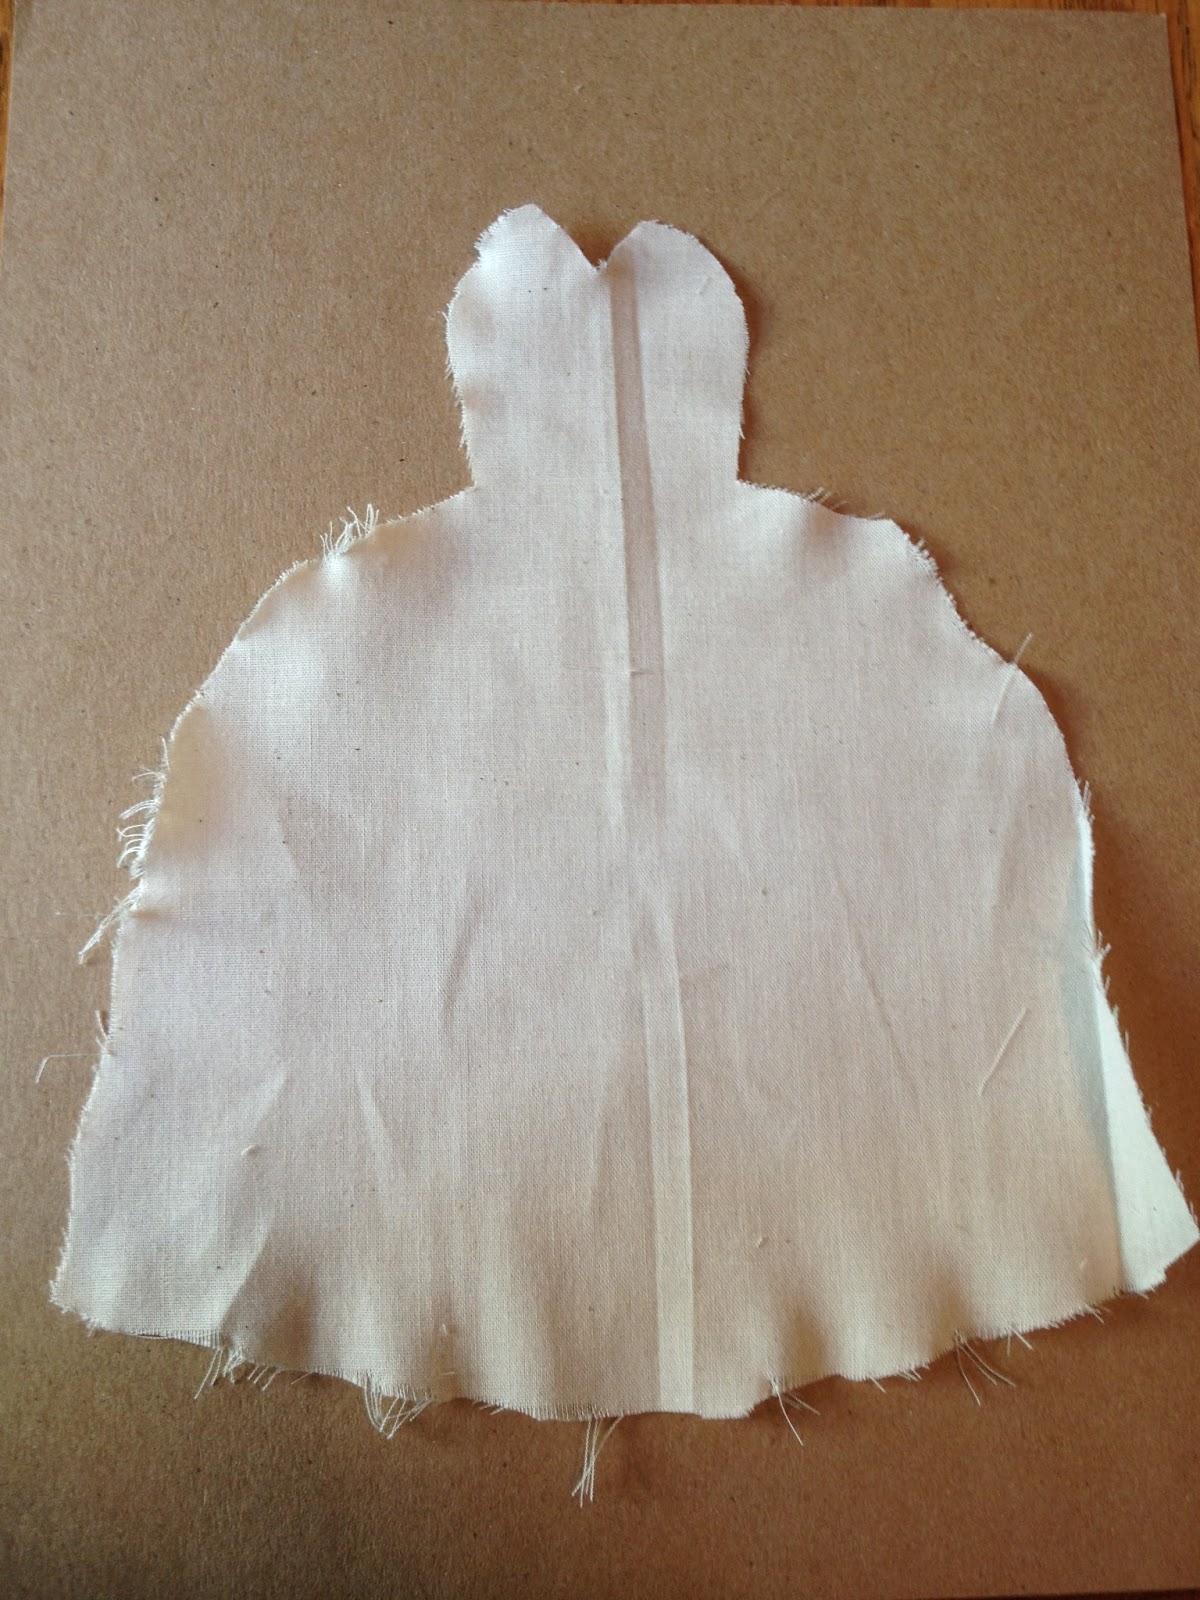
 For my next dress i started with a piece of muslin cut into a classic ball gown shape.
 I tore little bits of paper and added some fabric  - the black and white checks and the paisley butterfly.
 I glued it down with a glue stick then added bright red thread.  i don't know how to "free motion" sew - we just used a normal machine and rotated the paper to get around the curves.  i wanted it to look sort of messy and loose!
 Next based on the inspiration of the magazine - i wanted to make a dress/birdcage!  I used a vintage map image for the background.  added three fabric birds and a few other things thrown in.  then sewed the birdcage with the red thread.  i added some stitch lines around the birds with a black sharpie pen.
 The next day i decided to add the frayed edge ribbon jauntily sewn on one side.
Next we both tried another idea from the magazine - a paper/fabric quilted wall hanging.
The piece shown was SEW beautiful!  by Kristen Robinson.
 I started with a heavy raw muslin background and laid on top various laces, fabrics and emphemera.  then added bits of lace and sayings stamped onto fabric with a brownish sepia ink.
 I sewed down all the larger pieces and glued down the smaller bits.  it is not quite finished - needs a few more chunky embellishments to fill in some of the empty spaces.
 K. started her wall hanging with a piece of muslin covered with ecru lace.  then she added patches of colourful pink, black and white fabric.  I love how she left visual "space" on the background.
Next she added words and phrases she had stamped on bleached muslin.  Touches of lace offset the bold black rick rack and felt hearts.  Thanks Somerset magazine for some great play date ideas.  And thanks K. for a great crafty weekend!

Saturday, February 4, 2012

Altered Composition Book Swap

I participated in a swap this month - whereby you were matched with two other people and had to create two altered composition books.  You mail one to each person, and they mail one to you.  Simple!  This was hosted by the same person who holds the altered matchbox swaps


 I started with two plain old dollar store composition books - black speckle on the outside, ruled pages inside. From conversions with my swap partners i knew i would stay in a fairly vintage theme - with one person requesting orange and other would default to my go to blue. the orange was a challenge at first - do i have enough orange? I sure do! It became clear rather quickly that i could make the theme all about butterflies. this would be a nice counterpoint to the second book about birds.
 Here is Beth's book.  I covered the cover of the composition book with assorted papers and lace and added birds cut from wrapping paper.  A silk ribbon is tied around the book with a pretty bow.
 Inside the cover i did a collage of 4 papers, including some french dictionay pages with birds on them, and added a pretty tag.
To carry the theme throughout the boog, on subsequent pages i stamped, collaged or added little birdie details like this.


 My goal was to make each page a delight.  But i did not decorate ALL the pages!  there were many left blank!
 Here is the back inside cover - using a page of handpainted deli paper and a few stamped birds.
Sorry this is tilted - but this is the back cover of the book.  Vintage wallpaper, sheet music and a collaged bird.
 Here is gretchen's book - she said orange was her favorite colour.  The cover of the book was done with a collage of papers and some sticky borders, a few lace medallians and a nice big butterfly wall sticker!  The hand dipped silk ribbon is tied around the center of the book.
 Inside the front cover i used a beautiful page from an anthropologie catalogue -a damsel surrouned by butterflies.  The facing page has some vintage ephemera and more butterflies.
 On subsequent pages i stamped and added more butterflies and envelopes.

 Inside each envelope was a little treat - some stickers or stamps.
 Inside the back cover was more hand painted deli paper (did i mention it glues beautifully?)
 The back cover was left black and white with assorted book pages and some alphabet washi tape.
Before putting the books safely in priority post flat rate envelopes, i wrapped them as "presents" with pretty coordinating wrapping paper, ribbons and for Gretchen, adorned with a glittery butterfly.

And here is Beth's book in the soft blue and aqua pallette i love so much.  This is the same wrapping paper i used to cut the birds on the cover of her book.  pretty organza ribbon and wee bird charm complete the package.
I'll write about the lovely books and goodies i received in return soon!