 |
| Michael deMeng |
I have been hearing about Michael deMeng for years from my art friend D. I finally got up the courage to take a workshop with him at Art is You Petaluma. Since i don't really "do creepy" i was concerned how i could interpret his style for my own aesthetics. Here is his class sample. he is known for creating creatures from assorted body parts, and toy animals, and lizards and general creative junk. I like things that are robin's egg blue and pretty......

So here is how i started out. See the contrast of our styles? I bought a pretty mirror online, for its watery wave pattern and weathered blue colour. I found a copy of a vintage ad featuring sunbathing mermaids, and a dollar store barbie-style mermaid doll.

I glued the image to the mirror and added large glass marble stones to create "water". I painted it all cobalt blue.
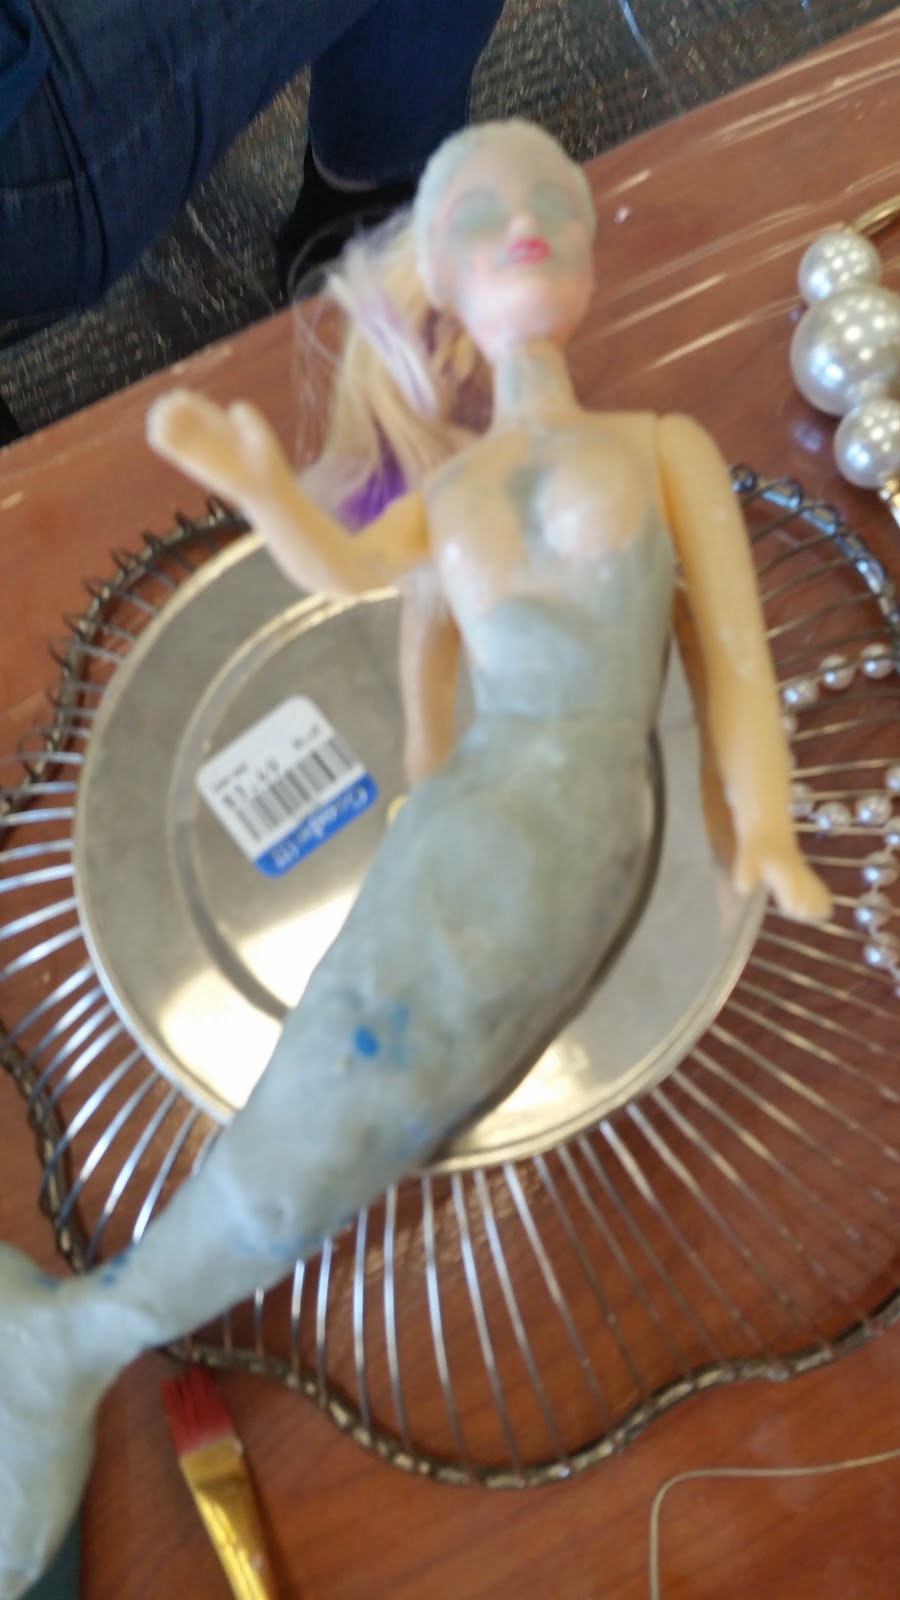
Next i went about concealing the fact that my doll was plastic, by covering it with two-part Aves epoxy - a deMeng "must have" craft tool. I also gave her more of a curve in the waist. She is sitting on a Goodwill silver plated bread basket - which i cut the bottom out of using the scary electrical tools that are de rigueur in a deMeng class.
Let the sparks fly people! Seriously - there were flying sparks like EVERYWHERE.

Here you can see where i was going. the basket creates a sort of porthole effect over the mirror and the mermaid curves along side of it. The jagged bits of metal are concealed in a layer of epoxy. I also added a small glass box filled with pearls - for my sunken treasure. It is attached with wire using holes drilled in the mirror. Drilling is fun!

Here is the Doctor demonstrating his potions:

An array of colourful paint and glaze recipes - like Yooge (as in the Usual) and Scary Baby Doll.

Here is my mirror with some added texture featuring Dap - a bathroom tile caulk.
I added some brass pieces and some pointy shells.

A few coats of paint and glazes and it is starting to come together.

I went full on clay epoxy on the mermaid - still need to deal with her face and hair. And paint her some more. and find some mermaid appropriate pasties.

Here is Michael doing his critique of the student's work. there was a quite an assortment of nautical oddities in that room, let me tell you...! But he had such lovely comments and suggestions.

Please note the other students work is here at various stages of completion. but what delicious imaginations people have!

Yes - that is a shell shaped powder room sink!

the tail becomes sea weed.

wouldn't want to meet this at the lake.

Nor this.

That jelly fish is so cool.

Scary baby doll anyone?

Here is my piece laid out for the critique - but not completely glued or painted. or resolved.
is it too dark? not enough contrast?

You can see through the porthole to the mermaids frolicking inside. that vintage pin still needs painting to make it blend in more.
All in all a terrific experience. The lessons about paint and construction of assemblage, not to mention the use of power tools was very enlightening. He is funny and makes you feel very special and gives you lots of attention. Be aware though - he doesn't really tell you WHAT to make. it is more about HOW to make it. You have to come to class with your own supplies and ideas. But check out his work here and online.
you cannot help but be intrigued.

Michael deMeng

Michael deMeng

Michael deMeng


