Showing posts with label shadow box. Show all posts

Monday, September 10, 2012

Altered Blocks Play Date

Sunday afternoon and another creative adventure with my gal-pals.  We created "block heads" - or wooden blocks altered with faces.  Our inspiration was the work of Andrea Matus deMeng, wife of Michael deMeng.  Our friend D, is a huge fan of his and has several of his works.  She recently purchased two of Andrea's pieces and it was based on her art (along these lines) that we planned our play date:
Art work by Andrea Matus deMeng
Essentially it is a thick block of wood, about 3" by 5" mounted inside a shadow box.  The effect is quite magical but easily interpreted by amateurs!  You need a face and some paint or paper to create a background.  Then you add "doo dads" to create a headdress, collar, wings, breast plate - whatever you can think of!  While her pieces are quite dramatic and intense looking, we managed to interpret the concept in our own style!


D. happened to have a supply of old children's blocks for us to use.  One was 3" square and the other about 3 by 1.4".  We used to these to build our block heads.  A quick sanding and a coat of gesso for me.
I started by adding collage papers to the square block: sheet music, Florentine scroll, napkins.  My intention was to do a different face on the second block.  But as you can see above - it became the "body" for my face.  the face was cut from a vintage photo printed on matte photo paper - excluding her hair.  Next i added feathers from a butterfly for a headress and added a metal crown charm.  Next two gold birds were added above her eyes to help frame her face.
I covered the smaller block in paper and glued it below her neck. A large gold butterfly creates wings, or perhaps a cape?  An aqua marble stone is a brooch holding it on. A sort of skirt was created with a large gold filigree earring with dangling aqua feathers. On top i added a fimo clay element that had been stamped with the word ART before baking.
The whole thing will be mounted on a sturdy card stock and inserted into a shadow box frame, or possibly a elongated cigar box.
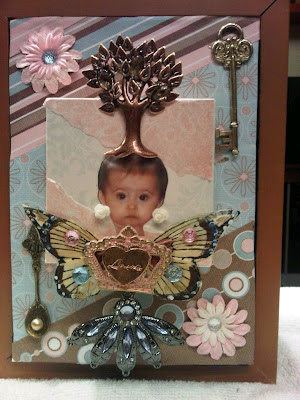
Here is K's pretty little angel, her granddaughter.  Her face was glued onto a paper covered block and delightfully embellished with a copper tree of life on top of her head.  A butterfly and crown, and cute little rose earrings were added.  Then she was mounted the block into a collaged background, further adorned with flowers, a key and a little spoon.  And some bling!  Young or old, a gal has to have her bling!  It will all be placed inside a wooden shadow box.
Here is D's whimsical block - as you can see used the block on the diagonal. First it was brightly painted and stencilled. Her face was from a magazine and an umbrella became her skirt.  A colourful butterfly centers the piece.  A brightly jeweled earring because the headdress and the block is glued to a vintage ruler - which conveniently has a hole at the top to hang it, and another at the bottom to add a metal earring.  A paper cut out Saturn was glued to the disc as the final touch!
Here is Z's work in progress - King Crow!  Yes - on her painted black block, that's Elvis's face beneath a pair of painted nail scissors acting as eyes and the beak of the crow.  His glossy black hair has been enhanced with some iridescent black feathers with a greenish shimmer.  Going with a Halloween theme, Z used a shadow box as a base.  She added different orange papers, including a paint chip to fill the sections.  The word C-R-O-W is spelled out with assorted letters.  Some sticker tape bats line the edges.  Z plans to add some birds nests made out of wire with eggs to the bottom section.  Isn't this cool?!

Monday, September 5, 2011

Mini Shadow Box Play Date

 My friend and neighbour Z. hosted a craftapalooza play date weekend.  She started by setting out supplies all around her spacious kitchen.  Including artfully arranging snacks!  how cute is this "paint pallet" of m'n'm's in a muffin tin?  we enjoyed a nutricious breakfast of fruit, yogurt and pastries and then got to work collecting supplies.
 We were given instructions to not bring anything - that she wanted us to share her loot.  Here are all the chunky doodads in little dishes and jars displayed on a painted cabinet.
 Here are the ribbons, flowers and lace.  K. brought her collection of paper flowers to add to the festivities.
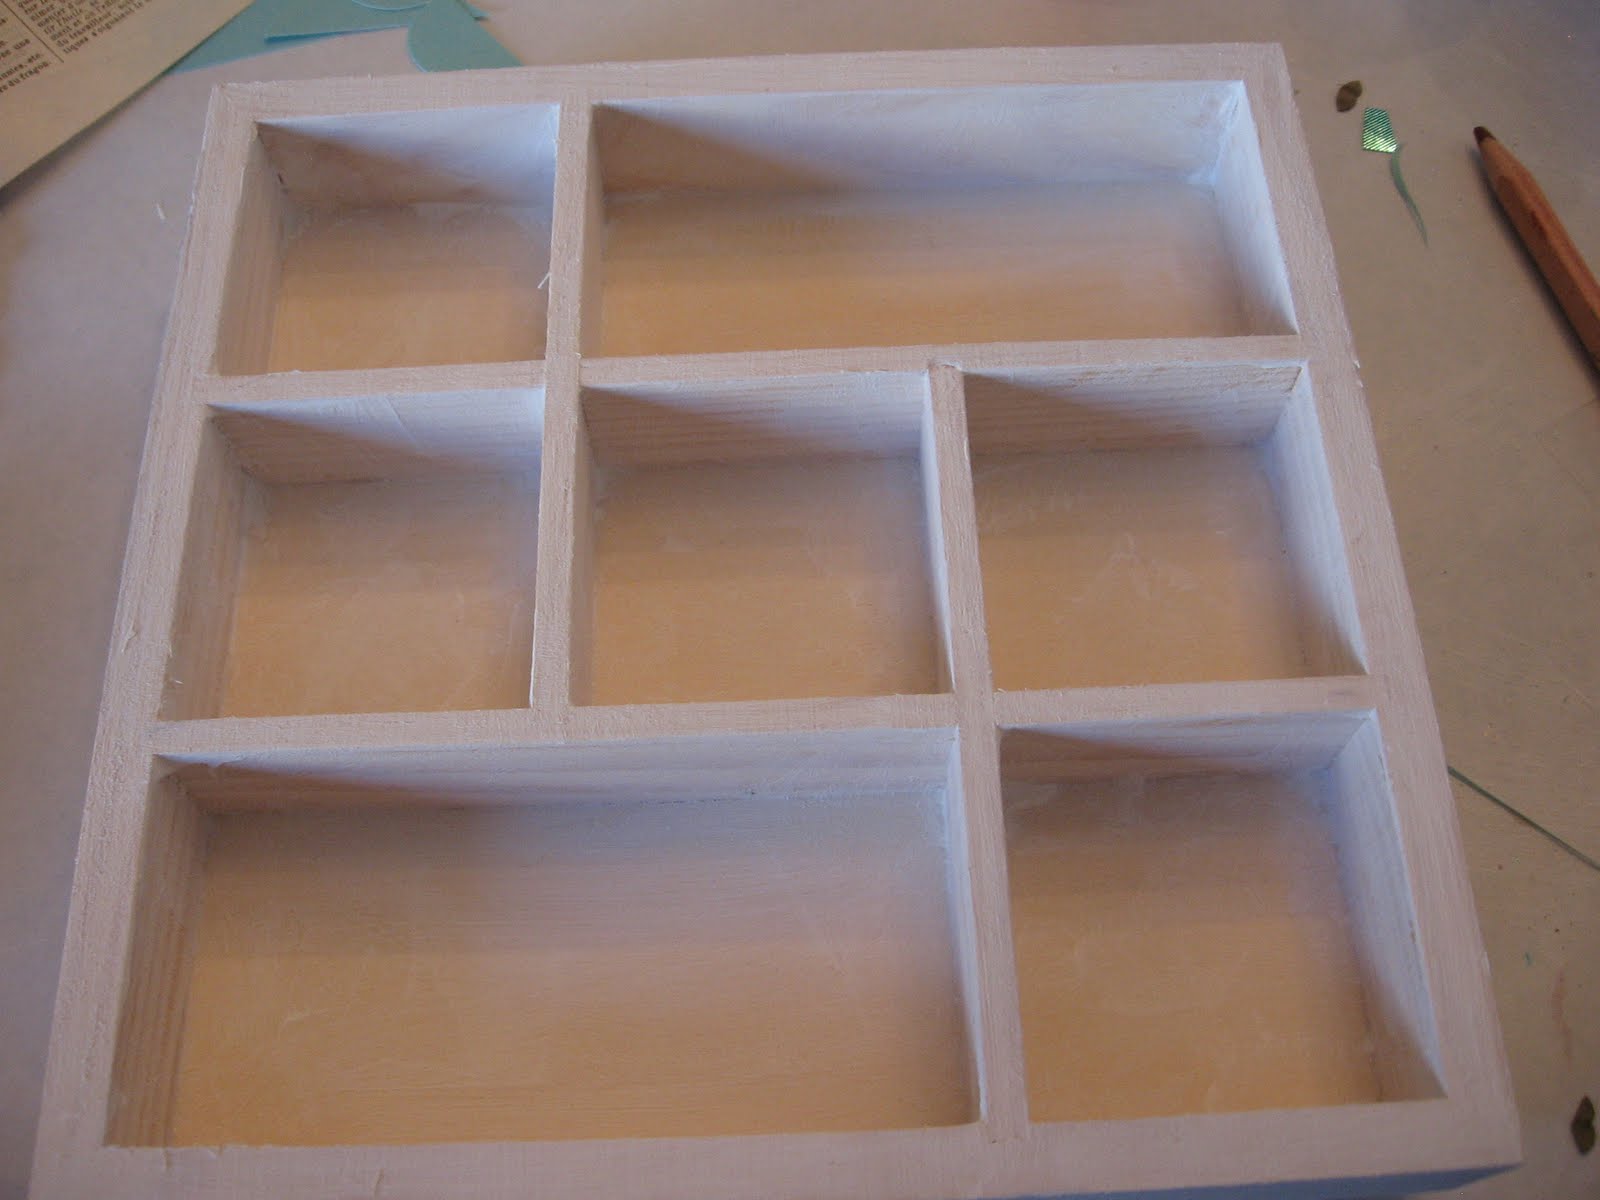
 Here was our project "before".  two mini shadow boxes about 7 inches square.  From the DOLLAR STORE! - Yup, a dollar each.
 Here is my box - not assembled - just trying things out for size and pattern placement.  I kind of cheated.   Another artsy friend gave me a stack of ATC's she no longer wanted - so i just cut them into 2" squares and used them for backgrounds.
 Here are the ATC's and other pretty papers cut to size and glued into the compartments.  I should mention i gave the shadow box a quick coating of white gesso.
 I picked up a blank paper weight at an estate sale on Friday - so i created this background while taking a break from the shadow box.  Pretty background paper - a bird cut from a stamp, another bird charm, some script paper, a vintage postage stamp, and a section of Z's grandmother's tatting.
 Next we broke for lunch.  On our place settings was a gift of some pretty napkins - perfect for future collage - especially with beeswax!
Z. prepared a delicious unconstructed Salade Nicoise.
 After lunch i put the finishing touches on my bird themed shadow box.  Yes - it is terribly cluttered - but filled with all sorts of fun things. There are bird stamps, bird charms, bird nests, bird images and plenty of non-avian things too.  A light dusting of brown ink around the edges, touched off with a bit of metallic paint addeed a nice aged effect.
 And here is my finished paper weight.  These things sell for big bucks at fancy gift shops.  I am so pleased how mine came together for about $2!
 Here is the start of my second shadow box, with a slightly different configuration. A light coat of white gesso to get started.  I had planned to use an assortment of vintage office supplies - cute little boxes and tools - but alas they were all too big for the small compartments.  I had already done a vintage neutral background - so i turned it into a masculine monochromatic shadow box.  Which incidently my husband loves!
 Here is the finished product. I used three authentic vintage photographs along side an assortment of ephemera - sears add for formaldehide, a cancelled bank check, the table of contents from a law book - which just happened to have my family name listed.  Then all the chunky elements like a watch face, optometrist lense, buttons and a key.  The phone and train locomotive are printed on transparencies.  It is hard to see from the photo - but everything is nicely layered for added depth.
 Here is Z's feminine box in progress.  She used an assortment of Melissa Frances papers for backgrounds.
 She carefully chose all the elements to place inside.
And here are the results - a pretty tribute to baby Sophie.  Z even made the tiny copper wire nest with pearl beads! 
 L. made this fun beach themed box complete tieh rick rack trim, shells behind mesh, a little vial of sand, some pebbles and pretty rosey hues - what a nice change of pace from traditional blue.
 L. also made this contemporary styled box with some of the compartments painted green.  Love her white painted stitching and the use of measuring tape. Those french vocabulary pages add a bold graphic statement.
 K. made this shrine to all things bling!  She stained her box and added faded background papers that evoke wall papers from a bygone era.  Then centered a piece of vintage jewelry to each section.  She cannot decide whether to give it away (the original plan) or keep it for herself!
K. also made this charming shadown box as a tribute to her husband who is spending the summer traveling to race car events all over the country.  yeah, like the Indianapolis 500 and Bonneville speedway. Each of those maps is a place he has been, enjoying the fruits of his retirement.  She is not finished adding cars and gears and other many embellishments - but what a fun way to document a memorable vacation!

Monday, September 15, 2008

Altered Book Round Robin Swap Fall 2008

Yes - we started up again - after a two month summer break. Carol, Shelley, Dorothy and I were excited to see each other again, share some cool art projects, swap books AND do a great shadow box project - all in TWO HOURS!

Note to my students: we are always on the lookout for new members of this group! If you can commit to a monthly book swap - we'd love to have you. Please contact the store to register.

First off the girls loved the new facilites at Scrapbook Territory. Needless to say - the shopping is great. I was just there a week ago to prep the supplies for my classes - and there were so many new things. We got settled in and Shelley showed us a canvas wall art piece she did at a workshop this summer. It featured using texture from cheesecloth and aluminum foil to create a background. Dorothy shared a blue themed altered book that came back to her from a lengthy mail swap she particpated in. Carol showed us a game board collage she made this summer at the ZNE event with Lisa Kaus. You can see a pic on her blog here.
We also got to see some pages left over from last spring's round robin - in the Calamity Family book and the America book. One of our artist friends moved away - and we'll send her America book back east. And she sent us the Calamity book with her pages done. Interestingly i did a spread in that book, taking creative license to invent a story about the Galveston hurricane on 1900. I wrote about it here.
Next we introduced our NEW books to the group. My Music themed book was described here. Carol's book is called My Party. You will create a couple of spreads that describe a party - real or imagined. What a cool concept. I get to work in this one this month - and i have LOTS of ideas.
Dorothy's new book does not have a niche or drawers. Dorothy is the QUEEN of the niche - so it was quite a shock. But her book is a cute look at the art of Kissing! Shelley's new book is called Circus. She told a sad tale about preparing the letters for the title and as every collage artist knows, she dropped the letters and could not find the "I". You know how that is, you just had it a minute ago and now it is gone. aarrgghhh.
I'll post pics of those books in the coming months when i get to take them home to work on.
Next we got started on our workshop, an ambitious project to create shadow boxes using a variety of techniques. First we sprayed the bare wood boxes with Color Mists from Outside the Margins. Two or three colours in combination gives a lovely effect on the blond wood. I'd probably apply a layer of gloss medium to give it a bit of sheen.
Next we used Adirondak Ink to create a background for the boxes. Using a felt pad on a rubber stamp handle, we stamped three or four colors on gloss paper. This is a Tim Holtz technique you can read about on his blog. After you stamp the ink you can "work" it a bit using the blending solution. But to be honest - the ink didn't blend as much as it should have - even when using Ranger Industries gloss paper i bought especially. Yo Tim, what's the dill-y-o?
Anyway - it still created a nice granity background. A few dabs of glue secure it in the back of the shadow box. Next the real fun stuff. Applying the same Adirondak Ink on the GLASS of the shadow box. Here you CAN play with the ink and keep working it until you get the mottled effect you want. Then to top it off, we used Archival Ink, swirly transparent stamps with acrylic stamp pads to remove some of the ink. It is another Tim Holtz technique. I learned about it a few years back when i took some workshops with Tim at, you guessed it, ScrapBook Territory. Yeah - where i am now teaching. Does that put me in his league?? nah...
Anyhoo, to complete the shadow box - we need to add something to the box. The girls all used feather butterflies i brought along from home. I did a paper butterfly sample and wanted to try a sea inspired version - so i used shells cut from another Cavallini paper to go along with the blues and greens. A few bits and bobs decorate the outside the of the box.
These all came out awesome - although with varying degrees of clarity. I think Shelley's version using a lot of yellow ink was the easiest to see through. I think i'll try one using those colours. I hope i still have some feather butterflies flying around.....!