Sunday, September 8, 2013

Daring Adventures in Paint

I started an online course with Mati Rose McDonough called Daring Adventures in Paint.  Our homework for this week was to experiment with backgrounds. We also had some smaller tasks like find a new artist, look for red things, buy some new magazines, and pick out some paint samples at the hardware store.    we were shown a couple of videos and told to just have fun and play and not over think it!  Here is my progress with the backgrounds.
 i started with three globs of paint on each canvas (i did two simultaenously).  Medium blue, aqua and silver.  just literally reached into a box of paint and went with it!
 i smooshed them all around with a large brush and this was the soft blue result.
 these might eventually become a dyptique - who knows!?
 once the first layer was dry i added globs of  yellow/orange pale green and more blue.
 then i added some brown and added squiggles and words with the end of the paint brush.
 more brown and more squiggles
then i added some streaks of white/buff with the end of the paint brush and some magenta dots
and there you have it...  two interesting backgrounds - i'll patiently wait for our lessons from week 2 to find out what to do next!

Tuesday, September 3, 2013

Pacific Northwest Art Retreat

 I had the pleasure to spend the long weekend with my friend Lucie at her new home in Washington State.  She prepared an "art menu" for me to chose activities from.  We started with this "etch a sketch" style art work. 
You start by creating a single line drawing with a gel pen on coloured paper.  Mine was pale blue - not the grey it appears to be here.  In one continuous line you add whatever comes into your head - real or imagined, trying to fill the page.
You can "cheat" and go back and add additional details as you can see here.  Then you use coloured pencils to add the colour and whimsy you can see up top!
Here is one that Lucie did.  We agree we like the dark background much better - it gives the colours more "pop"!
And here is another one Lucie did - aren't they cute!
 Next we got to ply with  Gelli Plate - a rubbery thing you apply paint to with a brayer and then "print" onto heavy paper in random or deliberate ways.  You can see above i pressed 4 sheets of paper - into ONE layer of paint.
 Next you can add additional colours and use stencils to add pattern.
 Here are 4 completed works that Lucie did.
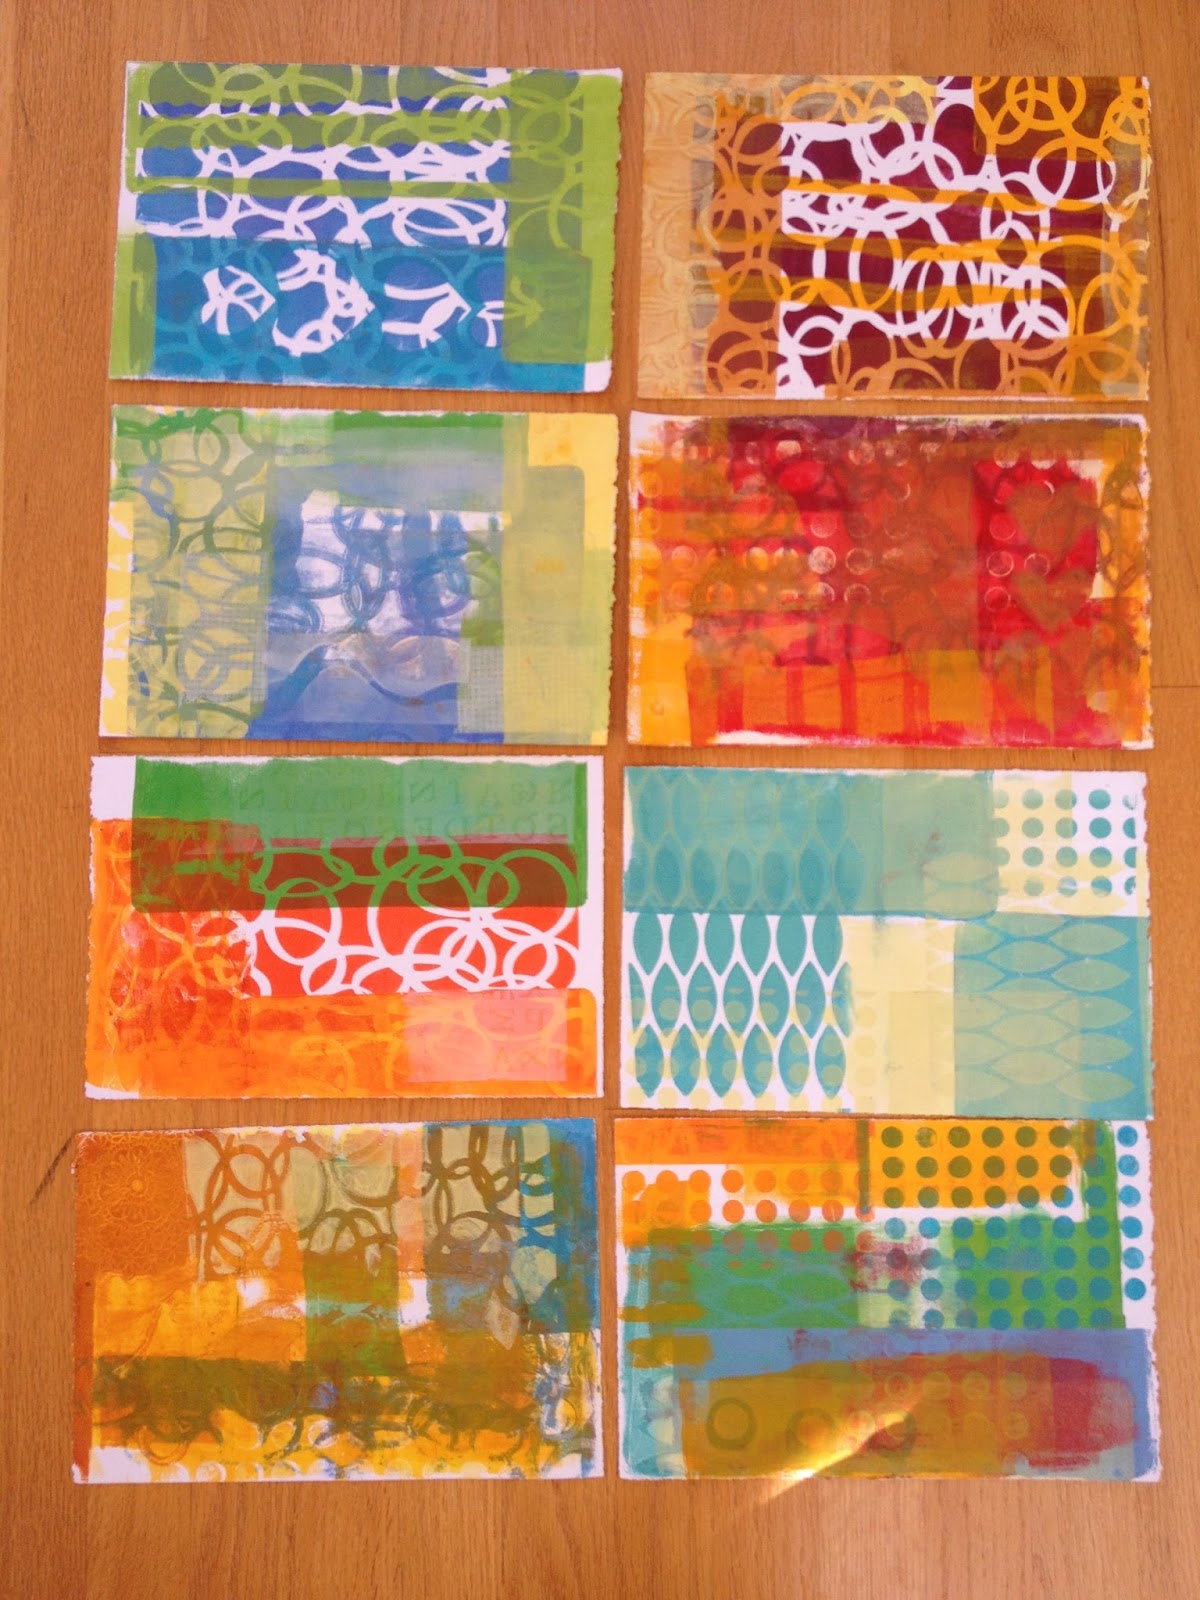
 and here are the 8 that i did!  i like some more than others.  But the idea is that you can cut them into postcard shapes and add additional paint or collage to create interesting little works of art.
 Speaking of little artworks - here was our next activity - Gypsy Cards!  Above are Lucie's.  Each of these 3" squares started life as a cereal box - or some other random packaging.  We created various collage materials using household items to make stamps of circles and dots. then we wrote "wishes" or goals on the back of each one.  throughout the day we added bits of paint and collage as we worked on other projects.
Here are mine!  i used a combination of black and white papers with circles stamped on them, plus some green and aqua tissue paper.  i garnished them with a rosy red border and little dots.  When we were all done we had to pick three at random to be our first set of goals. I suppose when i accomplish those i get to pick three more!
(or i might just frame them - i like how they look all together!)
 Next we created an art collage on a white gesso'd wooden board.  The concept is that you just apply bits of paper and don't think to much about it. This was Lucie's.
 Next you try to see if an image appears.  Spin it around, squint, and user your imagination. With the geometric shapes and nautical colour scheme - Lucie "found" a sailboat!
 Next you paint the background - but leave your original collage show through.  It is all about serendipity - you might find something wonderful!
 Here is my original collage.  I actually liked it just like this!
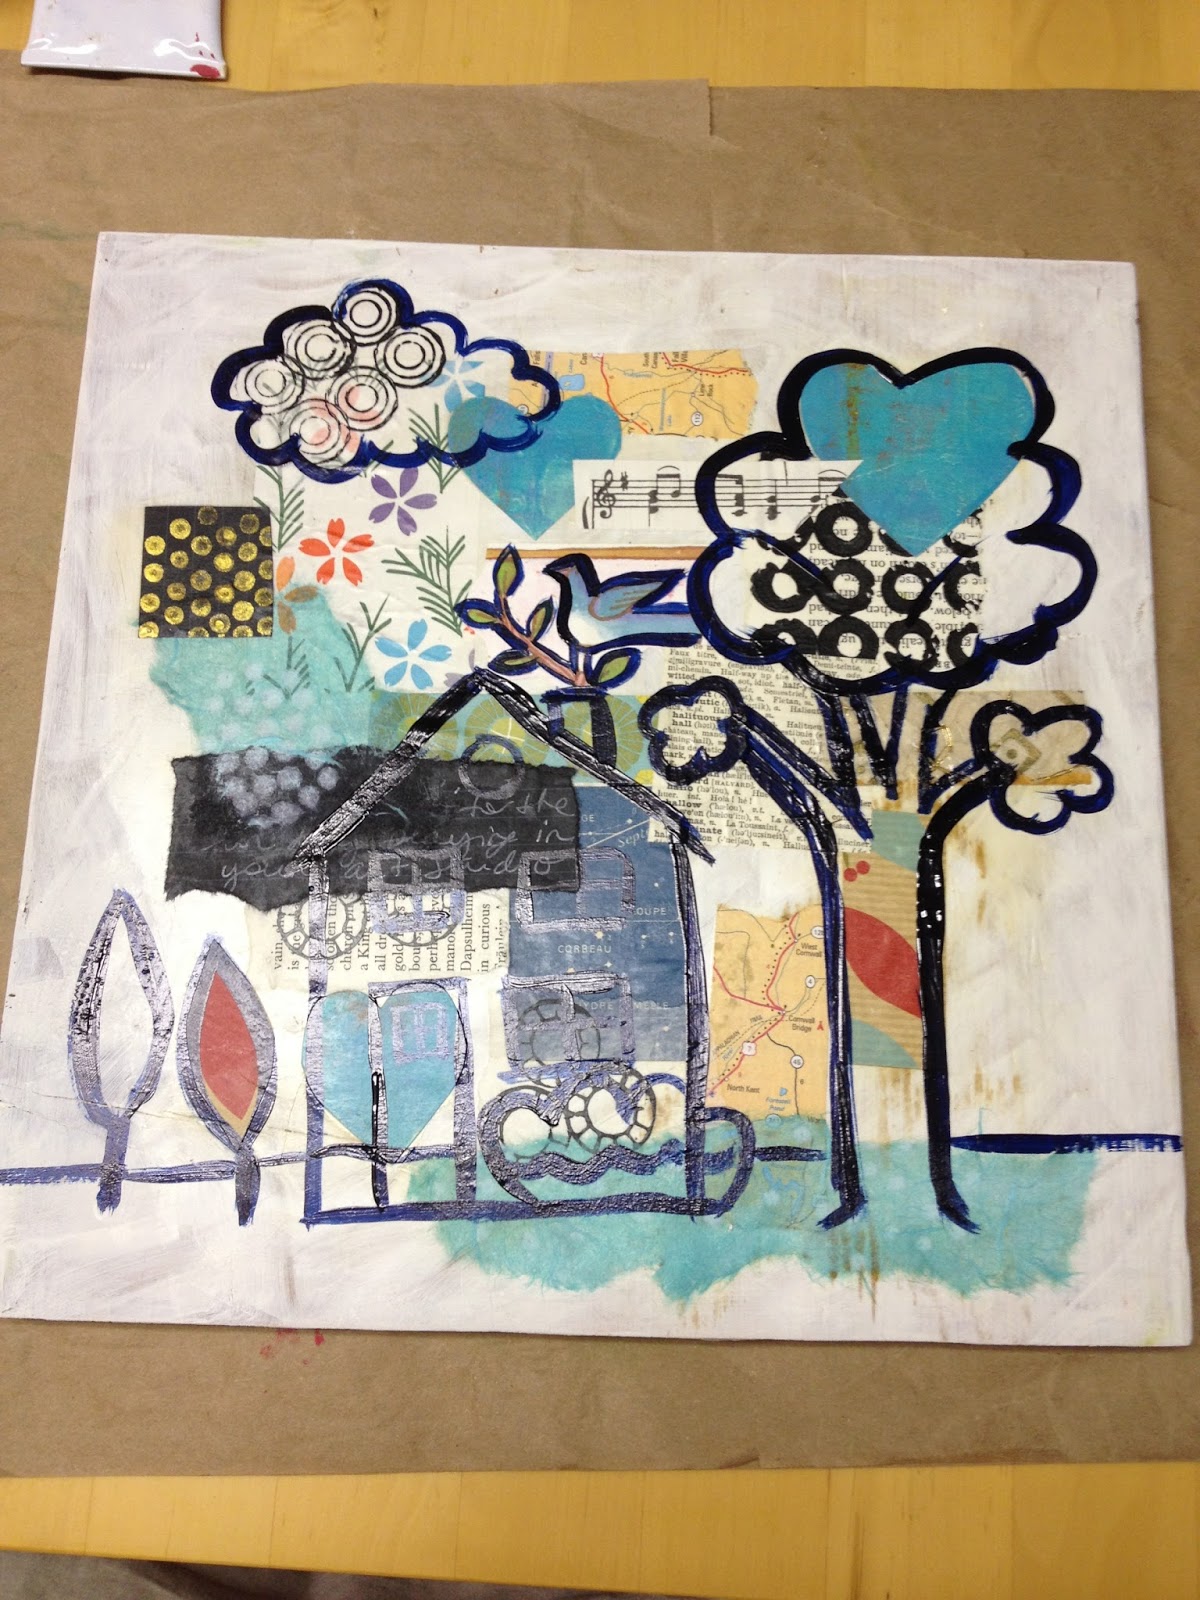
 But i tried to find some images and a tree and little house emerged.  We outlined them in dark inky paint with a small brush.
 And here it is all painted in!  Why is the branch and bird sticking out of the chimney and not the tree?  well - it just didn't turn out that way and that makes it more charming, n'est pas?
 One more thing to share - we took a bunch of security envelopes and rolled on white gesso.  Then we added blue and green watercolours and let them dry.  You can rub and buff the watercolours to reveal the texture of the rolled on gesso. (but my gesso wasn't thick enough so it didn't really work)
BUT.... they were still interesting enough to fold and sew into pages.  then Lucie used her Zutter machine to bind  them into a book!
Thanks Lucie for a lovely artful weekend in your beautiful home!

Thursday, August 29, 2013

Karen's Cloth Collage


I wanted to show everyone K's finished fabric collage.  Isn't it beautiful!  She started with a piece of natural canvas, added an ecru lace overlay and then played with an assortment of fabric patches and words stamped on bleached muslin.  Then she added some nice contrast with black felt hearts and checkerboard.  and finally some BLING! 
See more from our play date HERE.

Sunday, August 25, 2013

Fabric & Paper plus Sewing!

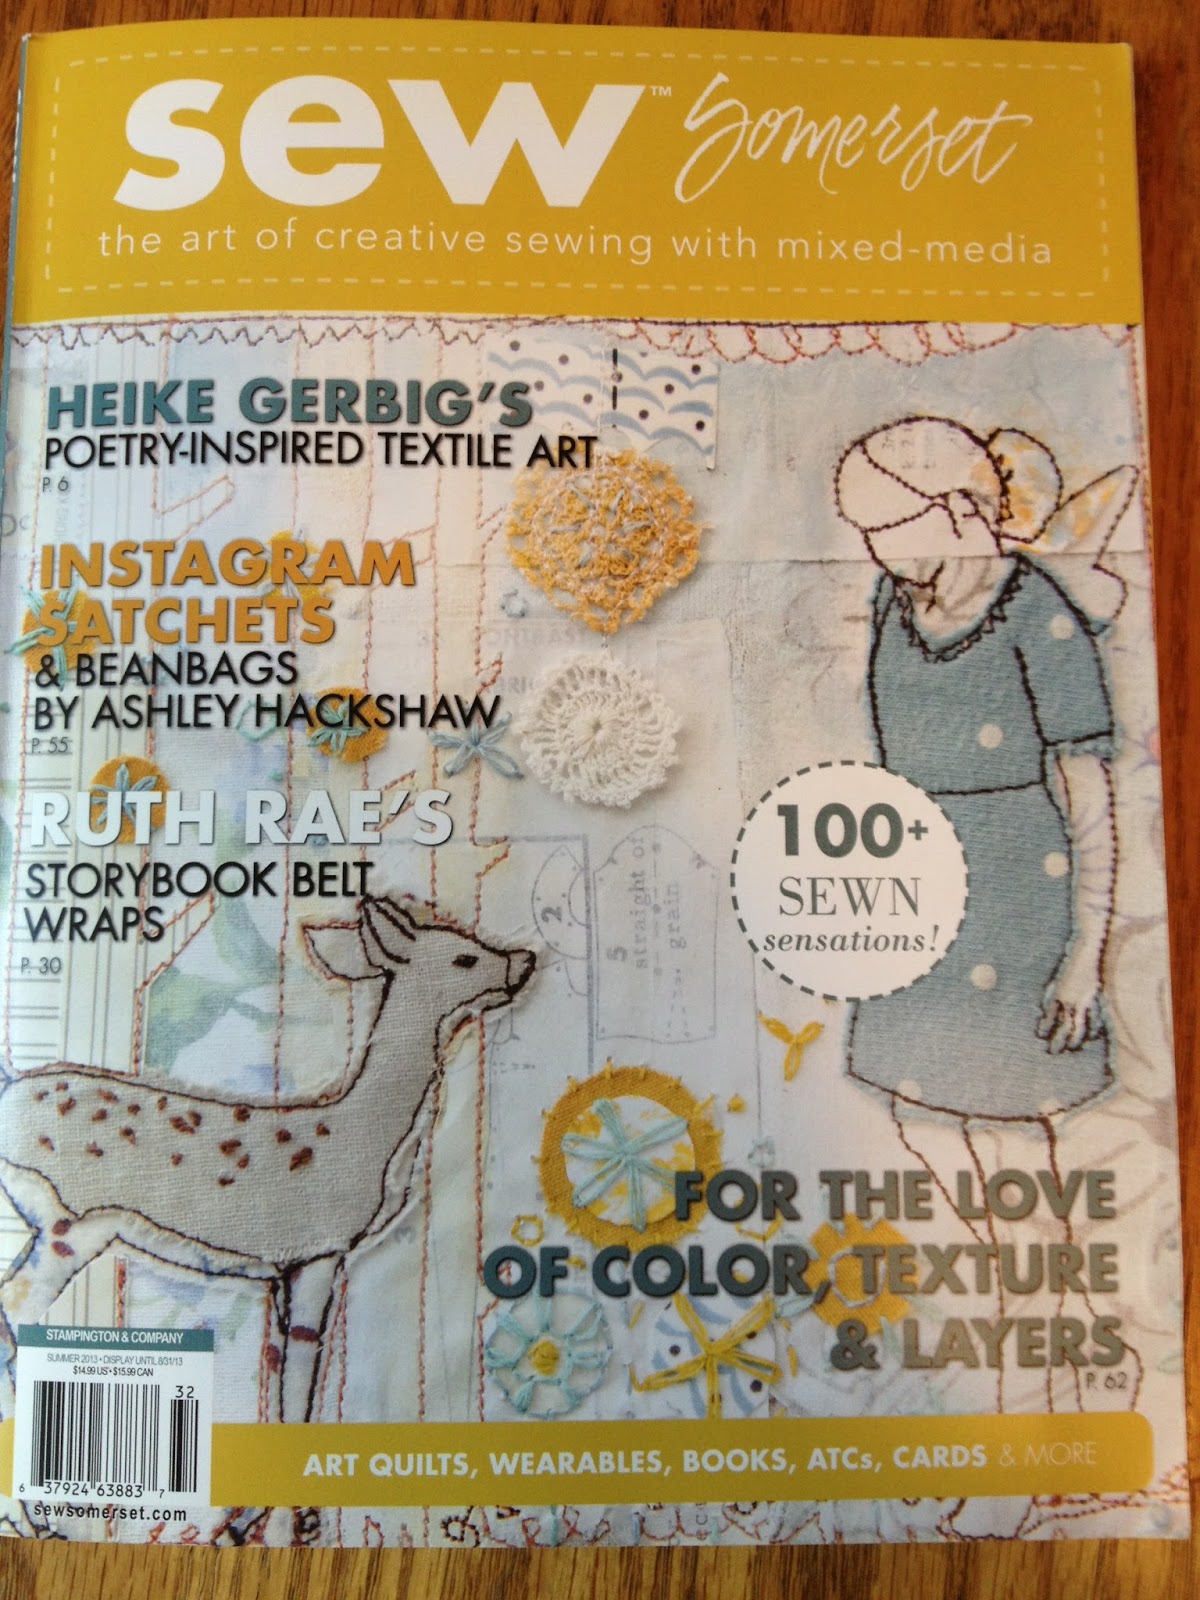
I spent the weekend with my friend K. and decided to explore the ideas in this magazine, SEW Somerset.
K. had book-marked a couple of ideas - the first was to make dresses on card stock.  
We were inspired by these paper and fabric party dresses by Collette Copeland. 
 K. made this dress - reminiscent of the dresses we made last year you can check out HERE.   I made the one shown at the top of the page. K. has yet to complete the composition - but look at the beautiful skirt made with torn fabric strips, test paper and lace.
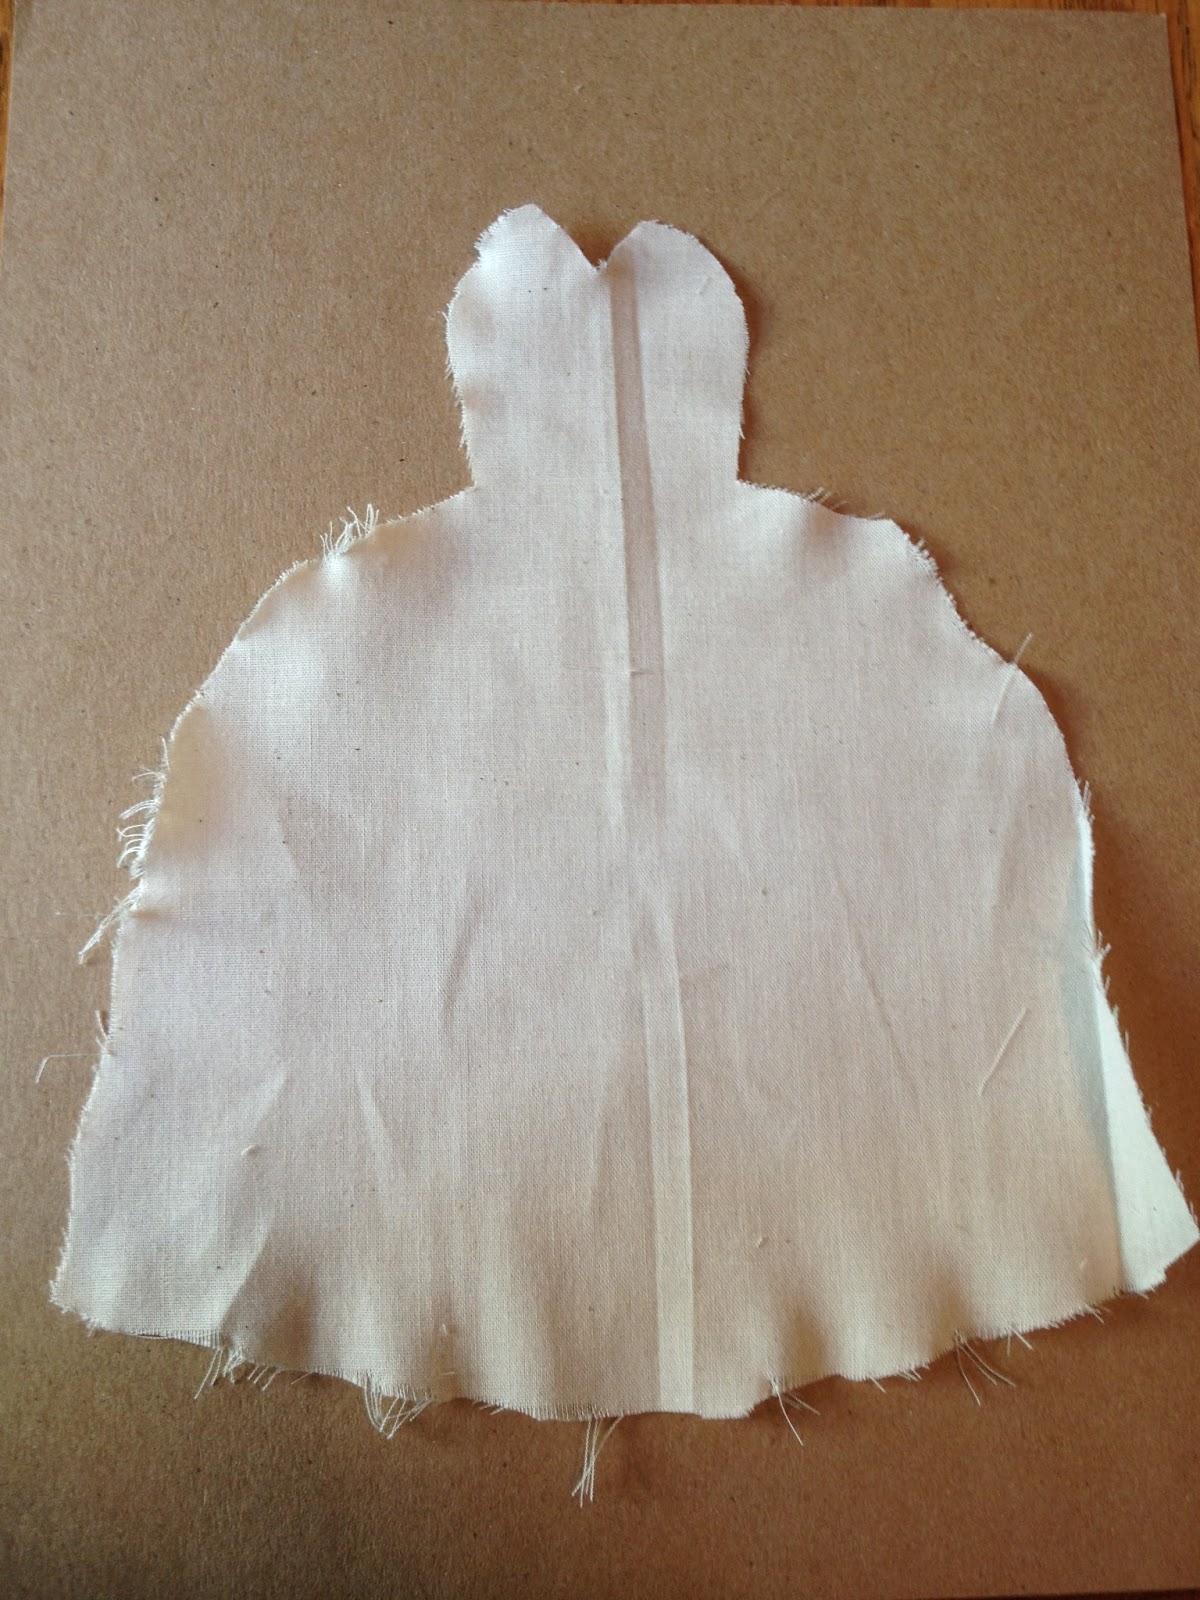
 For my next dress i started with a piece of muslin cut into a classic ball gown shape.
 I tore little bits of paper and added some fabric  - the black and white checks and the paisley butterfly.
 I glued it down with a glue stick then added bright red thread.  i don't know how to "free motion" sew - we just used a normal machine and rotated the paper to get around the curves.  i wanted it to look sort of messy and loose!
 Next based on the inspiration of the magazine - i wanted to make a dress/birdcage!  I used a vintage map image for the background.  added three fabric birds and a few other things thrown in.  then sewed the birdcage with the red thread.  i added some stitch lines around the birds with a black sharpie pen.
 The next day i decided to add the frayed edge ribbon jauntily sewn on one side.
Next we both tried another idea from the magazine - a paper/fabric quilted wall hanging.
The piece shown was SEW beautiful!  by Kristen Robinson.
 I started with a heavy raw muslin background and laid on top various laces, fabrics and emphemera.  then added bits of lace and sayings stamped onto fabric with a brownish sepia ink.
 I sewed down all the larger pieces and glued down the smaller bits.  it is not quite finished - needs a few more chunky embellishments to fill in some of the empty spaces.
 K. started her wall hanging with a piece of muslin covered with ecru lace.  then she added patches of colourful pink, black and white fabric.  I love how she left visual "space" on the background.
Next she added words and phrases she had stamped on bleached muslin.  Touches of lace offset the bold black rick rack and felt hearts.  Thanks Somerset magazine for some great play date ideas.  And thanks K. for a great crafty weekend!

Wednesday, August 14, 2013

Altered Book - Just One More Word

At the 6 month mark in our altered book quest - we each received our own books back home to work on for the month of July.  The intro to my book you can find HERE but explains the "theme" is to create a spread with just one word.  My first spread used a few different images from my favorite Anthro catalogs - a pretty butterfly strewn sweater, a bed of flowers, and a tropical bird wallpaper.  The aged wood at the bottom is scrapbook paper. The flowers cut from a magazine.  The word is Breathe.  As in, just keep living and enjoy the beauty that surrounds us.
 My second spread gives you a bit of my frame of mind these days.  It has been about two months since my husband Jim passed away.  So yes - this is a sea of tears.  Cut from pictures in a Hawaiin tourist guide, the oceans and waves we experienced on our 25th anniversary trip in May.
 And for my third spread - this magnificent bird reminds us to look forward and Soar!  I covered the background with hand made paper and gave a little tent fold in the middle to cover the spiral holding the book together.  A couple of vintage air balloons cut from wrapping paper.  The die cut flower, cut from a sheet of lacey scrapbook paper with a bit of peach and grey oil pastel.  Sitting on top of vintage plaid wallpaper.  I might add a little bit of paint to soften the edges before i pack this up.
And finally here is one of the lovely birthday cards i recieved from my friend and play date partner Lucie.  A beautiful hand painted and collaged card with a touch of my favorite things - a bird, robin's egg blue, and vintage french text!  Please check out lucie's blog HERE to see more of her art!

Friday, August 2, 2013

Happy Birthday to Me!

Happy Birthday to a Sweet Girl who turned TWO today - that would be me. 
Yes - i decided last year to start over at 1.  Just made sense.  Two is my "lucky age" since my birthday is August 2nd.  Seems like i was cheated out of a lucky year since i was, you know, only 2.  So this year we'll try again.
 When stealing, i mean "researching" vintage birthday cards online it seemed that Mary had a Little Lamb was a popular theme.
And kittens!
Here is my birthday present.  A vintage inspired wire basket for all my rolls of paper. It is from Pottery Barn and yes was a splurge, but i did get it on sale.  It comes with a fabric liner, meant for laundry, but i think i like it better without.  Here are some NEW papers i just acquired - but i have tons more and now they'll have a pretty place to live!