Showing posts with label stamps. Show all posts

Tuesday, September 30, 2014

Art is You Day Two : Laurie Mika

 I had the pleasure of spending the second day at Art is You Petaluma taking a class with Laurie Mika, the brilliant polymer clay artist and instructor.
 This is a sample from the instructor that was our inspiration for the class.
Here was a second piece by Laurie.  So richly detailed.  How does she do it...?
 We started with 4 packages of clay, rolled out with a 10" piece of pvc pipe.  I mixed two blues together (they look really grey here - but they were blue!  Laurie had a plethora of rubber stamps and molds for us to use and play with.  This is just for the back - so it didn't need to be perfect.
 Next we used gold leaf, but not ordinary gold leaf - this was EASY gold leaf - and it was!  each sheet is backed with paper - so you can place it without it flying around and sticking to your fingers.
 We had templates to choose from for the size and shape of our triptych.
 This is how FREAKIN AWESOME the gold leaf looks after being stamped into with a plastic mold.  it cracks and looks all vein-y and vintage.
 I centered the template and cut it out with a straight edge and a scalpel for the curves.
 I trimmed away the excess and rolled it up again.  Sure  - the gold leaf will add flecks to the remnants - but so what?  they look really cool.
 I used all my scraps to make other shapes with stamps and molds.
 Then we added colour.  just a dab here and there using fingers.  to create a shimmery stained glass effect.
Here is my finished triptych with the central medallion and face.  We added gems and seed beads before baking.
 This was a second piece i made with some additional clay.  The lions were earrings.  The crown just cut from a stamp.  I just love the gold leaf crackle on the deep blue clay.

Here are some of the other students' work.  I asked Laurie if we were the best class she ever taught?  And she replied that we were the best Triptych class she ever taught, since it was her first time teaching it!  I think the results are pretty darn impressive.


Sunday, February 26, 2012

Play Date - Mini Canvases

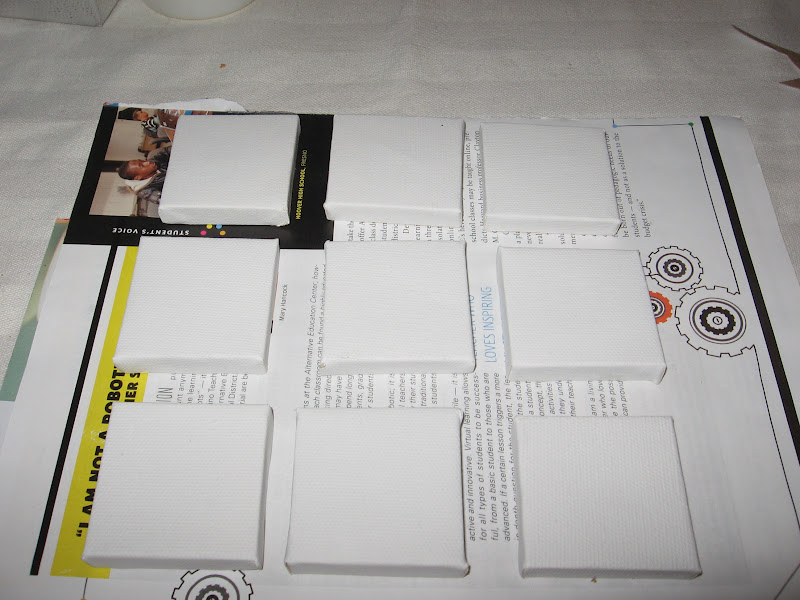
 Saturday our monthly play date group got together, although there were only three of us instead of the usual 6.  Sorry to miss the three gals who could not make it for various really good reasons!  Our hostess D ordered a bunch of 2" by 2" mini canvases for us to play with.  We each had 9 or more to potentially create a grid like final composition.
 Surprise, surprise, i decided to do something with birds.  You know you keep things that are too "good" to use?  Well i have been "keeping" a bunch of German scrap birds for some special project - so i figured it was time to use them.  the sizing is perfect.  Here you can see me experimenting wiht the layout. 
 Here is after all the birds have been trimmed of the little join-y bits.
 I applied assorted ephemera and lightweight papers is soft blues and neutrals - things like napkins, tissue paper and sheet music. I used gel medium to apply - mostly using my fingers to press and wrap around the little canvases.
 Here they are with the birds glued on top, plus some added embellishment like shell buttons, pearls and a little brass key.
 They look so nice on top of this vintage legal document - i think i'll frame them in a shadow box with this as a background.
 Here is S's work in progress.  She went with an approach to apply shapes and textures to the canvases - then coat everything with white gesso to blend it all together.
 See how interesting a composition this will make, mounted on another canvas.  I doubt very much this will remain white however!  S. is a master of brilliant colours - so i am sure she'll ratchet it up a notch or two with inks and powders.
 D. had fun with her mini canvases - starting by using stencils to apply bright colours with assorted shapes and designs for backgrounds.  She also added color to the edges.  Next she did some stamping - which was "imperfect" due to the soft spot in the middle of the canvases.  yes - these were ligitimate "wrapped" canvases - with a mini wood frame on the back.
 Finally she added postage stamps and completed her artwork with markers and crayons to bring out the colours and designs. A coat of Pine Tar will make them shine.
Look how cool they look on a black background!  Here she was drying them on a black tray.  D. might glue them all together to make a piece of art that resembles a handpainted mexican tile!
Thanks D. for the great idea and your gracious hospitality.  In addition to showing off our altered books, we did a show and tell of other projects we have worked on.  We have some great ideas for next month's play date - but we'll have to get concensus from the rest of the gals!

Thursday, January 12, 2012

Scrabble Tile Jewelry

I spent a very relaxing afternoon with two friends making jewelry with wooden scrabble tiles and assorted collage materials.  K. made 6 tiles with different coloured Queen Elizabeth postage stamps.  Z. made some tiles with small maps and boats. (sorry no pics!)
 We started with a kit purchased from Pick Your Plum - a daily "buy it now" website that sells craft supplies and accessories.  Each kit came with 6 wooden tiles and 6 brass bezels.  You have to sign up and they'll send you an email with the daily deal. 
 I cut images from art stickers, stamps, dictionaries and books and glued them on the tiles with glossy accents adhesive.  then more adhesive on top - to create that glossy look.  My friend had some coloured tubes as well - used to colour the blue fish above and the green background for the bird.
It was too much fun to stop after we'd completed our 6 tiles - so i created 5 more using slightly smaller scrabble tiles.  Each tile got two or three coats of adhesive so that it was slightly raised. Some of these will become jewelry - some can just be used as embellishment in a mixed media art project.
 Here's how i created jewelry out of some of the tiles.  Here i added some beads and metal findings and threaded it on waxed linen thread.
 Here i used some gunmetal ball chain to make a long pendant.  This tile also has a little raised flower in the corner.
 Here i used a thick black cording to create a choker length necklace that can be adjusted by sliding the knots along the cord.  it took some trial and error to tie the knots right - but it works perfectly!
 This actually a little bracelet on a brass coloured chain.
 This is an experiment - but i used some soft wire to create a necklace with a simple clasp.  Probably TOO soft - they make wire specifically for this type of jewelry.  But i didn't have any handy!  BTW - this was made with a Columbian postage stamp with a volcano image - i added the word 'foreboding'.
And finally my favorite - also on a thick black leather cord with the knotted adjustable ends.  My pretty red head with the word 'beloved' cut from a dictionary.