Showing posts with label embossing. Show all posts

Monday, November 17, 2014

Clay Covered Mini Tins

I wanted to try to cover mini mint tins with embellished polymer play.  I took a couple of packages of blue clay in different tones and conditioned them together and rolled them out with a tube of UPC pipe.
Once rolled flat to about 1/4" i set a piece of EASY gold leaf on top.  Ya gotta try EASY gold leaf (check at Michaels) - the gold leaf stays affixed to the paper, until it sticks to something else.  in this case, the soft clay.  
I learned this cool technique in my workshop with  Laurie Mika at Art is you.
Then you peel off the backing - and bingo - EASY gold leaf!
Next i stamped into the clay and look how cool!  it cracks the leaf creating an instant vintage two-toned effect.
Next i measured out a small rectangle to cover the top on the tin.  allowing for enough to cover the top and sides.  But you can easily trim it.
gently press down on the top and sides.  you end up with little points of excess on the corners.  you can cut them off with a blade - or  just pinch off with your finger nails.
A better look at the corner bits.
 After they have been removed and smoothed, you cannot tell!
 To get the most use of the embossed gold leaf clay i did all my tops, then all my bottoms.
 Just re-roll up your excess - don't worry about the gold leaf.  it will create little flecks in the clay and look cool!
 Surely good enough for the bottom of the tin, amirite?
 Before baking i applied a bit of Golden's quinacridone paint to add more depth to the clay.
I baked them for about 25 minutes at 275.
 I added a small piece of clay to the inside as well.
I tried to "sign" the bottom of the tins but it just looked messy, so instead i added the impression of a little bird charm.  I do not like the paint on the plain clay.  i think i'll lighten them up with more paint. Some i left natural clay colour - i think i prefer those.
But i love the effect of the touch of paint on the gold leaf.  They look like vintage artifacts.  Not Altoid tins!  Actually as i look at them now, they look like tasty glazed biscuits....!!
Check out the projects our class did with the metal leaf on clay HERE.


Monday, September 22, 2014

Girly Birthday Party Crafts

 I co-hosted a birthday party for our crafty friend Z and got 10 ladies to try their hands at make and takes. Here are some of the fun things we made.
 I shared how to make washi tape flowers which i learned at the amazing Cathe Holden's Inspired Art Barn.  I took her workshop back in August and showed the ladies how to create their own.  click HERE to see my post about the class.
  I set the dining room table with tapes, and stamens, and wire and all the things needed to make these delightful little blossoms. Oh and some REAL flowers for inspiration!
Here are some of the highly skilled flower makers!
 On my coffee table, Z and K showed the ladies how to make two part molds and then to make paper clay adornments from the molds.


 We also did some with two part resin - in bedding glitter and jewels in the resin.


We also had a few ladies create embossed cards with some water colour painting.
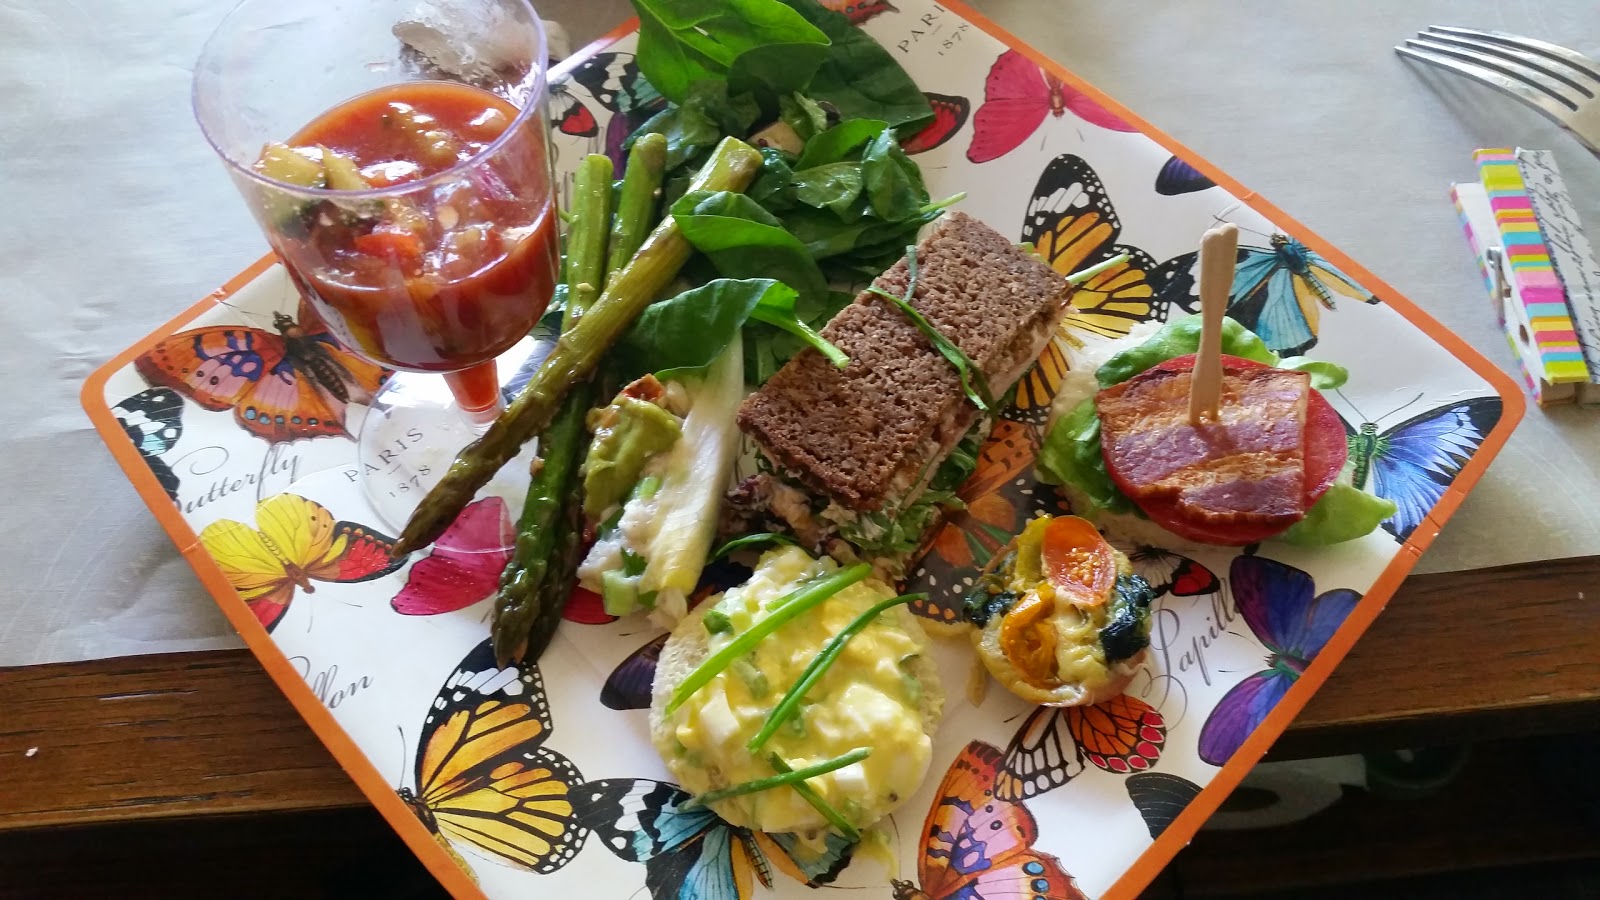
 K prepared the delicious luncheon - gazpacho, salad, asparagus, and an assortment of finger sandwiches. Plus a plethora of delightful mini desserts.
I filled the fridge with peach sangria, lemonade and rose wine! So girly-girl - i loved it!
 K made up goody bags for all the guests!  What's a party without a goody bag?!
What a good time we had - thanks to all who participated to make a special event for our friend.  Happy Birthday to Z!