Way back in June we had the pleasure of a fun filled play date at K's. we were waiting for nice weather so we could play outside - with PLASTER! (it took so long to update this post since Google informed me i had RUN OUT OF SPACE!) Here are all the great pics of our wonderful creative day.
We started with applying plaster of paris to canvas boards, or planks of plywood. You mixed it with a stick in a cup to the desired consistency (whatever that is!) and applied with a trowel.
We also did some with pre-mixed joint compound.
Then we stuck doilies into the wet plaster. it was a difficult thing to do. It had to be wet but not too wet. You had to let it sit - but for who knows how long. I did this one and it was perfect. I tried a second and it was a disaster - i had to re-do it three times! It all depends on the temperature, (ie it got hotter as the day wore on) the humidity, how much water was in your plaster, etc.
Here is S. trying the doily technique.
For these thin boards K. used masking tape to create a border to catch the plaster.
Here is one i did with joint compound on a wooden board. I wanted to take out the metal swirly things- but they did not leave a good impression - so i left them in!
Here is another look at S.'s with some added stencils to create more impressions.
This is K's with various scratches and marks - including a key.
I think these were Z's getting started on textural backgrounds.
Here is another one of mine with an assortment of doilies.
Here is a large doily on wet plaster.
We broke for lunch - and what a lovely lunch it was! Here are little cream cheese sandwiches with a little rose petal garden on top! there were two kinds of flavored waters and a salade nicoise layered in a jar!
And a watermelon feta sandwich in the shape of a watering can! Notice the playing cards with our initials marked our places at the table.
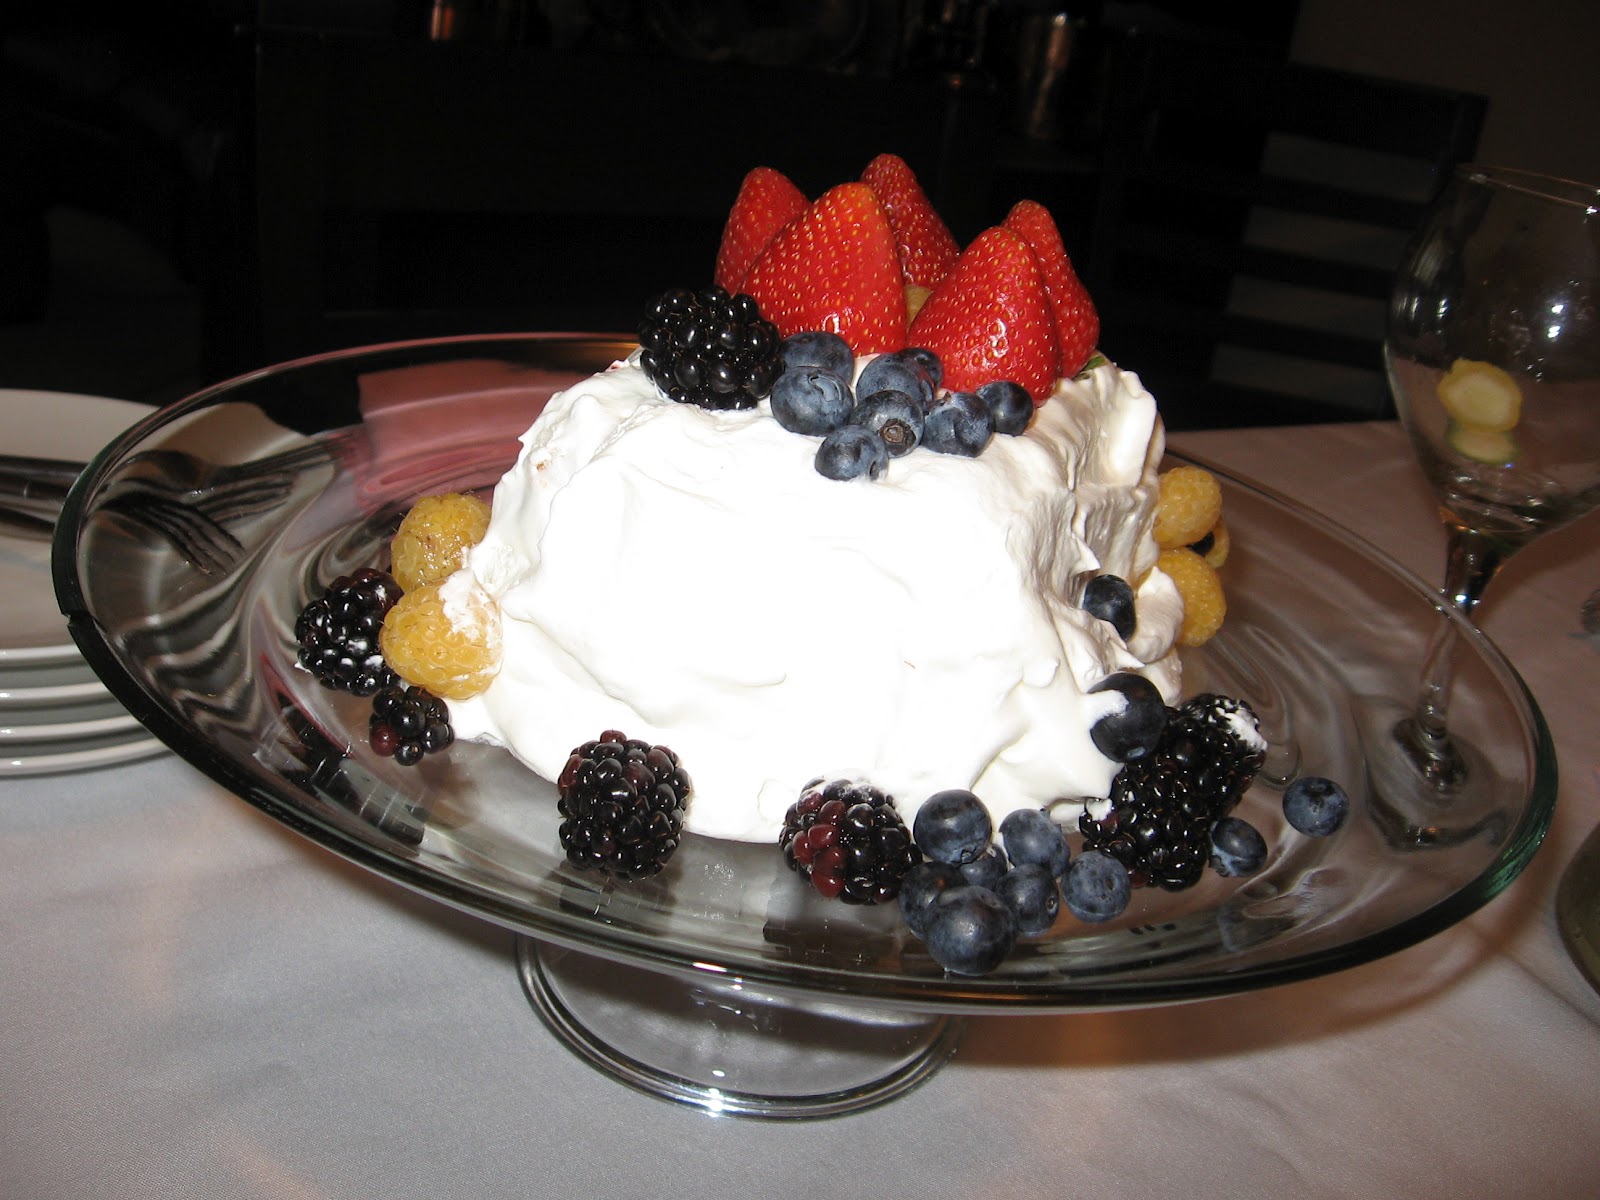
A slice of cake with whipped cream and fruits finished off our delicious meal..
Here are S's textured boards after washing with paints and adding some fibers.
Here are two of mine after painting and scratching them up to reveal the plaster. The doilies on the right- perfect. On the left? not so much.
Here is one of my square doily patterns painted to evoke the colours of a shell.
And here is the other - a little darker.
Here are Z's finished pears.
And this colourful piece done by layering paint and using gel medium in between to act as a release.
And this one shows some great stencil patterns and some metallic paint.
Here is on of S's completed pieces. Or maybe not! Sometimes a little bit more is just the right thing!
Here is another of S's richly textured pieces. You can see the doily impressions in the background and the stencils in metallic paint on top.
K completed three frescoes. This technique was a little different. It is plaster on heavy paper. you bend it and it cracks. Here she painted some pretty cherry blossoms.
And here is another of K's with a lady in a yellow dress and umbrella.
And finally K's ballerina in motion - with some dark tones adding drama to the background.


2 comments:
Thanks for the tutorial! Looks like a lot of fun. And cute presentation of the food too. Very clever!
This looks like a messy fun time! Fun food as well!
Post a Comment