Sunday, March 31, 2013

Mega Heart Swap

Last month i saw a pretty heart sampler on Rebecca Sower's blog you can see HERE.  I shared it with my artsy friends and we all agreed we would like to try it.  We started with the instructions to create two different styles of hearts, 6 of each.  One to keep and 5 to swap.  Well, we all went crazy creating hearts and did not stop until we had each made over 50!
This is how it played out....
First Z layed out all her hearts on the table - we eached picked one or two of each type.  There were fabric, and paper machier, and cute paint chip hearts with love-y dove-y paint chip names like Karen's Kiss!
Here are the 7 i picked for myself.  She did some embossing of metal packaging - love the limonata heart!
Next my hearts were strewn on the table and everyone could choose one of each type.  There were dominoes, resin paper, mini collages with faces, plaster, flash cards and so much more.
Here are more i made with vintage trading stamps, and old envelopes with european stamps.
Queen of hearts, glitter hearts on dominoes and some handmade paper.
Seriously - we could not stop!  There are weathered copper mesh and vintage wallpaper with mini wooden birds. 
 WHOA!  Here are all the hearts K brought to swap with us.  We went around the table taking turns choosing.  It was absolutly like kids in a candy store - just look at those luscious hearts!
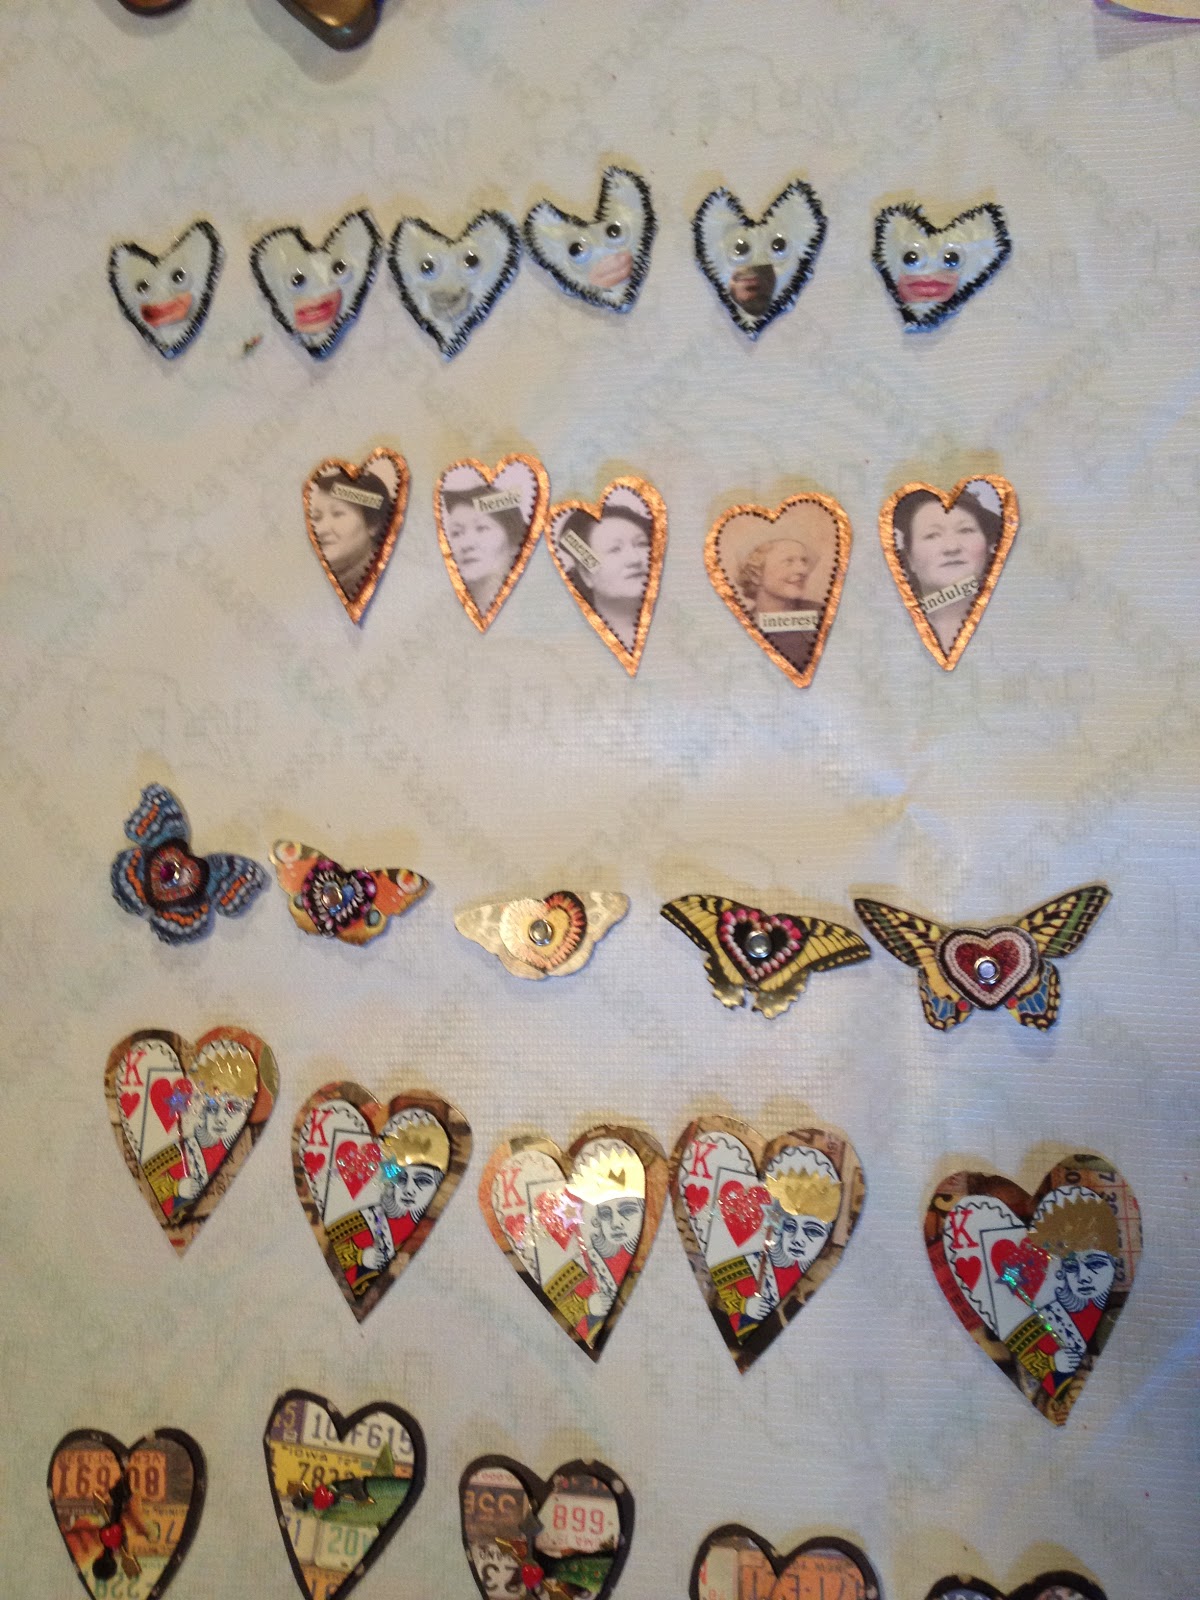
 Here are some of D's hearts.  She did some sewing on bubble wrap with googly eyes, copper backed faces, layered playing cards and some compass spinner hearts.
 Here's a closeup!
Here is more from D - colourful collage with faux stitching, saints with beads dangling.
Here is another look at K's clay hearts.
 Here are some of the beautiful hearts that L sent us from Washington state!  collages, beeswax, stitching, buttons - so much fun!
 Here are some of S's hearts for swapping.  The dark ones are lace and beautiful in person.  She had silver foil aned embellished copper.
 More of S's hearts - assorted textures and colours.
 Here are the hearts from S which i picked out.
Here are all the hearts we will be sending to our art buddy in Port Townsend!
Here is how all my swapped hearts look layed out on the canvas i prepared at home.  I attached most of them with tacky glue and some with 3d glue dots.
D is waiting for her canvas to dry - and went with a dark background.
S is creating a small book for all her hearts - she'll had phrases to each page.
Z is creating a frame and wire structure to hang her hearts and some family photos.
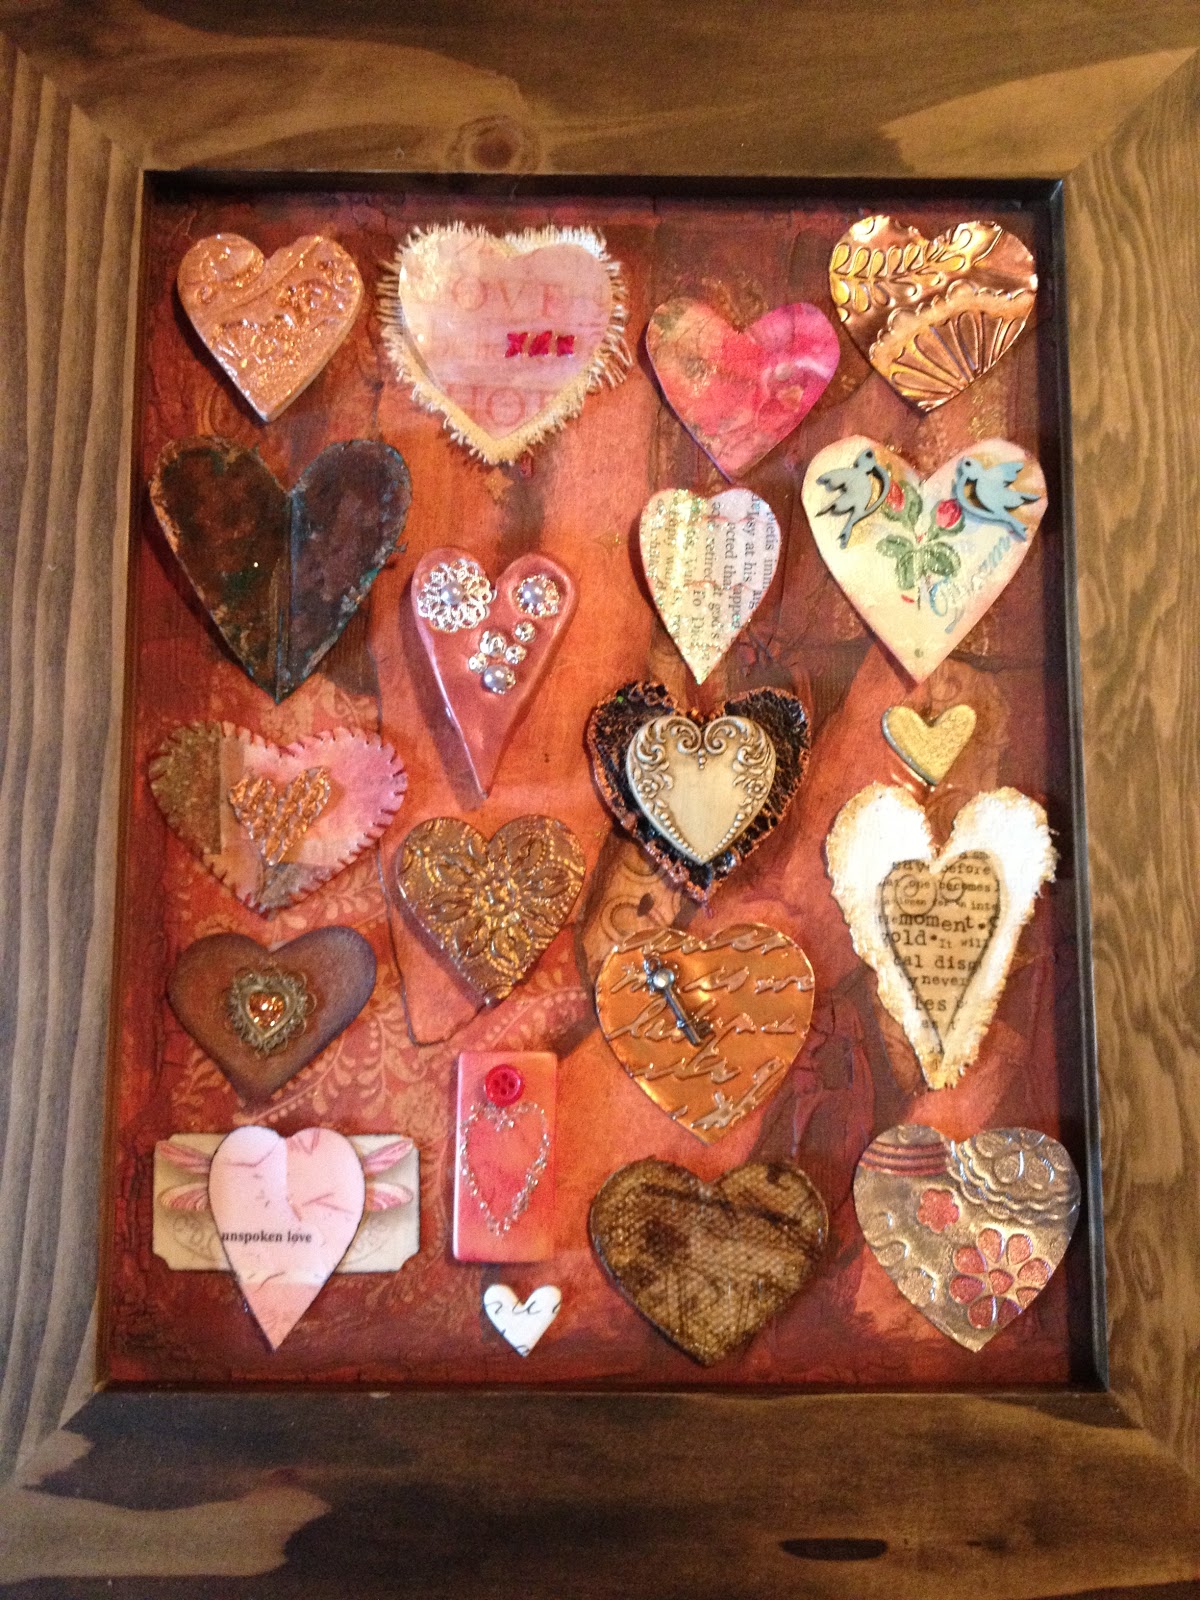
So K was the only one with a finished project for me to photograph.  She created a richly hued canvas background and chose to use only the hearts with pink and copper-y colours.  How beautiful!
Thanks again to Rebecca Sower for the original inspiration!

Altered Calendar Swap - Once Upon a Time

 For the month of March i had the pleasure of working in K's book - a fairy tale of sorts, where you continue a story she began about a special little girl, her fairy godmother, and a wicked landlady.  Meant to serve as a "do it yourself" story book to read to her grandaughter, we were to add fanciful pages that tell a story, but don't limit the imagination of the viewer.  I started  with a picturesque cottage and covered it in rose stickers.  i added a litte poem that i cut up and rearranged.  The background was from an Anthropologie catalog.
 For my next spread i created a room with sunny windows covered in lavish green floral "drapes" where the girls could curl up on the tufted couch and read all day long from the piles of books.
 My third spread features one of those pictures you tear out of a magazine, or see online and just love looking at.  this pretty damsel will portray the evil landlady Esmerelda in the story.  The model was originally centered on the page, so i had to splice the image background on the left.  A few dabs of green marker tie it together.
The sign in tag is a little card where you can write your version of the story, but is not required reading to enjoy this delightful and whimsical book.
As has become our custom, we often bring goodies to share with the ladies in our play date group.  here are some textured papers and ribbons we each got to take home.

Wednesday, March 27, 2013

Paper Clay Chicks

This past weekend my husband and i went to Scottsdale Arizona for a baseball spring training weekend with another couple.  While the guys saw a game on Saturday, Z and i took a paper clay workshop with the delightful Jenny Hernadez of the Polka Dot Pixie.  The class took place at a charming and very well organized craft store in Chandler, AZ called CraftFusion.    
Forgot to take a picture of the armature base - but it was two foam balls with wire feet.  Jenny prepared them in advance so we would have enough drying time, so we could paint.  Our job was to take thin layers of paper clay and smooth it over the foam balls.  Then make a face shape with cheeks and a beak.  We added a cracked shell base and little feather-y wings. 
My chick had dots on the shell which i poked with a skewer, but painted dots would have worked just as well.  After painting we gave it a coat of clear finish spray.
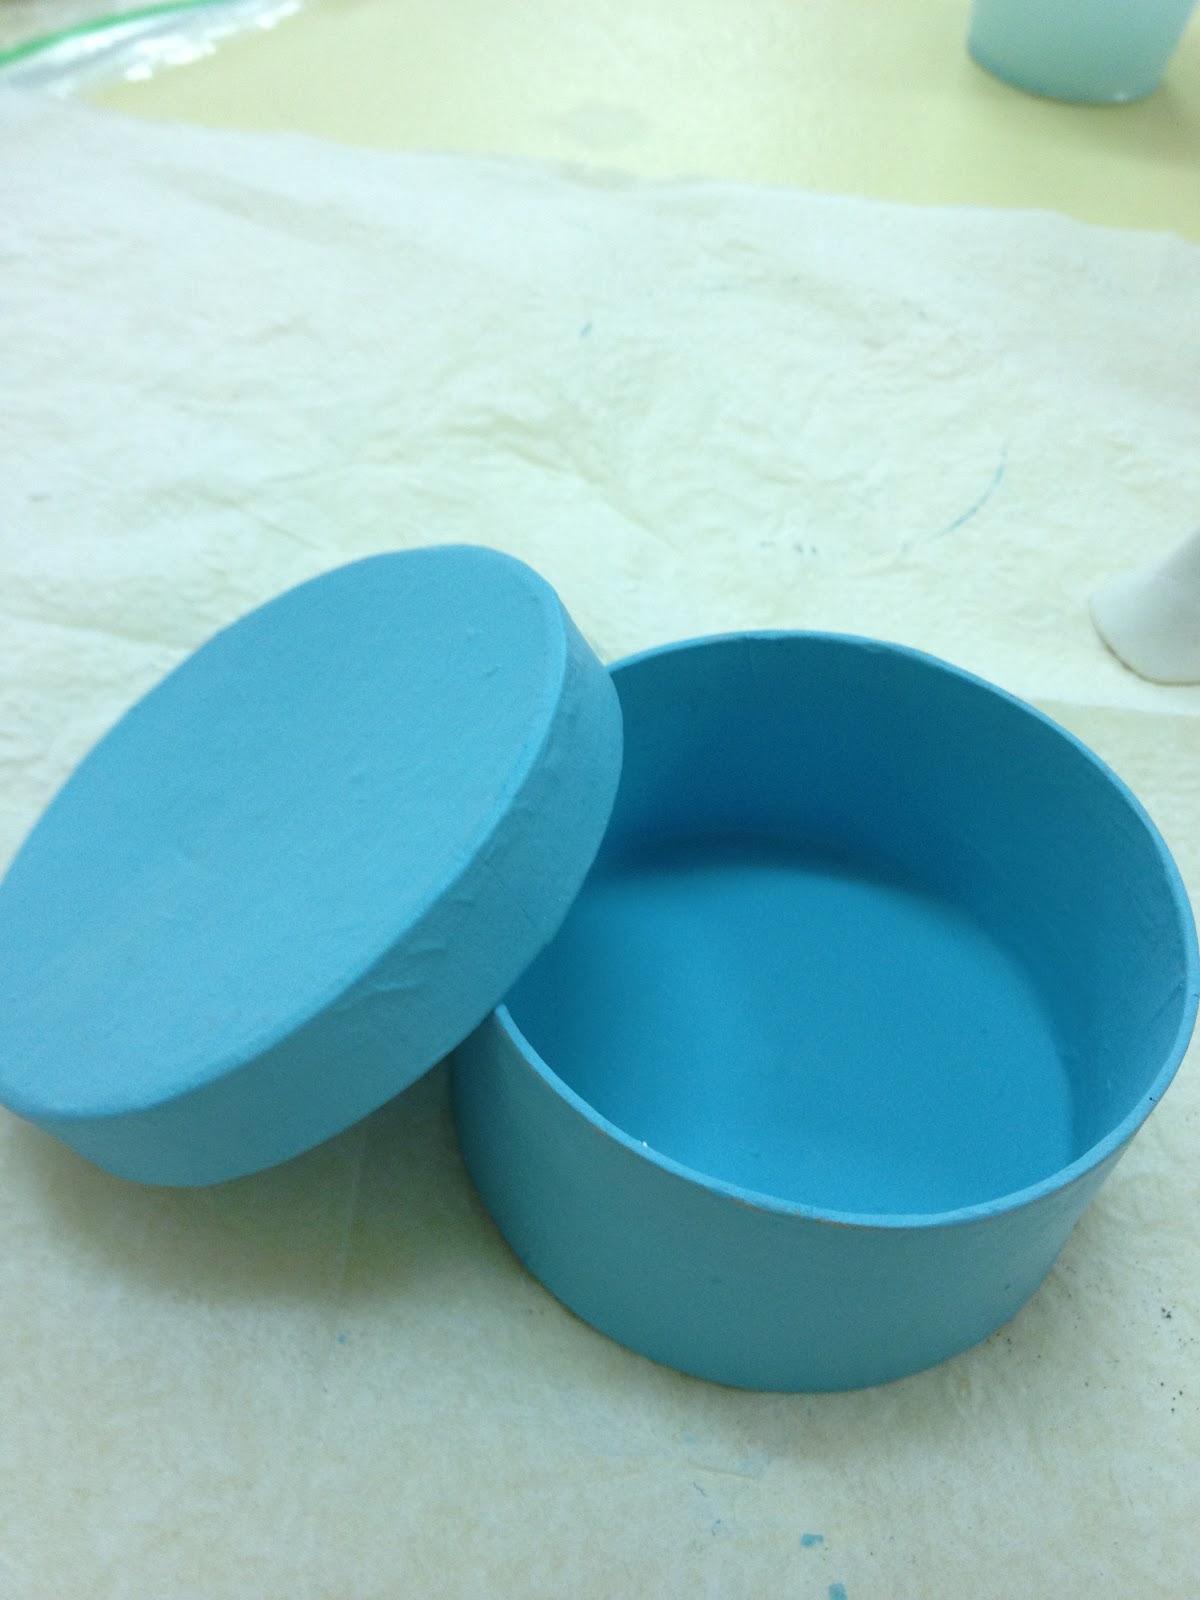
We were also given a little paper box to paint inside and out.  I used a pretty blue.
Here is a side view of my chick showing his (her?) silly profile!
Here he is part way through the painting with cheeks, dots, beak and legs painted in lively spring colours.
Next it was time to add some antiquing.  Some watered down paint was used to "glaze" the box and the chick.
Here is Jenny's sample bird.  How adorable!  We had a choice of a box for a base or the simple wodden disc. You can see how the crevices take on the antiquing and give it a much more substantial and "artsy" look.
This bird was done by one of my fellow students, Kristy.  Love the dots on her hat and the glittery silver pipe cleaner trim.
This pretty bird was done by my friend Z.  She is going to look for a little straw hat for her!  Won't that be darling!  She looks like she is in the middle of of song!!
This chick was done by another student, Suzie.  She had taken classes with Jenny before, always a ringing endorsement for a teacher to have repeat students.  The birds get propped up against a cup or bottle while they dry.
Since Suzie was a little speed demon, she had time to make a SECOND creature.  This will be a bunny when the pink ears and belly are added.  Love those wide feet!
Once again - my finished bird.  I added pompom trim to his little striped hat and some ribbons and lace (frippery you might call it) to the base.  We LOVED taking this workshop with Jenny and would highly recommend that you take a class with her if you are ever in the AZ area.  She also travels to teach and sell her creations.  In Northern California please check her out at Petaluma's Halloween and Vine arts and craft show.

Wednesday, February 20, 2013

Altered Book - Flower Techniques

In the second round of our 2013 altered book round robin, i worked in Z's book - which is not so much a theme as a concept!  Her idea is to use flowers to illustrate collage and mixed media techniques.  These are the same mini spiral bound calendars we worked on last year.  You can see my book HERE.
Here is the "sign in page" - actually it is a sampler of paper colours and textures from a paper company, re-purposed here as a table of contents for the technique book. 
For her first "chapter" in the book, Z. showed us samples of embossed and debossed papier mache flowers - using rubber stamps, glue, napkins and tissue paper.  Her examples are intriguing and i cannot wait to try it myself!
For the second "chapter" i created three spreads using resin flowers.  This was based on a technique my pals learned from Kristen Robinson at the Create retreat last year.  Z and K attended the art filled event and brought me back a kit from Kristen's workshop - including an ICE Resin applicator. For this page i applied the ICE resin to some lacey pink paper, and then cut out two flower shapes.  Stacked with a button to create a pretty flower.  They are very pale, so i added some ink to the edges to try to make the layers show a little bit more.
For this spread I used the resin to coat thin tissue paper and napkins to create mica-like paper flowers.  I wanted to stretch it as far as i could - so i probably applied it too thinly.  It would be nice to try some with a thick coat.  Or several coats to build up the layers of resin.  There is a lovely vintage document for the background, and some resin coated floral tissue paper on top. I cut them both with scallop edge scissors. Then the resin flowers on top of that, with a few of my favorite aqua shell buttons.
For this spread i started with dictionary paper background and then applied several large roses from a napkin that had been coated with ICE Resin.  I let parts of the flowers extend over the pages so that you can see the stiff qualities of the delicate looking papers.  I added a few Paris addresses from the resin kit from Kristen.  and a pretty French perfume label sticker.
 For the instructions page - i glued a gold paper envelope into the book (trimming to fit).  I added a sheet of resin coated rose pattered tissue paper as an overleaf.  Then some additional resin coated poppies cut from a napkin.  A pink organza ribbon adds some prettiness.
 Inside the envelope are the instructions how to create your own resin flowers using ICE Resin.  In the workshop my friends took Kristen suggested using a large non-recycled black garbage bag as your protective surface to apply the resin to the tissue.  I used freezer paper and it worked great. I already ordered two giant vats of ICE Resin so i can try many more. (well, actually just 2-4 oz bottles - but that is enough to make many pretty flowers and other resin coated papers!!)

Tuesday, February 19, 2013

Altered Paint Brushes

At our latest play date we created altered paint brushes.  Our inspiration was a workshop from Michael DeMeng called Good Brushes Gone Bad.  
Artwork by Michael DeMeng from Lemoncholy's blog
(Sorry i don't like to steal/borrow photos - but i thought you should see what i am talking about in case you  cannot imagine an altered paint brush!)
 Anyway, while i did not create a scary monster face from my old paint brush.  I still tried to use some of the concepts. I started with a used large house painting style.  It is about 4" wide.  I soaked it in warm soapy water to loosen the bristles and bent and crushed with my hands to make it look frayed.
I gesso'd the whole thing to have a ligher base to work with.  My friend asked "why gesso something?"  Well it is like a primer.  It gives a uniform colour to your surface that dries fast and has a bit of "tooth".  You could certainly use white acrylic paint in this application.  But the drying time is really a nice bonus with gesso! Did it feel weird to be painting a paint brush?  Yes it did!
Next i painted the bristles green to look like grass.  I clipped a few here and there to make it as scruffy as possible.  I covered the handle with floral printed tissue paper.
I got my idea for the grass/bird concept from an image on this blog about the Altered Brush Project.
The one i liked is by Angie Reece.  You can google "altered paint brushes" to see MANY illustrations for ideas!
So here is my finished Altered Paint Brush!  I added some twigs to suggest a nose and a perch for the birds.  The eyes are speckled bird's eggs,  I painted the birds a bit to make them more blue. It also makes them look less, i don't know, less like purchased craft store feather birds.  I took apart a craft bird's nest and just used a few vine-y strings to make a loose nest.  It is wired to the paintbrush.  A bit of eyelash yarn filled it out.  Then to add to the whimsy i glued on some beaded earrings and added a flower to her "hair".  I might add more!
Here is the brush that D. started with.
As you can see she is a devotee of DeMeng.  Of course this is far from finished - it needs paint and texture to transform it from a collection of dis-separate components into a completed art piece. Along with the paint brush, there is a protractor, toy lizard arms, a watch strap, a key and angel wings.  Stay tuned for a look at the finished product at our play date next month!
Here is S.'s work in progress.  S. used a watch face for a face and will attach an assortment of keys and metal objects to make her brush come to life.  It will also get painted and texturized to add more artistic flair.
And now - for a change of pace - a used bath brush!
Z. started by painting the bristles in a pretty aqua colour.  then she covered the handle with a map of Hawaii.
You'll have to wait to see how it turns out - but she plans to add this adorable mermaid/shell lady to the brush!  It will hang horizontally in her bathroom.  But not before more details are added like glitter netting and more shells.
Check back to see how they all turned out!


Wednesday, February 13, 2013

Spring cleaning

Well the time had come to deal with my craft room.


here are all the things that USED to be on the floor. I just carried everything ( hubby helped) to the guest room/ office next door!

Look how nice and organized I used to be hiding under all the clutter.

Hey... I have a carpet in here, go figure
Anyway - this is just the first step in my annual craft room reorg. Stay tuned ...

Little Felt Hearts


I found these felt hearts in a bag of felt balls I came across while emptying tote bags of previous projects. In my brave attempt to finally PUT THINGS AWAY!
Since we will be joining three couples on valentines for dinner and a show I thought why not make each of the ladies a little gift?
The felt hearts were red, pink and fuchsia - perfect valentine colours.  I looked at my bead assortment to find some coordinating colours.
For all three necklaces i used micro cord in dark grey.  For the red heart i chose some red beads and some silver toned findings.  I have a special "self healing" needle for working with felt projects.  Starting in the middle of the cord, with a little bead and then worked my way "UP" the necklace - through the heart, more beads and then the closure.
The closure allows you to adjust the length of the necklace - using two adjacent knots which slide back and forth. A little bead adds a nice detail.
For the light pink heart i used some yellow glass beads with pink swirls, some solid lavender beads and copper findings. Same sliding knot system!
For the fuchsia heart i used glass beads and a large crystal drop.  It was a real challenge getting the cord through the beads - so i used a dental floss threader.
Here is another felt necklace i made over the Christmas holidays  -  using pre-made felt balls and flowers.
 I got the idea from this kit i purchased.  It included the "self healing" needle.