Saturday, May 2, 2015

Play Date - UFO's

 What is a UFO you might ask? 
 The bane of the artist/crafter's existence - the UnFinishedObject!  
We decided to forgo our typical NEW IDEA for our monthly play date - instead to each work on our own halfway done projects
 I did some fabulous paper painting collage projects back in the fall you can read about HERE.  I started these birds but never finished them.  i had painted the birds and background roughly and did some collage for the branches with text in different fonts and colours.
 So at the play date i started to collage the birds themselves - starting with yellow shades for the bellies.
 Then onto dark blues for the birds and lighter blues for the sky.
Just kept adding paper to the sky and the sides of the thick canvases.
 I worked back and forth on the two canvases.  Three birds on one and two on the other.

 Pretty much done....?
NO!  how about some leaves!
I think they could use some paint to soften the sky and to make the birds more distinct from the background.  Yikes - yet another unfinished project!
 My friend Z had missed the paper painting play date, so was anxious to try it.  So TECHNICALLY her project was not something unfinished, but we are not sticklers  for details.  She purchased a cool looking denim covered canvas at Michaels to use as a base for this cow collage.  You can see her inspiration photo on the left.  She painted the cow with white paint - i think it looks  awesome just like that!
 Next she started adding colour with collage elements - 
like these ears made from fizzy juice can labels.
 She added some lacy blue paper and a purple nose - 
this is going to turn out great!
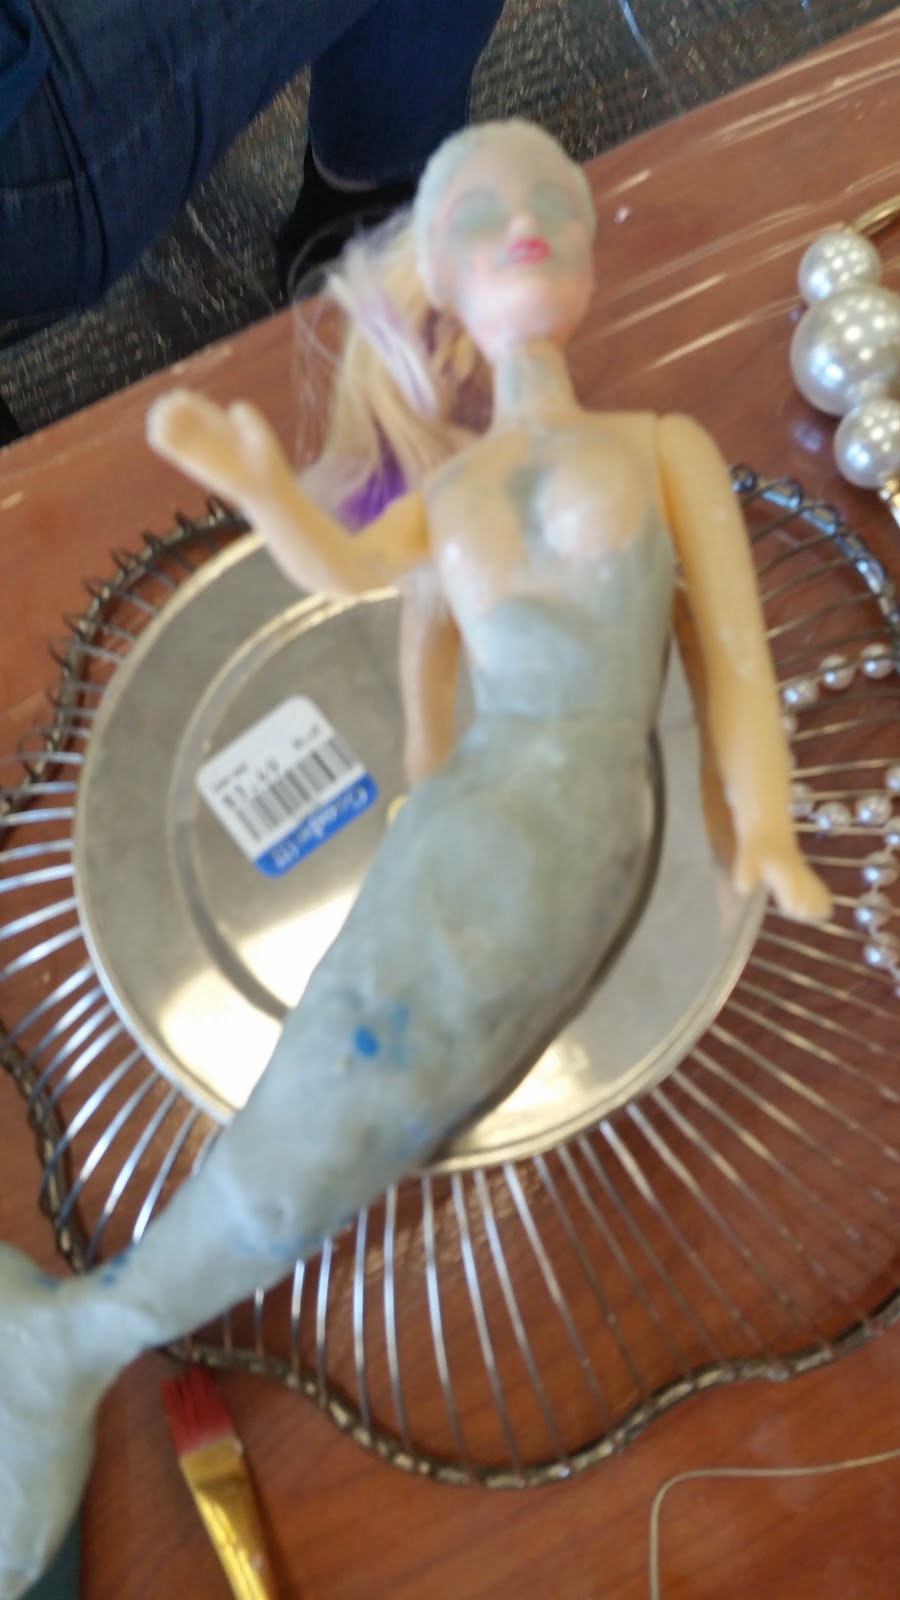
 D worked on this bird with doll head she started last month.

 she smoothed the paper clay and painted it with white paint/gesso.  
what a cool idea - a deconstructed badminton bird makes a fun little tail!

 The hole in the head is to accept the headress befitting this bird - an egg beater!
In between paint drying D worked on this other  piece.  A dolls torso,on a candle stick base, with a tin butterfly for wings, golf tees for a headdress, and keys and upholstery tacks for a skirt.  Can't wait to see her once the glue dries, and the tape is removed, and she is painted and ready for her debut.

Well.  we had fun.  but we didn't exactly get anything finished, did  we?

Altered Book Swap - Nature Green Revisited

 It is taking a while longer to complete our 2014 altered book round robin, with the colour theme, due to so many of our member's travel schedules.  no problem - what's the rush?  
I last worked in Z's Green themed book last year.  You can see what i did HERE.
 I had selected a couple of architectural images from a travel magazine to use in my spreads.  This elaborate door had a greenish cast to it.  I cut open the door to take a peak inside.  on the left i just filled in the page with a stash of Colombian stamps, since they were, well, very green.  I left some words showing on the page - Morocco and Persia - since they both are evocative of the architecture.
 The next page shows an arch with a man feeding a large creature what could it be?
 How about a large green bird!  
I used small doilies to create a stencil effect by sanding the pages.  
It looks better in person.  
no it doesn't.  
it looks crappy actually.  
but no matter.  
on to the next spread.....
 My next multi page spread was inspired by a book of botanical's i purchased recently.  Since the community where Z and I live has street names of  flowers, it seemed fitting to use those flowers in her book.  I envisioned a victorian ladies journal filled with flowers and birds and butterflies.


Here on the final page are the two ladies - ostensively Z and Me.  Her with a book and me with a bird....  in a beautiful garden on our flowered street named neighborhood!

Michael deMeng Workshop - Nautical Oddities

Michael deMeng
 I have been hearing about Michael deMeng for years from my art friend D.  I finally got up the courage to take a workshop with him at Art is You Petaluma.  Since i don't really "do creepy" i was concerned how i could interpret his style for my own aesthetics.  Here is his class sample.  he is known for creating creatures from assorted body parts, and toy animals, and lizards and general creative junk.  I like things that are robin's egg blue and pretty......
 So here is how i started out.   See the contrast of our styles?  I bought a pretty mirror online,  for its watery wave pattern and weathered blue colour.  I found  a copy of a vintage ad featuring sunbathing mermaids,  and a dollar store barbie-style mermaid doll.
 I glued the image to the mirror and added large glass marble stones to create "water".  I painted it all cobalt blue.
 Next i went about concealing the fact that my doll was plastic,  by covering it with two-part Aves epoxy - a deMeng "must have" craft tool.  I also gave her  more of a curve in the waist.  She is sitting on a Goodwill silver plated bread basket - which i cut the bottom out of using the scary electrical tools that are de rigueur in a deMeng class.  
Let the sparks fly people!  Seriously - there were flying sparks like EVERYWHERE.
 Here you can see where i was going.  the basket creates a sort of porthole effect over the mirror and the mermaid curves along side of it.  The jagged bits of metal are concealed in a layer of epoxy.   I also added a small glass box filled with pearls - for my sunken treasure.  It is attached with wire using holes drilled in the mirror.  Drilling is fun!
 Here is the Doctor demonstrating his potions:
 An array of colourful paint and glaze recipes - like Yooge (as in the Usual) and Scary Baby Doll.
 Here is my mirror with some added texture featuring Dap - a bathroom tile caulk.  
I added some brass pieces and some pointy shells.
 A few coats  of paint and glazes and it is starting to come together.
 I went full on clay epoxy on the mermaid - still need to deal with her face and hair.  And paint her some more.  and find some mermaid appropriate pasties.
 Here is Michael doing his critique of the student's work.  there was a quite an assortment of nautical oddities in that room, let me tell you...!  But he had such lovely comments and suggestions.
 Please note the other students work is here at various stages of completion.  but what delicious imaginations people have!
Yes - that is a shell shaped powder room sink!
 the tail becomes sea weed.
wouldn't want to meet this at the lake.
Nor this.
 That jelly fish is so cool.
Scary baby doll anyone?
 Here is my piece laid out for the  critique - but not completely glued or painted. or resolved. 
 is it too dark?  not enough contrast?
You can see through the porthole to the mermaids frolicking inside.  that vintage pin still needs painting to make it blend in more.   

All in all a terrific experience.  The lessons about paint and construction of assemblage, not to mention the use of power tools was very enlightening.  He is funny and makes you feel very special and gives you lots of attention.  Be aware though - he doesn't really tell you WHAT to make.  it is more about HOW to make it.   You have to come to class with your own supplies and ideas.  But check out his work here and online.  
you cannot help but be intrigued.
 Michael deMeng
 Michael deMeng
Michael deMeng